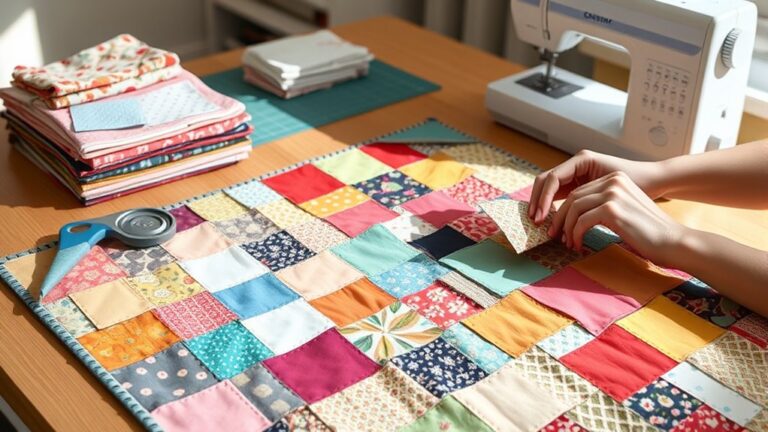
Step-by-Step Guide to Cutting Fabric for Quilting
If you’ve ever felt overwhelmed trying to cut fabric for quilting, you’re not alone. Many quilters—whether beginners or seasoned stitchers—struggle with getting precise, clean cuts and organizing their fabric pieces.
The good news is, with the right tools and techniques, you can make this part of quilting much easier and more enjoyable.
To cut fabric for quilting effectively, start by gathering essential tools like a cutting mat, rotary cutter, and fabric scissors. Always pre-wash and iron your fabric for better accuracy, and understand the fabric grain for proper orientation.
Measure carefully and practice cutting techniques for clean lines. Organize your pieces efficiently to streamline your workflow, and watch out for common mistakes.
There’s so much more to uncover that can help you master this craft!
Key Takeaways
- Use essential tools like a rotary cutter, cutting mat, and fabric weights for precise and efficient fabric cutting.
- Pre-wash and iron your fabric. This helps prevent shrinkage and makes sure your cuts are smooth and accurate.
- Measure carefully using a ruler and your cutting mat. Double-check those angles so your pieces fit together perfectly.
- Keep your cut pieces organized in labeled bins. This will make your quilting process smoother and help you avoid any mix-ups later on.
- Practice your cutting techniques and work on alignment drills. Doing this will boost your precision and help you feel more confident in your skills.
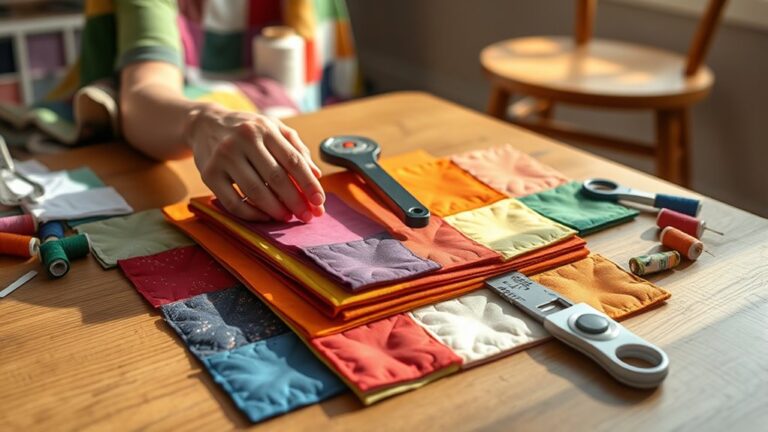
Choosing the Right Tools for Cutting Fabric
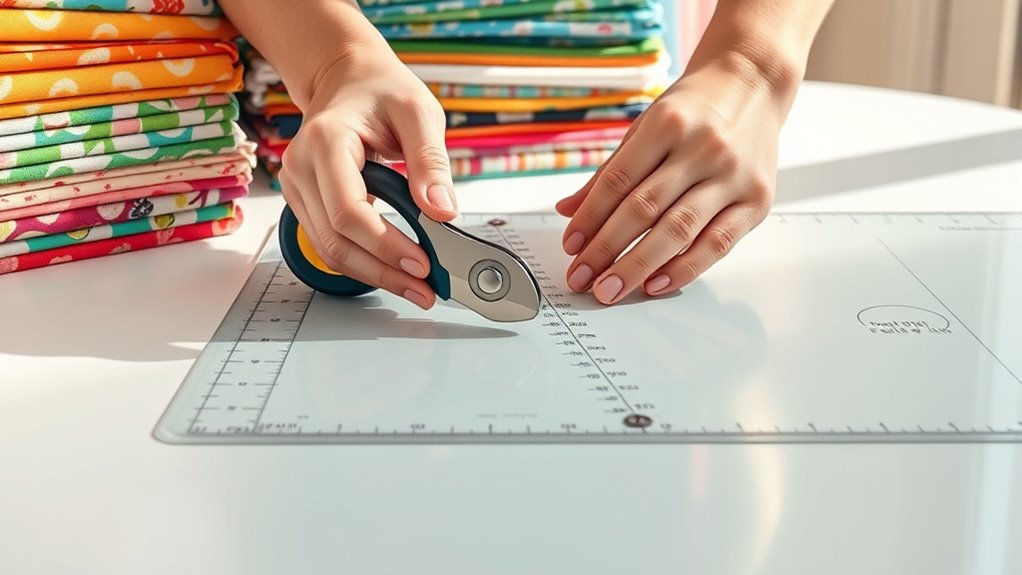
Regarding cutting fabric for quilting, having the right tools can make all the difference. Start with a sturdy cutting mat, which protects your surfaces and helps maintain your rotary cutters’ sharpness.
A rotary cutter is an essential tool for precise cutting angles and straight lines. It lets you slice through multiple layers effortlessly, making the process much smoother.
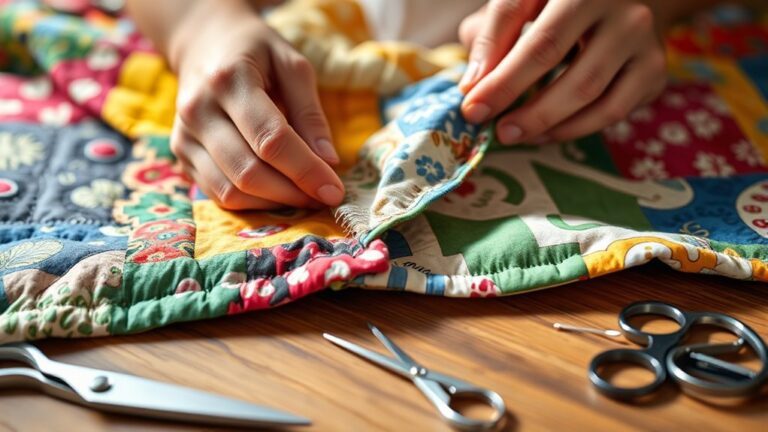
Don’t forget a good pair of fabric scissors for smaller, detailed cuts. They’re invaluable for trimming threads or making intricate shapes.
To keep everything in place, use fabric weights to prevent shifting while you cut. This makes it easier to achieve accurate cuts without frustration.
Remember to follow safety rules, like keeping your fingers away from the blade. Use a cutting mat specifically designed for rotary cutting to get the best results.
Why Washing and Ironing Your Fabric Matters?
Before diving into your quilting project, washing and ironing your fabric can save you time and headaches later on.
Pre-washing helps prevent issues like fabric shrinkage and color bleeding, guaranteeing your quilt maintains its beauty.
Plus, ironing smooths out wrinkles, making cutting easier and more accurate.
Here’s a quick overview of the benefits:
| Benefit | Description |
|---|---|
| Fabric Shrinkage | Prevents future size changes in your quilt |
| Color Bleeding | Stops dyes from running into each other |
| Pre Wash Benefits | Improves fabric texture for better handling |
| Ironing | Guarantees precise cuts and easier piecing |
Taking these steps not only improves your fabric’s texture but also guarantees a smoother quilting process.
Investing a little time upfront will make a big difference in your final product.
Understanding Fabric Grain: Key to Effective Cutting
Understanding fabric grain is really important if you want your cutting to go smoothly in quilting. Basically, there are different types of grain, and knowing how to spot the grain line can make a big difference in how your pieces fit together. When you cut straight along the grain, your quilt ends up looking and feeling much better, so it’s definitely worth taking the time to get it right.
Types Of Fabric Grain
Fabric grain plays an essential role in your quilting projects, influencing how your pieces behave and look. Understanding the different fabric types is vital.
The straight grain runs parallel to the woven patterns, providing stability and minimal stretch. Cross grain, on the other hand, runs perpendicular and has slightly more give.
Bias cutting, which runs at a 45-degree angle, offers maximum stretch, making it ideal for curves and shaping. Consider texture differences and fabric weights when selecting your materials for color coordination and quilt backing.
Each grain affects the drape and appearance of your quilt, so knowing these characteristics helps guarantee your finished project looks just as you envisioned.
Identifying The Grain Line
Identifying the grain line is essential for effective cutting in quilting. Understanding the grain direction helps you determine how the fabric should be oriented when you cut it.
The lengthwise grain runs parallel to the selvage, while the crosswise grain runs perpendicular. Always position your fabric so the grain direction aligns with your cutting tools.
This way, you guarantee that your pieces maintain their shape and drape correctly. When you cut along the grain, you minimize stretching and distortion, leading to a smoother finish in your quilt.
Take a moment to double-check your fabric orientation before making any cuts; it’s a small step that can save you time and frustration later.
Happy quilting!
Importance Of Straight Cutting
When you cut your fabric straight, you set the foundation for a well-structured quilt.
Cutting precision is essential, as it guarantees that all your pieces fit together seamlessly.
Misaligned cuts can lead to puckering and uneven seams, ruining your hard work.
Understanding fabric grain helps you achieve that straight edge, providing the necessary stability for your quilt.
Measuring Accurately: Essential Techniques and Tips
If you want your quilting projects to turn out beautifully, it’s really important to measure accurately. The tools you choose and your knowledge of fabric grain both make a big difference here. So, let’s chat about some essential measuring techniques that can really help you step up your cutting skills.
Tools For Accurate Measurement
Accurate measurement is essential for successful quilting, and having the right tools can make all the difference.
Start with a reliable rotary cutter and cutting mat, which allow for precise cuts. A good ruler is vital; opt for one with clear measurements and grid lines to help you align your fabric accurately.
Don’t forget fabric measurement techniques like folding your fabric to minimize errors. You might also consider a measuring tape for larger pieces, ensuring you get exact dimensions.
Finally, a square will help verify right angles, making sure your pieces fit together perfectly.
Fabric Grain Importance
Understanding fabric grain is crucial for achieving the best results in your quilting projects.
Grasping how fabric direction influences your work can greatly improve your cutting efficiency.
Here’s why it matters:
1. Quilt Stability: Aligning with the grain prevents distortion,
keeping your quilt’s shape intact.
2. Pattern Alignment: Proper grain guarantees your patterns line up as intended,
creating a polished look.
3. Cutting Speed: Knowing the grain allows you to cut more quickly and accurately,
saving time on your project.
4. Fabric Texture: Understanding how bias cutting affects texture can boost your design,
giving it depth and interest.
Measuring Techniques Explained
Measuring accurately is the backbone of successful quilting. Start by using a measuring tape for precise measurements. Don’t forget to fold your fabric properly to avoid stretching.
For pattern alignment, verify you’re following grid markings on your cutting mat. This helps maintain cutting accuracy.
When converting measurements, always double-check to avoid costly mistakes. Visual estimation can be helpful, but rely on your measuring tape for exactness when it counts.
For precision cutting, take your time. Measure twice, cut once.
This method not only improves your quilt’s overall look but also saves you from unnecessary frustration.
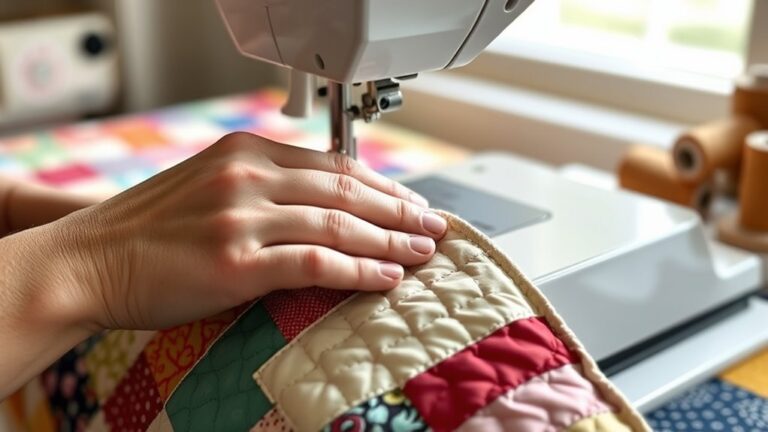
Effective Cutting Techniques for Beginners
Cutting fabric for quilting can be intimidating, especially for beginners. However, mastering effective cutting techniques will boost your confidence and improve your projects.
Here are some tips to get you started:
- Use Sharp Tools: A sharp rotary cutter or scissors guarantees clean cuts, reducing fraying and mistakes.
- Create an Efficient Workspace: Organize your tools and fabric in a designated area to minimize distractions and improve focus.
- Practice Cutting Safety: Always cut away from your body and keep fingers clear of the blade to prevent accidents.
- Measure Twice, Cut Once: Double-check your measurements before cutting to avoid wasting fabric and time.
Layering Fabric for Efficient Cutting
Once you’ve got your cutting techniques down, layering fabric can streamline the process even further.
By mastering layer placement and cutting layers, you’ll save time and guarantee fabric stability.
Start by aligning your fabric carefully, focusing on efficient stacking and layer thickness.
Here’s a quick reference for layering:
| Layer Placement | Cutting Order |
|---|---|
| Top Layer | First |
| Middle Layer | Second |
| Bottom Layer | Third |
| Additional Layers | As needed |
| Final Trimming | Last |
Using rotary cutter techniques, maintain proper fabric alignment to avoid shifting.
Remember to cut through all layers in one go to guarantee consistent shapes.
This approach not only improves efficiency but also keeps your project organized and neat.
Happy quilting!
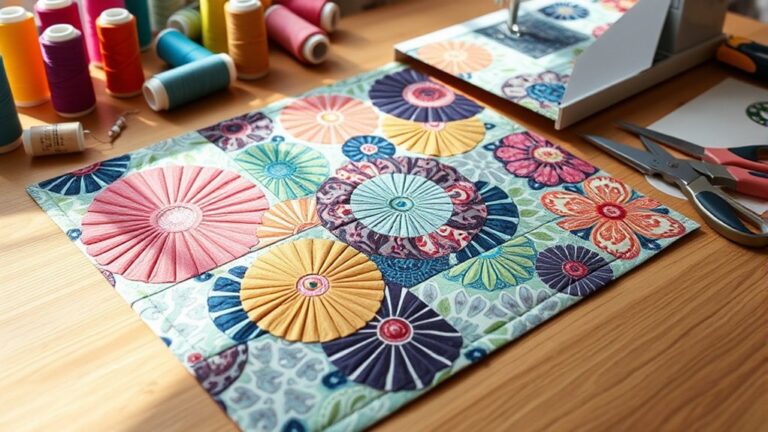
Mastering Curves and Angles in Cutting
While mastering curves and angles in cutting may seem challenging, it’s essential
for achieving polished quilt designs. With the right tools and techniques, you’ll create
beautiful quilt shapes that impress.
Here’s how to get started:
1. Use curved templates: These help you achieve smooth curves,
making your piecing easier.
2. Leverage angled rulers: They’re perfect for cutting precision angles,
ensuring your pieces fit together seamlessly.
3. Practice bias cutting: This technique adds flexibility to your fabric,
helping you navigate curves without distortion.
4. Utilize rotary cutting and fabric scissors: Pair these tools with cutting mats
for clean, accurate cuts.
Organizing Cut Fabric Pieces for Success
To guarantee your quilting project runs smoothly, organizing your cut fabric pieces is essential.
Start by categorizing your fabric according to your cutting layouts. This way, you can quickly locate the pieces you need without rummaging through a mess.
Use labeled bins or clear containers for effective fabric storage. It’ll make your workspace tidier and help prevent mix-ups.
Labeled bins and clear containers streamline your fabric storage, keeping your workspace organized and reducing the risk of mix-ups.
Consider creating a visual reference, like a chart or diagram, that outlines where each piece fits into your project.
This not only keeps you organized but also serves as a helpful guide as you sew.
As you cut, keep similar pieces together, like squares or strips, to streamline your workflow.
Watch Out for These Common Cutting Mistakes
Even the most experienced quilters can fall prey to common cutting mistakes that can derail your project.
To guarantee cutting accuracy and avoid frustration, watch out for these pitfalls:
1. Neglecting Fabric Alignment:
Always align your fabric properly.
Misalignment can lead to uneven cuts and wasted fabric.
2. Rushing Cutting Speed:
Take your time.
Cutting too quickly often results in mistakes that could have been avoided with a bit more patience.
3. Using the Wrong Tool Selection:
Make sure you’re using the right tools for your fabric type.
Dull blades or inappropriate scissors can compromise your precision techniques.
4. Ignoring Visual Cues:
Pay attention to patterns and markings.
Ignoring visual cues can lead to common errors that affect your quilt’s overall design.
Practice Makes Perfect: Exercises for New Quilters
Mastering the art of quilting starts with practice, and engaging in targeted exercises can greatly improve your skills. Begin with beginner exercises that focus on fabric cutting techniques.
Set up rotary practice sessions where you cut straight lines and curves, paying attention to precision cutting. Use a ruler to refine your accurate measuring, ensuring your cuts are consistent.
Engage in rotary practice sessions, focusing on precision cutting of straight lines and curves for consistent, accurate measuring.
Next, incorporate alignment drills. Lay out fabric pieces and practice aligning them before cutting, which helps with fabric handling and minimizes waste.
Familiarize yourself with your tools and spend time learning how to use your rotary cutter, mat, and rulers effectively.
Finally, don’t shy away from repetition. The more you practice, the more comfortable you’ll become with the process.
These exercises not only build confidence but also elevate your overall quilting skills, setting a solid foundation for your quilting journey.
Frequently Asked Questions
How Do I Choose Fabric for My Quilting Project?
Choosing fabric for your quilting project starts with picking fabric colors that complement each other. Think about the overall mood you want to create.
Next, consider fabric texture; mixing smooth and textured fabrics can add depth and interest. Don’t be afraid to play with patterns as well, but make sure they harmonize.
Ultimately, trust your instincts. If a fabric makes you smile, go for it! Your quilt will reflect your unique style.
Can I Cut Fabric Without a Rotary Cutter?
Yes, you can cut fabric without a rotary cutter! While rotary cutters provide precision and speed, scissors can do the job just as well with the right cutting techniques.
Just guarantee you use sharp fabric scissors for clean edges. When cutting, hold the fabric taut and cut slowly to avoid fraying.
What Is the Best Way to Store Cut Fabric Pieces?
Did you know that 80% of quilters struggle with fabric organization?
To store cut fabric pieces effectively, use clear bins or folders for easy visibility. Label each container by color or project to streamline your workflow.
Consider rolling the fabric instead of folding it to minimize creases. Incorporating these organizing techniques will not only save you time but also keep your workspace tidy and inspiring for your next quilting project.
How Do I Fix Mistakes Made While Cutting Fabric?
If you make mistakes while cutting fabric, don’t worry!
You can use fabric repair techniques to salvage your pieces.
For small mishaps, consider patching or layering the fabric to cover errors.
If you’ve cut too much, use a contrasting fabric to create a border or binding.
For uneven edges, trim them straight and finish with a zigzag stitch.
These cutting mishaps solutions can turn your mistakes into creative opportunities!
When Should I Replace My Cutting Tools?
You should replace your cutting tools when you notice they’re dull or damaged,
as this can affect your cutting techniques and lead to mistakes.
Regularly check your rotary blades and scissors for wear;
if they struggle to cut through fabric, it’s time for a change.
Maintaining your tools properly extends their life,
but don’t hesitate to invest in new ones when they no longer deliver clean, precise cuts.
Happy quilting!
Conclusion
By mastering these cutting techniques, you’ll transform your fabric into a masterpiece waiting to be sewn. Remember, every precise cut is a step closer to your quilt’s completion.
So, gather your tools, follow the steps, and let your creativity flow like a river. If you make mistakes, don’t be discouraged; they’re simply stepping stones on your quilting journey.
Welcome the process, and soon you’ll be stitching together not just fabric, but memories that’ll last a lifetime. Enjoy every moment as you cut fabric for quilting, knowing each piece brings you closer to creating something truly special.