How to Bind a Quilt With Backing
If you’ve ever found yourself frustrated with fraying quilt edges or struggled to give your project that finished, professional look, you’re not alone. Many quilters—beginners and seasoned makers alike—want their hard work to last and look beautiful, but binding a quilt can feel intimidating or confusing.
The good news? There are helpful tools and techniques out there to make binding your quilt with backing much easier.
Binding a quilt with backing is essential for durability and a polished look.
Start by preparing your quilt edges and cutting strips from quality fabric, usually about 2.5 inches wide.
Attach the binding by pinning it along the quilt’s edge, using a straight or zigzag stitch.
Don’t forget to miter corners for a professional finish.
Press binding for a crisp edge.
If you want to investigate troubleshooting tips and techniques, there’s plenty more to uncover!
Key Takeaways
- Select quality cotton or blends for binding. Make sure the fabric complements your quilt’s design and colors.
- Cut binding strips 2.5 inches wide. Measure the quilt’s perimeter to determine how much length you’ll need.
- Attach the binding by aligning it with the quilt’s edge. Use pins to keep everything in place as you work.
- Master mitered corners by folding the binding at a 45-degree angle. This gives your quilt a neat, polished finish.
- For the final step, you can choose hand-stitching or machine-stitching. Pick the option that best fits your project’s size and style.
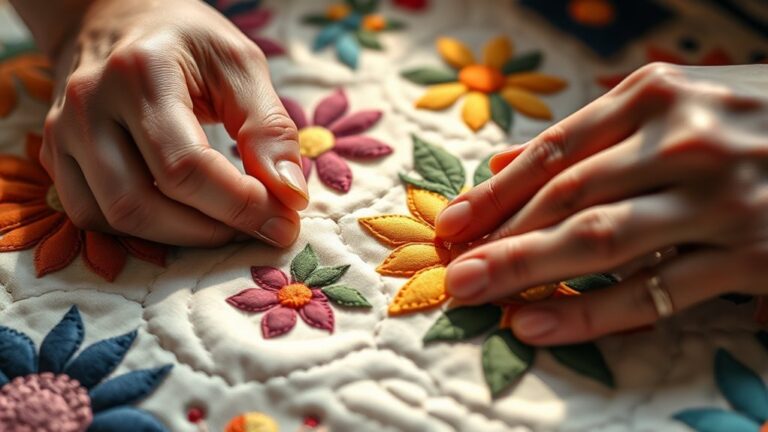
Understanding the Importance of Quilt Binding for Beginners
When you start quilting, understanding the importance of binding might not seem crucial. But it’s essential for finishing your quilt properly.
Binding not only secures the edges, it also improves the overall quilt aesthetics. It frames your work and showcases the patterns and colors you’ve chosen.
Using various binding techniques can drastically change the look and feel of your quilt. Whether you opt for a simple straight binding or a more intricate mitered corner, each method brings its own flair.
You’ll find that the right binding can raise your quilt from a simple project to a stunning piece of art.
As you explore deeper into quilting, you’ll appreciate how binding adds a polished touch. It protects your quilt’s edges from wear and tear and guarantees its longevity.
Choosing the Right Materials for Quilt Binding
Choosing the right materials for quilt binding can make all the difference in your project. You’ll want to take into account various factors to guarantee your quilt not only looks good but also stands the test of time.
Here are some essential points to keep in mind:
- Binding materials: Opt for quality cotton or cotton blends for durability.
- Fabric choices: Choose fabrics that complement your quilt’s design and color coordination.
- Bias vs. straight: Decide whether to cut your binding on the bias for flexibility or straight for a more defined look.
- Texture considerations: Reflect on how different textures will affect the overall quilt aesthetics.
Don’t forget to prewash fabrics to avoid shrinkage later. By carefully selecting your binding materials, you’ll improve both the durability and beauty of your quilt.
Essential Steps to Prepare Your Quilt for Binding
Before you dive into binding your quilt, take a moment to pick out a fabric that really works with your quilt’s overall look. It’s a small detail, but the right choice can make all the difference in how your finished quilt comes together.
Once you’ve chosen your binding fabric, you’ll want to turn your attention to those quilt edges. Make sure they’re nice and even—this will help you get that crisp, professional finish when it’s time to attach the binding.
Choosing the Right Fabric
Selecting the right fabric for binding your quilt can make a significant difference in both appearance and durability. Consider these essential factors when making your choice:
- Fabric weight: Opt for a weight that complements your quilt’s backing options. This helps add durability and ensures the binding wears well over time.
- Color coordination: Choose colors that enrich your quilt’s overall palette. This creates a cohesive look, tying all the elements together.
- Fabric texture: A smooth texture can make the binding process easier. It also helps improve the final finish, giving your quilt a polished appearance.
- Print scale: Large prints can overpower smaller quilts, so consider the scale for balance. This ensures your binding enhances rather than detracts from your quilt’s design.
Preparing Quilt Edges
To prepare your quilt edges for binding, start by trimming any excess fabric to confirm straight, even edges. This quilt edge trimming is essential for a professional finish.
Lay your quilt flat and use a rotary cutter or scissors to cut off any uneven parts. Make certain to check for any puckering or folds that might disrupt the binding edge preparation.
Once the edges are trimmed, inspect the corners; they should be precisely square to guarantee the binding fits snugly. If you need to, gently press the edges to smooth out any wrinkles.
With neat edges, you’re ready to move on to the next step in your binding journey. This will help ensure a beautiful and polished quilt finish.
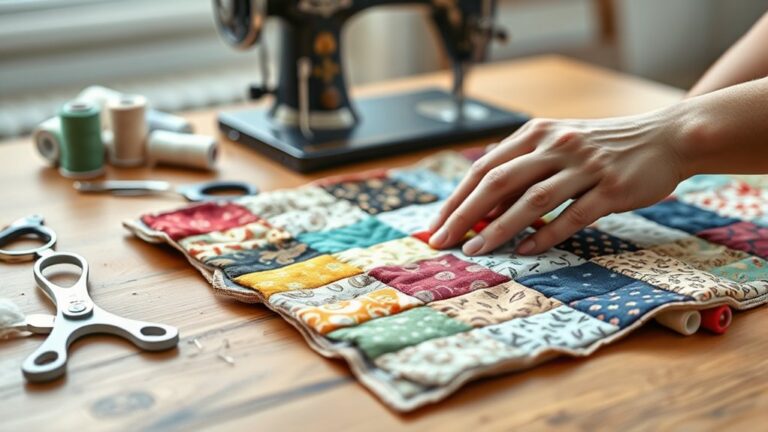
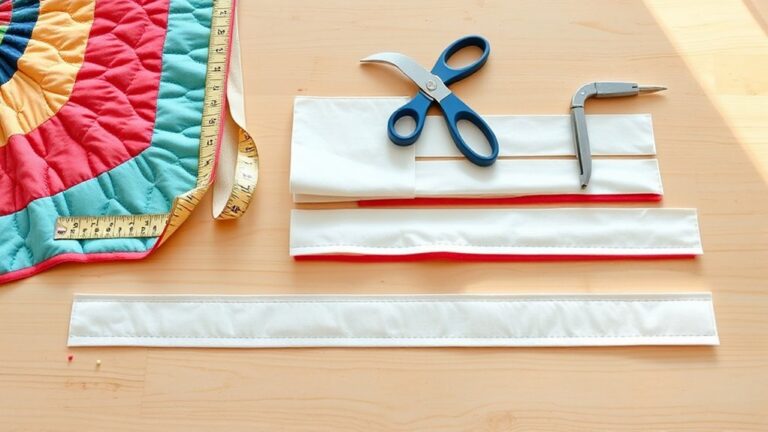
How to Cut and Prepare Binding Strips
Cutting and preparing binding strips is an essential step that can make or break your quilt’s finish.
Cutting and preparing binding strips is crucial for achieving a polished finish on your quilt.
Start by choosing the right fabric for your binding; consider both color and texture to complement your quilt.
Once you’ve made your fabric selection, follow these steps:
- Measure your quilt’s perimeter to determine the total length of binding needed.
- Cut strips, typically 2.5 inches wide, from your fabric.
- Join the strips using your preferred binding techniques, either by sewing at angles or straight edges for a clean finish.
- Press the strips in half lengthwise to create a crisp edge.
Attaching Quilt Binding to the Quilt Top
Begin by laying your quilt top flat on a clean surface, ensuring it’s smooth and free of wrinkles.
Next, take your prepared binding strips and align one edge of the binding with the quilt edge. Use a pin to secure it in place, starting at one corner.
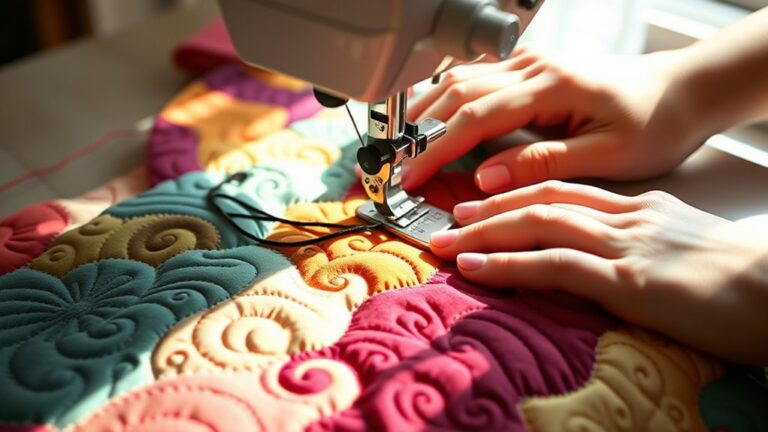
As you work your way around, choose a binding technique that suits your style. Either a straight stitch or a zigzag stitch works well for most quilts.
Keep the binding taut but not stretched as you sew, making sure to miter the corners neatly for a polished look.
When you reach the starting point, leave a few inches of overlap. This method not only secures the binding but also improves the overall appearance of your quilt.
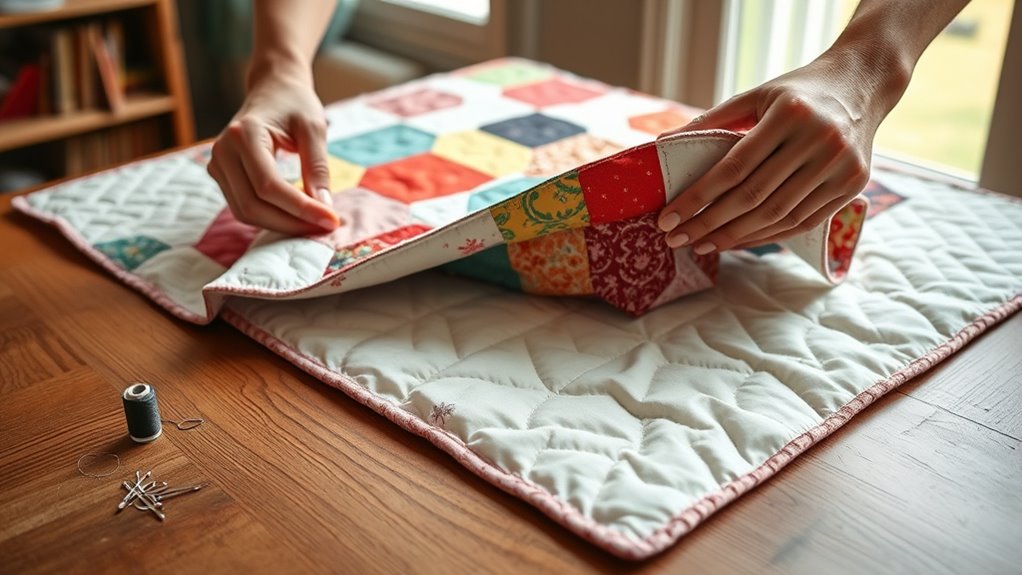
Once you’ve attached the binding to the quilt top, you’ll be ready for the next step: sewing the binding to the quilt backing.
Sewing Your Binding to the Quilt Backing
When it comes to sewing your binding to the quilt backing, picking the right fabric really makes a difference—not just in how your quilt looks, but also in how long it lasts. Take a little time to explore different binding fabric options and see which ones go best with your quilt design.
Once you’ve picked out your fabric, let’s talk about how to attach the binding so it stays put. There are a few techniques you can try, and choosing the right one will help make sure your binding is both secure and neat.
Choosing Binding Fabric Options
How can you choose the right binding fabric for your quilt?
Selecting the perfect binding improves your quilt’s overall look.
Consider these key factors:
- Color Coordination: Pick a color that complements or contrasts with your quilt’s palette.
- Fabric Texture: Choose a texture that feels good and matches the quilt’s theme. Smooth textures work well for modern quilts, while rustic options suit traditional styles.
- Durability: Opt for fabrics that withstand wear, especially if your quilt will be used frequently.
- Width and Length: Make sure the binding fabric is wide enough for your quilt’s edges and long enough for the entire perimeter.
Attaching Binding Techniques Explained
Attaching your binding to the quilt backing is an essential step that can improve the overall finish of your project.
Start by aligning the binding strip with the raw edge of the quilt, pinning it in place. Use a sewing machine to stitch, employing a consistent ¼-inch seam allowance.
There are several binding techniques you can try, such as the traditional hand-sewn finish or the machine-finished option for quicker results.
If you’re feeling adventurous, investigate creative finishes, like adding decorative stitches or contrasting thread.
Remember to miter the corners for a polished look.
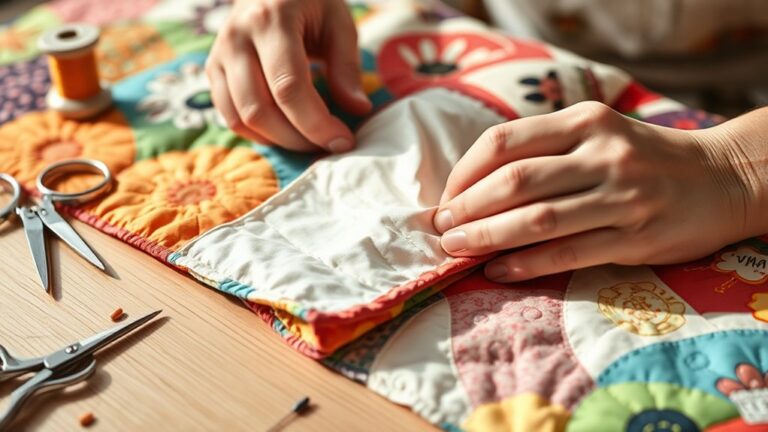
Once you’ve sewn around the quilt, trim excess binding, fold it over, and secure it neatly on the back side to complete your quilt beautifully.
Folding and Pressing Your Binding for a Neat Finish
To achieve a polished finish on your quilt, folding and pressing your binding is essential.
This step not only improves the appearance but also guarantees your binding lays flat and secure.
Here are some pressing tips to help you along the way:
- Use a hot iron: A high temperature helps set the folds properly.
- Press, don’t stretch: Gently press the binding to avoid distortion.
- Create crisp edges: Fold the binding in half lengthwise and press to create a clean edge.
- Steam for extra hold: A little steam can help shape the binding without damaging the fabric.
Utilizing effective binding techniques during this process will yield a neat, professional finish.
Remember, taking the time to fold and press your binding can make all the difference in your quilt’s overall look.
Happy quilting!
Mastering Mitered Corners
With your binding pressed and ready, it’s time to tackle mitered corners for a flawless finish. Start by positioning your quilt with the binding facing up.
As you reach a corner, stop about a quarter-inch from the edge and make a diagonal fold. This creates your first mitered technique. Press it down firmly to hold the shape.
Next, fold the binding back down along the side of the quilt, guaranteeing it maintains that crisp angle. Pin it in place.
Fold the binding back down along the quilt’s edge, ensuring that sharp angle stays crisp. Pin to secure.
To secure the corner finishing, stitch along the edge, backstitching to reinforce your work.
Repeat this process for each corner, taking your time to guarantee the mitered edges look sharp and clean.
Once you’ve mastered these mitered techniques, you’ll find that your quilt binding not only looks professional but also showcases your craftsmanship beautifully.
Happy quilting!
Best Methods for Finishing Quilt Binding
Finishing quilt binding can be done in several effective ways, each offering a unique look and feel.
You can choose a method that matches your style and the quilt’s purpose.
Here are some popular techniques:
- Hand-stitching: This traditional approach gives a polished finish and allows for creative binding options.
- Machine-stitching: Quick and efficient, this method uses a sewing machine to secure the binding.
It’s perfect for larger quilts.
– Decorative stitches: Add flair by using decorative stitches on your machine.
This enhances the visual appeal of the binding.
– Bias tape: This versatile option allows for creative binding with patterned fabrics, making your quilt truly stand out.
Experiment with these methods to find what works best for you.
Each technique can enhance your quilt, turning it into a beautiful finished piece that showcases your hard work and creativity.
Troubleshooting Common Binding Mistakes
Even the most experienced quilters can encounter binding mistakes that disrupt the overall look of their quilts. If you notice that your binding is wavy or uneven, check your stitching.
This often results from pulling the fabric too tightly. A common fix is to relax your grip while sewing, allowing the fabric to lay flat.
If you find your binding isn’t covering the quilt edge adequately, you may have cut your strips too narrow. To remedy this, trim the excess fabric and reattach your binding, making sure it’s wide enough to cover the raw edges.
Another frequent issue is mismatched corners. If they’re not meeting neatly, try folding the binding at a 45-degree angle when you reach the corner.
Pinning can help maintain this shape. By addressing these binding errors early, you’ll achieve a polished finish that improves your quilt’s beauty.
Frequently Asked Questions
Can I Use Pre-Made Binding Instead of Making My Own?
Absolutely, you can use pre-made binding instead of making your own!
Pre-made binding options come with several advantages, like saving you time and ensuring a consistent look.
You won’t have to worry about cutting and sewing strips, which can be a hassle.
Just choose a color or pattern that complements your quilt, and you’ll have a beautifully finished project in no time.
Enjoy the convenience and focus on your quilting!
How Do I Choose the Right Color for My Binding?
To choose the right color for your binding, consider binding color theory.
Look at your quilt’s dominant colors and select a binding that either complements or contrasts them effectively.
Use fabric matching techniques, like creating a color swatch or testing strips, to visualize how different hues interact.
You want the binding to elevate your quilt’s design, so play with shades until you find that perfect balance that feels just right.
Is There a Difference Between Machine and Hand-Binding Techniques?
Yes, there’s a significant difference between machine and hand-binding techniques.
Approximately 70% of quilters prefer machine binding for its speed and durability. Others appreciate the craftsmanship of hand-binding.
Machine binding uses stitching techniques that secure edges quickly. On the other hand, hand-binding offers more control and a personal touch.
Each binding style has its merits, so consider your project’s purpose and your available time to choose the best method for you.
What Tools Are Essential for Binding a Quilt?
To bind a quilt, you’ll need a few essential tools. Start with a rotary cutter and mat for precise cuts.
Use a ruler to measure your fabric choices accurately, and don’t forget quality binding clips to keep everything in place.
A sewing machine makes binding techniques quicker, but you can also hand-stitch for a personal touch.
Finally, having an iron handy helps press seams for a crisp finish.
How Can I Fix Uneven Binding After It’s Been Sewn?
To fix uneven binding after it’s been sewn, start by adjusting tension on your sewing machine.
This helps create a more uniform stitch.
Next, carefully trim edges where the binding is too wide or uneven.
You can also rip out sections and re-sew them if needed.
Don’t hesitate to take your time.
Proper adjustments will make your quilt look polished and professional.
Conclusion
Binding your quilt might seem intimidating, but it’s what transforms a simple project into a stunning masterpiece.
As you navigate the steps from choosing materials to mastering mitered corners, keep in mind that each stitch you make brings your creation to life.
Welcome the challenges, and celebrate the successes. When you finally see your quilt beautifully finished, you’ll realize the effort was well worth it.
Blending patience with creativity into something distinctly yours is truly rewarding. And remember, learning how to bind a quilt with backing not only completes your project but also adds a professional touch you’ll be proud of.
Happy quilting!