5 Steps to Calculate Quilt Binding
If you’ve ever reached the end of a beautiful quilt project only to feel stumped by the binding, you’re not alone. Many quilters find calculating quilt binding confusing, especially when trying to ensure a perfect fit and a neat finish.
It’s a common pain point, but the good news is that with the right steps, you can take the guesswork out of the process and achieve a professional-looking edge every time.
To calculate quilt binding, start by measuring your quilt’s dimensions.
Next, determine the total length of binding needed by adding the quilt’s perimeter and including extra for finishes.
Choose a binding strip width, typically between 2 to 2.5 inches, based on your fabric type.
Then, calculate how many strips you need by dividing the total length by the fabric width.
Finally, join and attach the binding smoothly for a polished look.
You’ll uncover more tips as you investigate further!
Key Takeaways
- Measure the quilt’s length and width to determine the total perimeter for binding calculations.
- Calculate the total binding length by adding all sides. Remember to account for corners and finishes, so you have enough fabric.
- Choose a binding strip width between 2 to 2.5 inches, depending on the coverage you want and your fabric type.
- Divide the total binding length by the fabric width to figure out how many strips you’ll need.
- Join the strips using diagonal seams. Then, securely attach the binding with consistent stitching for a neat finish.
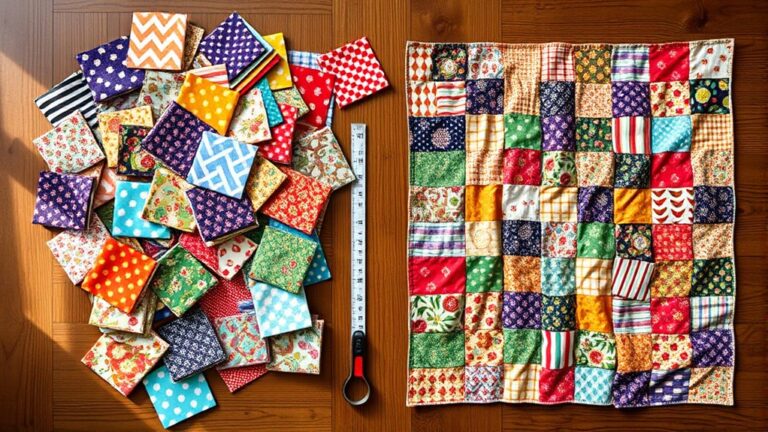
Understanding Quilt Dimensions
When you’re preparing to calculate quilt binding, understanding quilt dimensions is essential. Knowing the quilt sizes you’re working with helps you determine how much binding fabric you’ll need.
Start by measuring the length and width of your quilt. This gives you a solid foundation for your calculations.
Different fabric types can affect your binding as well. For example, cotton is commonly used for quilt binding due to its durability and ease of handling.
If you’re using a specialty fabric, it might require extra care, influencing the overall dimensions you need to account for.
Once you know your quilt sizes and the fabric types, you can confidently move on to calculating your binding requirements.
This foundational knowledge guarantees you’ll have enough fabric to finish your quilt beautifully, making the process smoother and more enjoyable.
How to Measure Total Length of Quilt Binding?
Now that you’ve measured your quilt dimensions, it’s time to figure out the total length of binding you’ll need.
Follow these steps to guarantee you get it right:
- Add the Lengths: Measure and add the lengths of all four sides of your quilt.
- Account for Corners: Multiply the width of your quilt by 2 to cover the corners.
- Total Length Calculation: Combine the previous results to get the total length of binding required.
- Consider Binding Fabric Types: Depending on your chosen binding fabric types, you might want to add an extra 10-15 inches for any quilt edge finishes.
That’s all there is to it, and this approach helps make sure you have just the right amount of binding for your project.
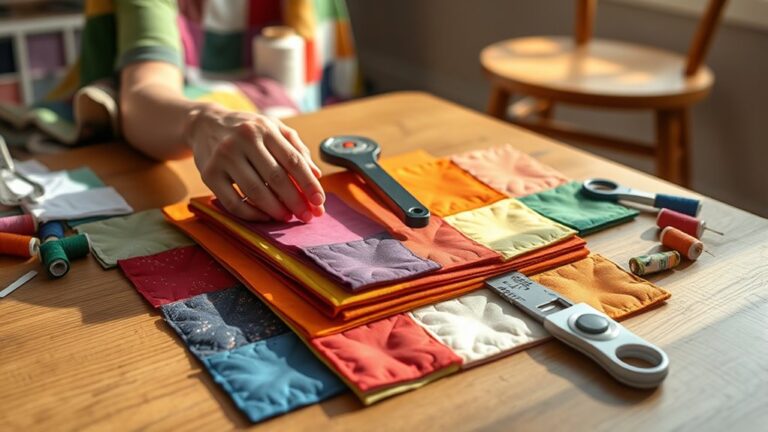
Selecting the Ideal Binding Strip Width for Your Quilt
Selecting the ideal binding strip width for your quilt is vital for achieving a polished finish. Typically, widths range from 2 to 2.5 inches, but your choice can depend on the overall style and thickness of your quilt.
A wider strip gives more coverage, while a narrower one offers a sleek look. When deciding, consider your binding fabric types. Some fabrics, like cotton, hold their shape well, making them great for narrow strips.
If you’re using a thicker material, a wider strip might better suit your quilt’s dimensions. Binding color choices also play an important role. A contrasting color can make your quilt pop, while a matching shade provides a seamless look.
Think about how the strip width and color will complement your quilt’s design. Ultimately, the right binding strip width will improve your quilt’s beauty and durability, ensuring it stands the test of time.
Calculate the Number of Strips You Need
Choosing the right binding strip width sets the stage for calculating how many strips you’ll need for your quilt.
Start by determining your quilt’s perimeter, then consider the binding fabric types and how they might affect your measurements.
Remember to account for calculating seam allowance, which is essential for accurate results.
Here’s how to find out the number of strips you’ll need:
- Measure the quilt perimeter: Add the lengths of all four sides.
- Select your binding strip width: This will influence the number of strips required.
- Calculate total length needed: Multiply the perimeter by the strip width.
- Divide by the width of your fabric: This gives you the number of strips needed to cut.
Keep these steps in mind, and you’ll have a precise count of your binding strips, ensuring your quilt comes together beautifully!
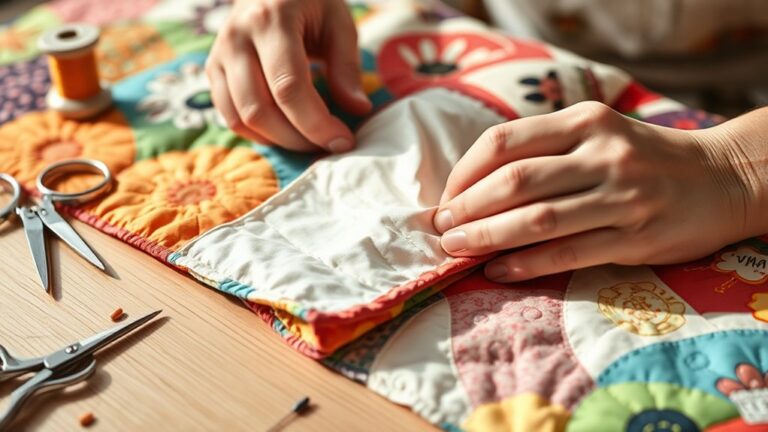
How to Join and Attach Your Binding Like a Pro!
Mastering the art of joining and attaching your binding can improve your quilt’s finish to a whole new level.
Start by selecting the right fabric choices that complement your quilt’s design. Aim for color coordination that highlights your quilt’s pattern without overwhelming it.
Select fabrics that enhance your quilt’s design, ensuring color coordination that accentuates the pattern without overpowering it.
When you’re ready to join, use effective binding techniques, like the diagonal seam, to create a seamless look. This method minimizes bulk and guarantees a smooth finish.
Once joined, fold the binding over the quilt’s edge, pin it in place, and use a consistent stitch to secure it.
For the finishing touches, consider hand-stitching the binding on the back for a polished appearance or machine-stitching for speed.
Either way, take your time to confirm each section is evenly secured, giving your quilt that professional quality you desire.
With practice, you’ll boost your binding game and complete your quilts beautifully!
Frequently Asked Questions
What Fabric Types Are Best for Quilt Binding?
For quilt binding, you’ll want to choose fabric types that are durable and easy to work with. Cotton is a top choice due to its strength and versatility.
You should also consider the binding fabric weight. A medium weight works best, providing enough sturdiness without being bulky.
Keep an eye out for fabrics that blend cotton with a bit of polyester for added resilience. This combination guarantees your quilt stays looking great for years.
How Do I Choose Binding Colors or Patterns?
To choose binding colors or patterns, start by exploring color theory. Consider complementary or analogous colors to improve your quilt’s overall look.
Think about how different patterns mix; a fun floral can contrast beautifully with a subtle stripe.
You can also pull colors from the quilt itself to create cohesion.
Don’t hesitate to experiment. Sometimes, unexpected pairings create the most stunning results.
Trust your instincts and have fun with it!
Can I Use Leftover Fabric for Binding?
Absolutely, you can use leftover fabric for binding! Just make sure the fabric complements your quilt’s colors and patterns.
Consider different binding techniques, like bias or straight grain, based on your fabric’s width and stretch.
When you place the fabrics together, pay attention to how they’ll look when sewn. Mixing various leftovers can add a unique touch, so don’t hesitate to experiment with fabric placement for that perfect finish!
How Do I Care for Quilt Binding After Completion?
To care for your quilt binding, follow these binding maintenance tips.
First, wash your quilt in cold water on a gentle cycle to prevent fraying.
Use a mild detergent and avoid bleach.
When drying, opt for a low heat setting or air dry to keep the fabric intact.
If you notice wrinkles, use a warm iron, but avoid direct contact with the binding.
These binding washing instructions will help keep your quilt looking great!
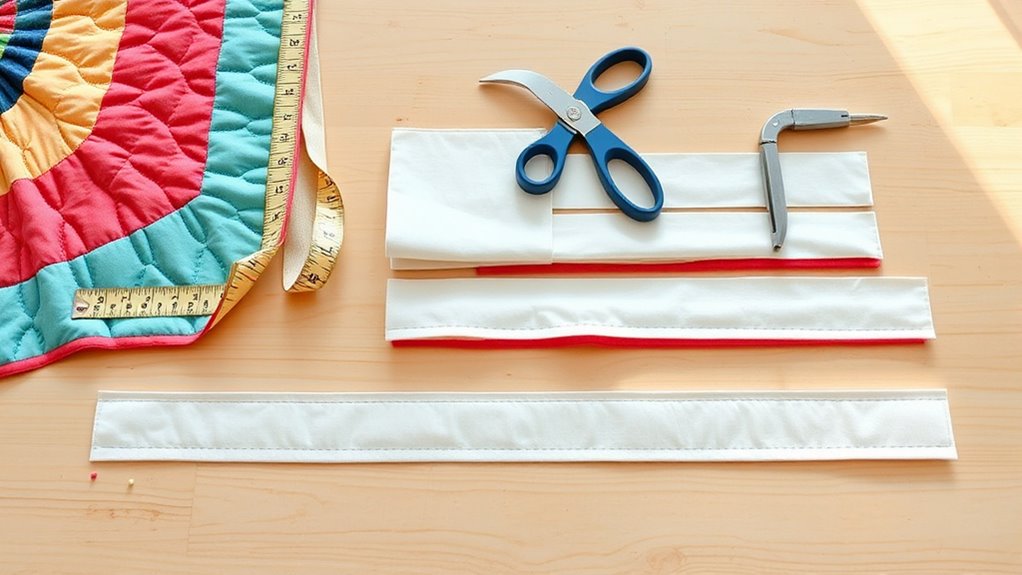
What Tools Are Essential for Binding Quilts Effectively?
To bind your quilt effectively, you’ll need a rotary cutter, cutting mat, and a reliable ruler. Think of it as your quilting toolkit.
Experiment with various binding techniques, and don’t forget to choose appropriate binding widths for the look you want.
A good iron’s also essential for crisp folds. With these tools in hand, you’re ready to create beautiful edges that improve your quilt’s overall charm and durability.
Conclusion
Now that you’ve mastered the steps to calculate your quilt binding, you’re ready to tackle your next project with confidence!
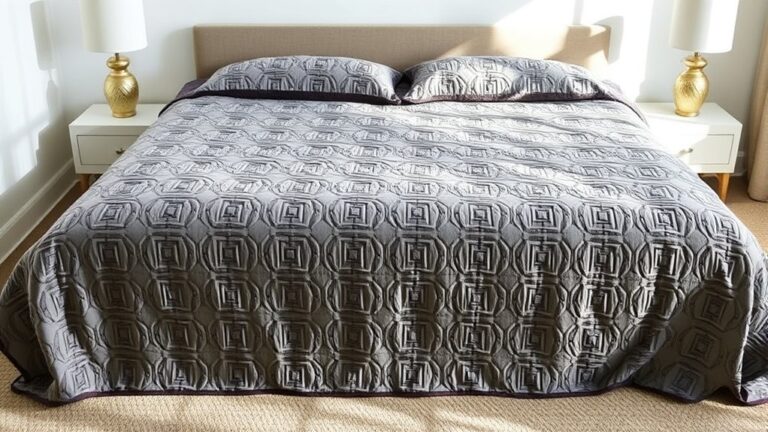
For instance, if you’re binding a cozy twin-sized quilt measuring 70” by 90”, you’ll create a beautiful finish that complements your hard work.
Just imagine the satisfaction as you wrap it around yourself on a chilly evening, knowing you’ve crafted it from start to finish.
Happy quilting! With your new quilt binding skills, every piece you create will have that perfect, polished touch.