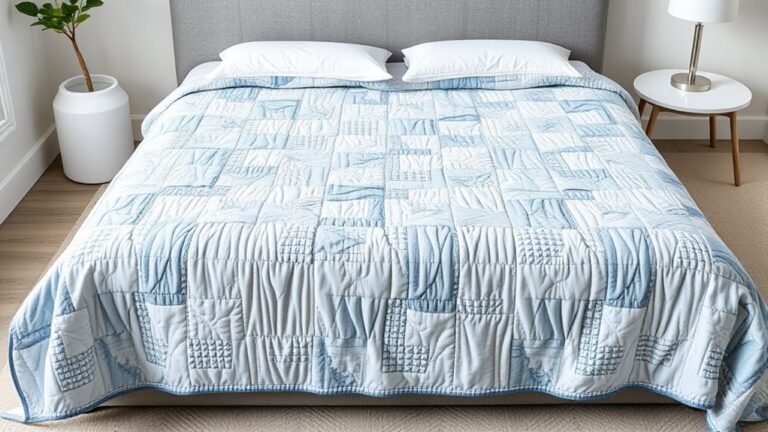
10 Simple Steps to Build a Quilting Design Wall
If you’ve ever felt overwhelmed by quilt blocks scattered across your workspace or struggled to visualize your next masterpiece, you’re not alone. Many quilters wish for a more organized, inspiring way to plan their projects.
That’s where a quilting design wall can make all the difference—giving you the creative space and clarity you crave.
Building a quilting design wall starts with identifying your space challenges.
Next, choose a well-lit location close to your sewing station.
Decide on the size and shape based on your typical projects.
Construct a sturdy frame and secure a board to it, covered with batting.
Install the wall for stability and keep your fabric and tools organized.
Regular maintenance is key to ensuring longevity.
Stick around, and you’ll uncover more detailed steps to make your design wall perfect.
Key Takeaways
- Identify challenges in your quilting space, like lighting and accessibility. This helps you optimize your design wall’s effectiveness.
- Choose a location with natural light and easy access. That way, pinning and rearranging fabric stays comfortable.
- Decide on the size and shape of the design wall based on your available space and the dimensions of your typical projects.
- Construct a sturdy frame using durable materials, and make sure you secure it properly to prevent sagging or wobbling.
- Organize your fabric and tools effectively. Be sure to maintain the wall regularly for optimal functionality and cleanliness.
Identify Your Quilting Space Challenges
What challenges do you face in your quilting space?
You might struggle with space limitations that make it tough to layout your projects effectively.
Have you considered wall preferences?
Finding the right wall for your design wall can be tricky, especially if it interferes with your room layout.
Lighting considerations are essential too.
Poor lighting can hinder your ability to see colors and details clearly.
Accessibility factors also play a role.
If your materials are hard to reach, it can disrupt your workflow.
Finally, think about storage solutions.
If your fabrics and tools are cluttered or unorganized, it can drain your creativity and make quilting feel like a chore.
Choose the Perfect Location for Your Design Wall
Finding the right spot for your design wall can greatly elevate your quilting experience.
Start by considering lighting considerations. Natural light can help you see colors accurately,
so choose a location near a window if possible. Avoid areas with harsh overhead lighting
that may distort fabric hues.
Next, think about wall accessibility. You’ll want a space where you can easily reach your
design wall to pin, rearrange, and assess your quilt pieces without straining. A location
that allows for comfortable movement around the wall is essential, especially during the
creative process.
Also, consider the wall’s height and proximity to your sewing station. You don’t want to
be running back and forth.
Ultimately, a well-chosen location will amplify your creativity and make the design
A thoughtfully selected design wall location enhances creativity, streamlining your quilting process and inspiring innovative projects.
process smoother. This gives you the freedom to experiment and perfect your projects.
Decide on the Size and Shape of Your Design Wall
How do you determine the ideal size and shape for your design wall?
Start by considering your quilting habits and the space available.
Your design wall dimensions should accommodate the projects you typically work on, while fitting comfortably in your chosen location.
Here are some tips to help you decide:
1. Assess Available Space:
Measure the area where you plan to hang your design wall. Make sure it’s large enough for your needs without overwhelming the room.
2. Consider Wall Shape Options:
Rectangular walls are popular, but you might opt for a square or even a custom shape that fits your style and space.
3. Plan for Future Projects:
Think about potential projects. A larger wall gives you flexibility as your quilting skills advance.
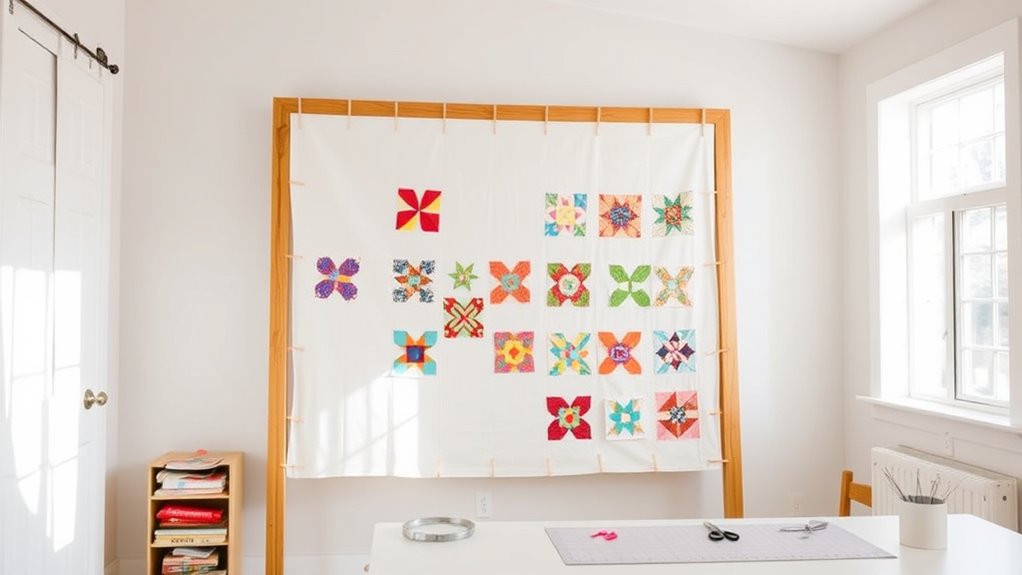
Construct a Sturdy Frame for Your Design Wall
Constructing a sturdy frame for your design wall is essential to guarantee it holds up over time and supports your creative process.
Start by selecting your frame materials. Plywood or sturdy wooden boards work best for durability.
Measure your desired wall height and cut the frame pieces accordingly. You’ll want to create a rectangular shape that fits your space, making sure it’s tall enough for your needs.
Once you have your pieces, assemble them using screws or nails for maximum stability. Don’t forget to reinforce the corners with additional brackets if necessary.
For larger design walls, consider adding a center support to prevent sagging. If you’re planning to mount it on a wall, confirm the frame is securely attached to the studs for extra strength.
This solid foundation will provide you with the perfect backdrop to showcase your quilting designs as you bring your creative vision to life.
Secure the Board to Your Frame
Now that you’ve got your sturdy frame ready, let’s talk about how to attach the board to it. First things first, you’ll want to pick the right material for your frame—it really makes a difference in how strong and long-lasting your project will be. Once you’ve got that sorted, it’s time to think about how you’ll actually stick the board on. Using strong adhesives is key here, since you want everything to stay put for the long haul. So, let’s dive into some easy ways to make sure your board and frame stay securely connected.
Choose Your Frame Material
Choosing the right frame material for your quilting design wall can make a significant difference in both stability and aesthetics.
You’ve got a couple of solid options to evaluate: wood vs foam. Each has its pros and cons, so weigh them carefully.
- Wood: Offers durability and a classic look, enhancing the overall frame aesthetics. It’s sturdy and can hold heavier boards.
- Foam: Lightweight and easy to handle, foam is a budget-friendly option. It’s also easier to mount on walls.
- Combination: Using both materials can provide the best of both worlds. You get stability from wood along with the lightweight convenience of foam.
Take your time to choose the right frame material that fits your quilting space and style!
Use Strong Adhesive Methods
To guarantee your quilting design wall holds up over time, using strong adhesive methods is essential. Start by selecting the right adhesive types, like spray adhesive or double-sided tape, to establish a secure bond.
When applying, make certain to clean both surfaces thoroughly to improve adhesion. Use even pressure while applying the adhesive; this helps prevent bubbles and guarantees a smooth surface.
Moreover, consider using a roller to apply the adhesive evenly, especially for larger areas. Allow the adhesive to set according to the manufacturer’s recommendations before attaching your board to the frame.
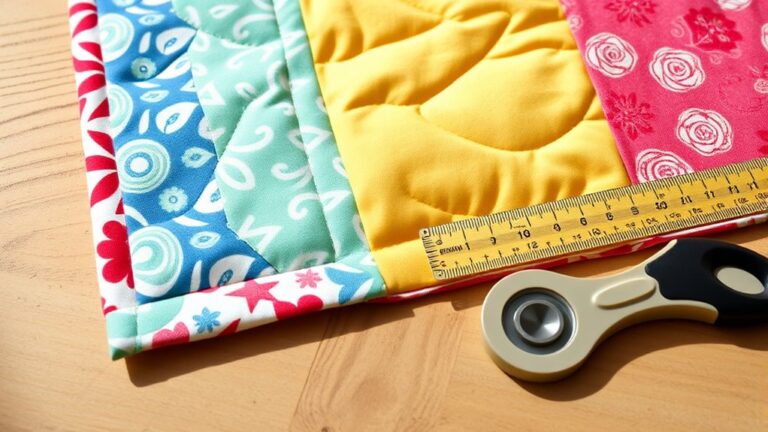
Use Batting for Easy Pinning
A sturdy design wall can truly transform your quilting experience, especially when you use batting for easy pinning.
Batting types like cotton, polyester, and wool each offer unique benefits, making your pinning techniques more effective.
Here’s how you can get the most out of your setup:
1. Choose the Right Batting: Opt for a batting type that suits your projects.
Cotton provides a smooth surface, while polyester adds a bit of loft for easier pinning.
2. Layer Your Batting: If you want extra grip, consider layering two batting pieces.
This creates a more textured surface, which is ideal for holding pins securely.
3. Experiment with Pinning Techniques: Use a mix of straight pins and safety pins to find what works best for you.
This flexibility lets you adjust and reposition your blocks effortlessly.
Cover Your Batting With Fabric
Covering your batting with fabric not only enhances the aesthetics of your design wall but also improves its functionality.
When choosing your fabric selection, consider colors and patterns that inspire your creativity and complement the projects you’ll be working on. A well-chosen fabric can transform a simple wall into a vibrant workspace.
Different batting types also play a role in your design wall’s effectiveness. For instance, cotton batting provides a smooth surface that’s ideal for pinning, while polyester batting may offer a bit more loft.
Once you’ve selected your fabric and batting, cut the fabric to size, allowing for some extra to wrap around the edges. Secure the fabric with a staple gun or adhesive, ensuring it’s taut for easy visibility of your quilt pieces.
This step not only keeps your workspace organized but also makes it easier to visualize your designs as you work.
Install Your Design Wall for Maximum Stability
Installing your design wall securely is essential for maintaining stability while you work on projects.
Using the right wall materials and applying effective stability techniques will help keep your fabric pieces in place.
Here are three steps to guarantee your design wall is stable:
1. Choose the Right Location:
Find a wall that’s sturdy and free from drafts. Avoid areas with heavy foot traffic to minimize disturbances.
2. Securely Attach the Wall:
Use strong fasteners or brackets to mount the wall materials. Make sure it’s flush against the wall to prevent any wobbling.
3. Consider Reinforcement:
If your design wall is large, add a wooden frame behind it for extra support.
This will help prevent sagging and guarantee your fabric stays put.
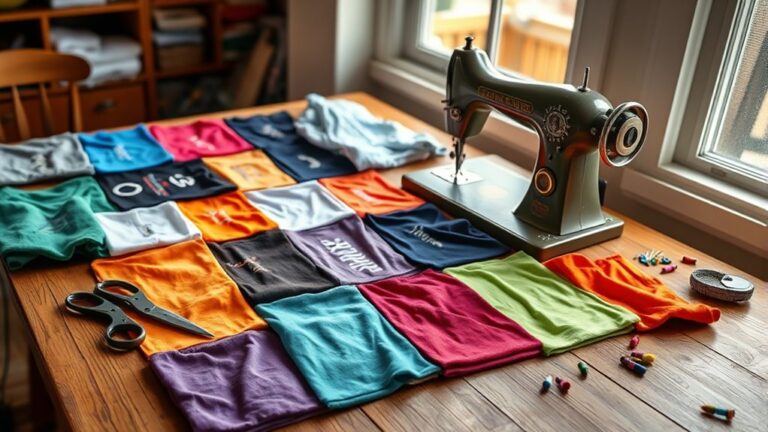
Tips for Organizing Fabric and Tools
Organizing your fabric and tools can transform your quilting experience, making it more efficient and enjoyable.
Start with effective fabric storage; consider using clear bins or shelves to keep your fabrics visible and accessible.
Implement color coordination to create a visually appealing setup. This sparks creative inspiration whenever you walk into your space.
For tool organization, use wall-mounted racks or caddies, so everything from scissors to rotary cutters is easy to find.
Optimize your space with vertical storage solutions to make the most of your area without cluttering it.
Think about project management and designate a specific area for ongoing projects to minimize distractions.
Accessibility strategies can also help. Keep frequently used quilting supplies within arm’s reach while storing less-used items higher up.
Maintain Your Quilting Design Wall Effectively
Maintaining your quilting design wall effectively is key to keeping your creative flow uninterrupted.
Proper design wall maintenance not only preserves your workspace but also improves your quilting experience.
Here are three essential tips to help you keep it in top shape:
1. Regular Cleaning: Dust and lint can accumulate on your design wall.
Use a lint roller or a damp cloth to gently clean the surface, ensuring your fabrics stick well.
2. Fabric Care: Always use clean, dry fabrics on your wall.
Avoid placing wet or heavily soiled pieces to prevent stains and damage.
3. Secure Fastening: Check that your wall’s surface is secure and tight.
Loose areas can lead to fabric slipping or falling, disrupting your design process.
Frequently Asked Questions
What Materials Are Best for a Design Wall Surface?
For a design wall surface, consider using flannel or batting fabric types, as they hold fabric pieces well without slipping.
You can also opt for a foam board or a large piece of plywood covered with fabric for a sturdy wall option.
These materials let you easily rearrange your quilt pieces while keeping them visible.
Make sure your surface is large enough to accommodate your projects, and you’ll be set!
How Do I Choose the Right Batting Thickness?
Choosing the right batting thickness can feel like maneuvering through a maze, but it’s simpler than it seems.
You’ll want to reflect on the batting types available; for instance, polyester offers loft and resilience, while cotton provides warmth and drape.
Thicker batting adds warmth but may make your quilt heavier. On the other hand, thinner batting gives a lighter finish.
Assess your project’s needs and desired aesthetic to determine the perfect balance that suits your quilting vision.
Can I Use a Design Wall Outdoors?
You can use a design wall outdoors, but it’s best to choose outdoor fabrics for durability. Look for materials that offer weather resistance to protect your projects from the elements.
If you’re working in varying weather conditions, consider setting up your design wall in a covered area. Or, try using a portable version that you can easily bring inside.
This way, you’ll keep your designs safe and intact while enjoying the fresh air.
What Should I Do if My Fabric Slips?
If your fabric slips, don’t worry. It’s like a dance partner who’s lost their rhythm.
First, check your fabric grip. Using fabric adhesive spray can help.
You might also consider adding Velcro or magnets to improve wall stability.
Experiment with different techniques until you find what works best for your space.
How Can I Easily Store My Design Wall When Not in Use?
You can easily store your design wall by using compact solutions like folding it up or rolling it into a tube.
If it’s a fabric wall, consider attaching it to a lightweight frame that you can disassemble.
For a more permanent setup, wall-mounted hooks or brackets can keep it out of the way.
Make sure to keep any accessories organized in a small bin for quick access when you’re ready to quilt again.
Conclusion
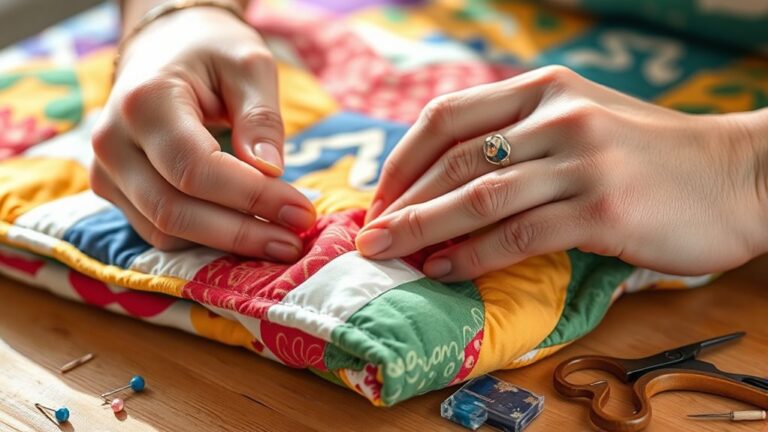
Building your quilting design wall isn’t just about creating a space; it’s like crafting a canvas for your creativity.
Each fabric piece you pin represents a stitch in your artistic journey, intertwining your dreams and ideas.
As you step back to admire your work, keep in mind that this wall symbolizes both the challenges you’ve faced and the beauty you’ll create.
With care and organization, it’ll become a sanctuary where your quilting visions take flight.
In the end, your quilting design wall will transform fabric into stories and offer you the perfect place to bring your quilting dreams to life.