Mastering Machine Binding for Quilters: A Step-by-Step Guide
If you’ve ever struggled to get your quilt binding to look as crisp and professional as you’d like, you’re not alone. Many quilters find that machine binding is tricky, with uneven stitches, bulky corners, or frayed edges causing frustration.
But don’t worry—mastering machine binding for quilts is absolutely possible, and with the right tools and techniques, you can achieve beautiful, polished results every time.
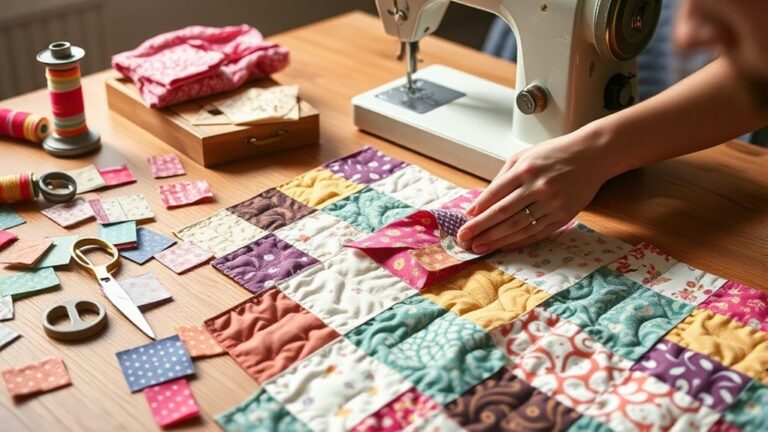
To master machine binding for your quilts, start by choosing durable cotton fabrics and quality threads. Prepare your quilt by trimming excess edges and pressing out wrinkles.
Cut 2.5-inch binding strips, folding them in half before pinning to the quilt edge. Use a walking foot for even stitching and pay attention to corners for a neat finish.
After pressing, inspect for any loose threads. There’s plenty more you can learn to refine your technique and achieve stunning results.
Key Takeaways
- Select durable cotton fabrics and high-quality threads for binding. This ensures a professional finish and helps you avoid warping.
- Cut binding strips 2.5 inches wide and fold them in half. Press them for neatness before you start attaching.
- Use a walking foot and adjust your stitch length. This gives you even stitching and keeps your fabric aligned while binding.
- Press your binding open before attaching it. Doing this helps reduce bulk and creates a smooth, flat finish.
- Regularly maintain your sewing machine. This helps you achieve precision and avoid any issues while binding your quilts.
Choosing the Right Materials for Machine Binding
In regards to choosing the right materials for machine binding, selecting the perfect fabric can make all the difference in your project.
Start with a binding fabric selection that complements your quilt’s design. Look for cotton or cotton-blend fabrics, as they provide durability and ease of handling.
It’s best to avoid lightweight or stretchy materials, since these can warp and affect your binding.
Next, consider binding thread types. Opt for high-quality polyester or cotton threads that match or contrast with your binding fabric.
Polyester threads are strong and resistant to wear, while cotton threads can offer a classic look. Whichever you choose, make sure it’s appropriate for your sewing machine and compatible with your fabric.
Preparing Your Quilt for Binding: Essential Steps
Before you immerse yourself in binding, it’s crucial to prepare your quilt properly.
This preparation sets the foundation for a clean, professional finish.
Here are some quilt preparation tips to follow:
1. Trim Excess Fabric: Cut away any extra backing and batting, guaranteeing your quilt edges are even.
2. Press Your Quilt: Give your quilt a good press to eliminate wrinkles.
This makes handling the fabric easier.
3. Choose Your Binding Fabric: Consider your binding fabric selection carefully.
Opt for a fabric that complements your quilt and is durable enough for use.
4. Attach a Label: If you plan to label your quilt, now’s the time!
Secure it before binding to make sure it’s included in the final product.
Step-by-Step Instructions for Attaching Binding
Attaching binding might seem challenging, but with a clear plan, you can achieve a polished finish. Start by selecting your fabric wisely; it should complement your quilt and be durable.
Cut your binding strips, usually 2.5 inches wide, and join them at 45-degree angles if you need longer lengths.
Next, fold and press your binding in half lengthwise, wrong sides together. With the raw edges aligned, pin the binding to the quilt’s edge, leaving a tail of about 12 inches.
Use your preferred binding techniques. For a simple finish, sew with a quarter-inch seam.
When you reach a corner, stop a quarter-inch from the edge, pivot, and continue along the next side. Once you’ve sewn all around, trim excess fabric, and fold the binding over the quilt edge.
Finally, secure it in place, ready for the final touches!
Tips for Achieving Even Stitching in Binding
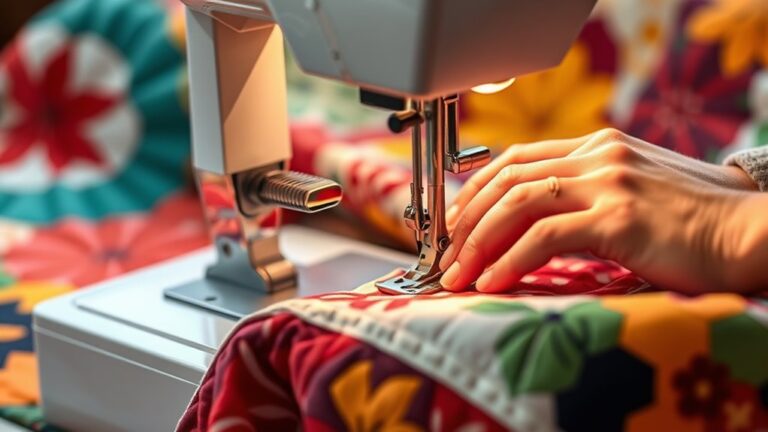
Achieving even stitching in binding is vital for a professional finish, so you’ll want to pay close attention to your technique.
High stitch quality not only improves the look of your quilt but also guarantees durability.
Here are some tips to help you master your binding techniques:
1. Use a Walking Foot:
This helps feed multiple layers evenly, preventing puckering.
2. Adjust Stitch Length:
A shorter stitch can refine the appearance of your binding, making it look neater.
3. Practice Consistency:
Keep your fabric aligned and guide it gently under the presser foot to maintain even spacing.
4. Choose the Right Thread:
Opt for high-quality thread that matches your fabric to improve the overall aesthetic.
Mastering Corners and Miters in Binding
When it comes to corners and miters, having your quilt edges prepped really makes a difference for that polished look. You’ll pick up some easy techniques for creating mitered corners, and these tips will help you get a crisp, neat finish—even if you’re sewing everything by machine. And, of course, those little finishing touches are what truly make your binding pop and give your quilt that extra bit of charm.
Preparing Your Quilt Edges
Mastering the art of preparing your quilt edges is essential for creating polished corners and miters in your binding.
Proper edge preparation techniques not only improve the overall appearance but also make the binding process smoother.
Here’s what you need to do:
- Trim Your Edges: Use quilt edge tools like rotary cutters for straight, clean cuts.
- Press the Seams: Iron the seams flat to eliminate bulk and guarantee a crisp finish.
- Square Your Corners: Measure and trim corners to create perfect right angles for mitering.
- Pin Securely: Use pins to hold the edges in place while you sew, preventing shifting.
Techniques for Mitered Corners
Mitered corners can improve your quilt’s binding, giving it a polished, professional look.
Using mitered techniques guarantees your corners have that perfect finish.
Here’s a quick reference table to help you master corner precision:
| Step | Action |
|---|---|
| Measure | Measure 2.5 inches from the corner. |
| Fold | Fold the binding at a 45-degree angle. |
| Pin | Pin the binding in place securely. |
| Sew | Sew along the edge, confirming accuracy. |
Finishing Touches for Binding
Perfecting your quilt’s binding doesn’t stop at achieving mitered corners. It’s also about those finishing touches that bring everything together.
These details improve your binding aesthetics and add a personal touch. Here are four creative finishes to contemplate:
- Piping: Add a contrasting piping along the edge for a pop of color.
- Embellishments: Sew on buttons or fabric flowers to give your quilt a unique flair.
- Topstitching: A decorative topstitch can improve the binding while securing it in place.
- Bias Tape: Use bias tape along the edges for a more polished look.
These finishing touches not only uplift your quilt but also reflect your style. That’s what makes it truly special.
Enjoy the process!
Troubleshooting Common Binding Issues
Binding can definitely be tricky at times. You might run into problems like uneven edges, bunching fabric, or stitching that just doesn’t look consistent. When that happens, it’s easy to get frustrated, but don’t worry—you’re not alone, and there are ways to fix these issues.
Let’s take a closer look at some of the most common binding problems and talk about how you can troubleshoot them, step by step.
Uneven Binding Edges
Uneven binding edges can be a common frustration for quilters,
but addressing them doesn’t have to be intimidating.
To achieve better binding edge alignment, consider these tips:
1. Measure Twice: Always measure your quilt before cutting the binding.
This guarantees accurate lengths.
2. Use a Rotary Cutter: This guarantees clean, straight cuts,
which enhances your binding trimming techniques.
3. Pin Strategically: Pinning your binding in place helps maintain even edges
while sewing.
4. Sew with Care: Keep an eye on your seam allowance.
A consistent width is vital for an even finish.
Fabric Bunching Problems
While working on your quilt, you might encounter fabric bunching, which can disrupt the smooth finish you’re aiming for.
This issue often arises from inconsistent fabric tension or quilt movement during the binding process.
To troubleshoot, check your machine settings and verify you’re guiding the fabric gently.
Here’s a quick reference table to help you identify and resolve common fabric bunching problems:
| Problem | Cause | Solution |
|---|---|---|
| Bunching at Edges | Uneven fabric tension | Adjust presser foot pressure |
| Bunching in Middle | Excessive quilt movement | Use a walking foot |
| Loose Binding | Incorrect stitch length | Shorten stitch length |
| Fabric Twisting | Poor alignment of layers | Re-align before sewing |
Inconsistent Stitching Tension
When you’re working on your quilt, inconsistent stitching tension can be frustrating. It may lead to a less polished finish, but don’t worry—there are ways to address this.
To tackle this issue, consider the following steps:
- Check your machine settings: Make sure your tension discs are clean. Also, confirm your machine settings match the fabric weight you’re using.
- Experiment with thread types: Different threads behave in their own ways. Try various options to discover what works best for your project.
- Choose the right needle: Your needle choice can affect tension quite a bit. Be sure you’re using the appropriate size for your fabric.
- Practice your quilting techniques: Take time for practice projects. This helps you refine your skills and see how tension adjustments affect your stitching.
With these tips, you’ll be on your way to improving stitching tension and creating a more polished quilt finish!
Tips for Pressing and Finishing Binding
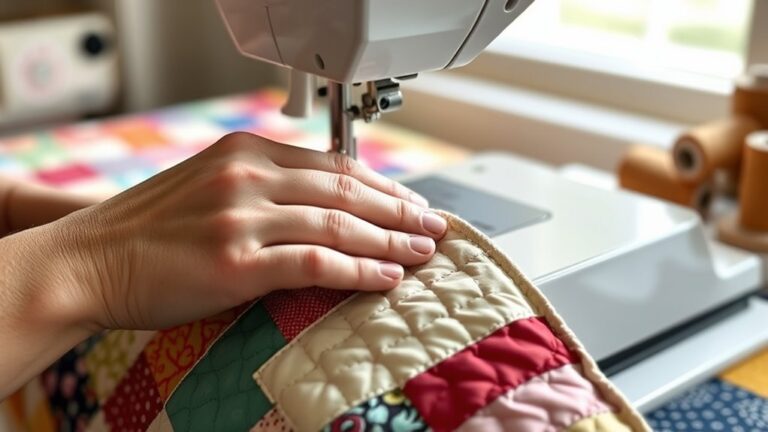
As you prepare to finish your quilt, pressing the binding properly can make all the difference in achieving a polished look.
Start by using effective pressing techniques, like pressing the binding open before attaching it. This step helps eliminate bulk and guarantees a cleaner finish.
Utilize quality binding tools, such as a binding clip or a roller, to hold the binding in place while you work.
When you press the binding, use a dry iron to avoid any unwanted steam that could stretch the fabric. Make certain to apply even pressure along the edges, ensuring everything lies flat.
After attaching the binding, give it one final press to set the stitches and smooth any wrinkles.
A crisp finish improves your quilt’s overall appearance, making all your hard work shine. With these tips, you’ll achieve a beautifully finished binding every time!
Different Machine Binding Styles and Techniques
After you’ve achieved that crisp finish with your binding, it’s time to check out the different machine binding styles and techniques quilters love to use.
Exploring these options can really improve your projects and help you add a personal touch that stands out.
Exploring various binding techniques enhances your projects and adds a unique personal touch that truly stands out.
Here are four popular styles you might want to try:
- Straight Stitch Binding: This classic technique is perfect for beginners and allows for quick edge finishing.
- Zigzag Stitch Binding: With this method, you secure the binding and add decorative stitches at the same time. It’s a fun twist on the basics.
- Double Fold Binding: If you like color coordination and need something sturdy, this style works well—especially for heavier fabrics.
- Bias Binding: Using bias strips lets you tackle curves and intricate shapes, and it’s a great excuse to experiment with different fabrics.
When choosing a binding technique, consider your sewing speed and thread selection to help guarantee a smooth, polished finish!
Keeping Your Machine in Top Shape for Binding
To guarantee your binding projects turn out beautifully, keeping your sewing machine in top shape is essential.
Start with regular machine maintenance; clean your machine after each project using effective cleaning techniques.
Pay attention to thread selection and choose the right needle types for your fabric compatibility.
Make sure your presser foot is appropriate for binding to maintain quilting comfort.
Adjust your tension settings as needed, especially when switching between different fabrics.
Experiment with various stitch options to find the one that best suits your binding style.
Furthermore, monitor your sewing speed. Too fast can lead to mistakes, while too slow may affect your precision.
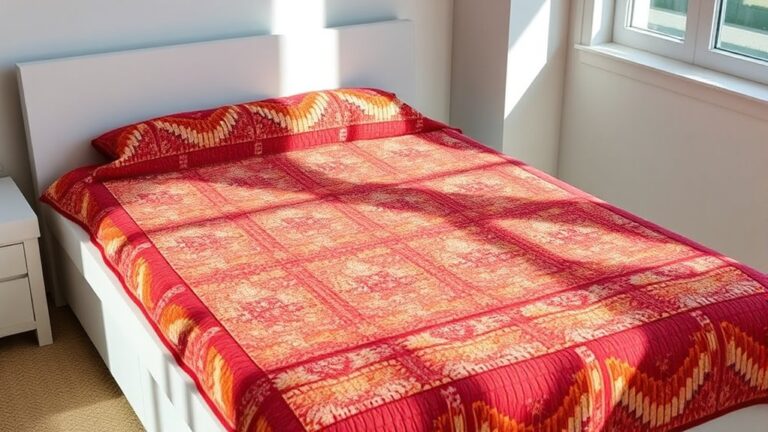
Final Touches for a Professional Quilt Finish
With your machine running smoothly, it’s time to focus on the final touches that improve your quilt from good to stunning. These finishing details can uplift your work and showcase your skills.
As your machine hums along, elevate your quilt with these essential finishing touches to truly showcase your creativity.
Here’s how to achieve a professional quilt finish:
- Choose Binding Color Wisely: Select a binding color that complements your quilt. This can either blend in or create a striking contrast.
- Press Your Binding: Iron your binding strips before attaching them. A crisp edge makes for cleaner stitching.
- Secure All Corners: Confirm your corners are neatly mitered and securely stitched. This adds a polished look.
- Inspect for Loose Threads: Before the final reveal, check for any loose threads that could detract from your quilt’s beauty.
Frequently Asked Questions
Can I Use Any Sewing Machine for Machine Binding?
Yes, you can use any sewing machine for machine binding, as long as it has the right features.
For successful binding techniques, make certain your machine settings are adjusted for straight stitching and a consistent stitch length.
A walking foot can help prevent layers from shifting, but it’s not mandatory.
Experiment with different feet and settings to find what works best for you, and you’ll achieve beautiful, secure bindings on your quilts.
How Do I Choose the Right Thread for Binding?
In terms of choosing the right thread for binding, you want to hit the nail on the head.
Opt for a thread weight that matches your fabric, like a 40 or 50 weight, which is usually ideal.
When it comes to color matching, pick a shade that complements your quilt’s design. You can go for a tone-on-tone effect, or try a contrasting color if you want a bold look.
This way, your binding will shine without stealing the show!
What Are the Best Needles for Machine Binding?
For machine binding, you’ll want to use a universal or quilting needle, typically between size 75/11 and 90/14.
Universal needles work well for most fabrics, while quilting needles have a tapered point that easily penetrates multiple layers.
If you’re using thicker materials, go for the larger size.
Always match your needle type to your thread and fabric to guarantee a smooth binding process.
Happy quilting!
How Can I Avoid Fraying in My Binding?
To avoid fraying in your binding, choose high-quality fabric. About 30% of quilters report issues with fraying due to poor fabric selection.
Using bias binding techniques can also help, since they provide a stretch that reduces fraying edges.
Make sure to cut your binding strips carefully. You can use a zigzag stitch or serger on raw edges, too.
Is It Necessary to Pre-Wash Binding Fabric?
Yes, it’s a good idea to pre-wash binding fabric. Pre-washing helps remove any sizing or chemicals, making your fabric softer and more pliable.
It also prevents issues with fabric shrinking after you’ve sewn your binding on, which can lead to puckering or distortions.
Conclusion
As you wrap up your machine binding journey, keep in mind that precision and practice are your best allies.
With each quilt you finish, you’re not just stitching fabric but crafting a legacy of creativity.
So, welcome the process, and let your unique style shine through. After all, isn’t the joy of quilting found not just in the final piece, but in each thoughtful step you take?
Now, go forth and bind with confidence, knowing that mastering machine binding for quilters will make every project even more rewarding!