Mastering Quilt Binding – A Step-by-Step Guide to Sew
If you’ve ever reached the end of making a quilt and felt overwhelmed by the thought of binding it, you’re not alone. Many quilters struggle to achieve smooth, professional-looking edges, and it’s easy to feel frustrated when your hard work doesn’t get the polished finish you imagined.
Mastering quilt binding involves choosing the right fabrics, like durable cotton, and understanding different binding types.
You’ll want to prepare your quilt edges, cut binding strips accurately, and attach them using your sewing machine.
Pay special attention to corners for a neat finish. If you run into mistakes, don’t worry; troubleshooting tips can help you fix common issues.
Add a decorative touch to personalize your quilt.
Keep going to investigate more techniques that enhance your quilting skills!
Key Takeaways
– Choose durable fabrics like cotton and coordinate colors
to enhance your quilt’s appearance.
– Cut binding strips 2.5 inches wide along the fabric grain
for optimal results.
– Attach binding by aligning it with the quilt edge and sewing
with a ¼-inch seam allowance.
– Master corners using 45-degree angle folds for a neat,
mitered finish.
– Care for quilts by washing with mild detergent and storing
them properly to prevent damage.
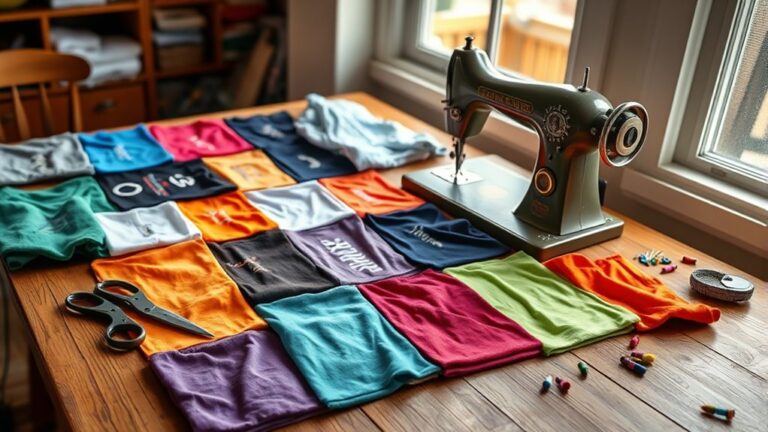
Choosing the Right Fabrics for Quilt Binding
Choosing the right fabrics for quilt binding can make all the difference in your finished project. When you’re selecting binding fabric types, keep in mind durability and ease of sewing.
Cotton is a popular choice, as it holds up well and presses easily. You might also investigate blends for added flexibility, but make sure they work with your quilt’s overall feel.
Color coordination plays an essential role, too. Think about how the binding will frame your quilt.
A contrasting color can make your quilt pop, while a matching shade can create a seamless look. Don’t forget to take into account the patterns as well.
A solid binding can ground a busy quilt, while a patterned fabric can add interest. Trust your instincts and choose colors and textures that resonate with you, as your quilt should reflect your personal style.
The right choices here will enhance your project and bring your vision to life.
What Are the Different Types of Quilt Binding?
Regarding quilt binding, you’ve got several options to consider, each with its own unique benefits.
Here are four popular types you might think about:
- Bias Binding: Cut on the bias, this binding stretches easily around curves, making it perfect for intricate designs.
- Straight Binding: Simple and classic, straight binding is cut along the grain and works well for straight edges, offering a neat finish.
- Double Fold Binding: This method provides extra durability by folding the binding in half and enclosing the raw edges, ensuring a polished look.
- Piping Binding: If you want to add a decorative touch, piping binding incorporates a cord for a raised effect, enhancing your quilt’s visual appeal.
You can also investigate techniques like quilt as you go, self-binding quilts, and continuous binding for added convenience.
Don’t forget to play with decorative stitches to personalize your finished binding!
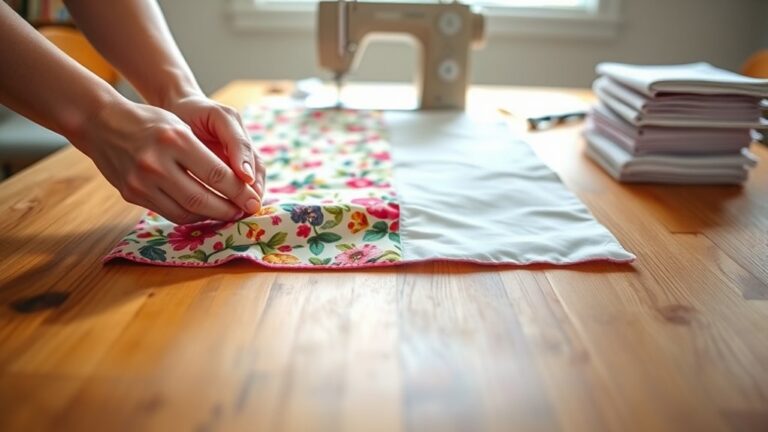
Preparing Quilt Edges for Binding
Before you attach your binding, it’s a good idea to trim your quilt edges for a nice, clean finish. This simple step really makes a difference! And speaking of making a difference, picking the right binding fabric matters just as much. The fabric you choose can complement your quilt and really pull everything together. So, let’s talk about how to get those edges ready and how to pick out the perfect fabric to give your quilt a polished, professional look.
Trimming Quilt Edges
Trimming quilt edges is a crucial step in preparing your quilt for binding.
Proper edge finishing guarantees that your quilt looks polished and well-crafted.
Here are some effective trimming techniques to take into account:
1. Use a Rotary Cutter:
It provides clean, straight edges for a professional finish.
2. Align Your Ruler:
Make sure it’s straight and even, guiding your cutter for accuracy.
3. Trim to Desired Width:
Leave enough fabric for the binding while guaranteeing the quilt’s edge is neat.
4. Inspect for Frays:
Remove any loose threads or uneven edges for a flawless look.
Choosing Binding Fabric
Regarding choosing binding fabric, you’ll want to contemplate both aesthetics and durability. Your binding color choices can improve your quilt’s overall look, so think about contrasting or complementary colors.
Moreover, fabric texture considerations are essential. Smooth fabrics slide easily, while textured ones can add interest but may be more challenging to sew.
Here’s a quick table to help you decide:
| Color Choice | Texture Type | Recommended Use |
|---|---|---|
| Bold Contrast | Smooth Cotton | Modern quilts |
| Subtle Hue | Textured Linen | Rustic or vintage styles |
| Monochrome | Quilting Cotton | Classic designs |
| Patterned | Soft Flannel | Cozy, casual quilts |
| Bright Accent | Denim | Fun, playful projects |
Choose wisely, and your binding will shine!
Cutting Quilt Binding Strips: A Step-By-Step Guide
Cutting quilt binding strips is an essential step in finishing your quilt, and getting it right sets the foundation for a polished look.
Cutting quilt binding strips is crucial for achieving a polished finish, setting the stage for your quilt’s overall appearance.
Start by determining your binding strip measurements. Typically, 2.5 inches wide works well for most quilts.
Next, verify you’re cutting along the fabric grain. This helps maintain the strip’s integrity and prevents stretching.
Follow these steps for precision:
- Select Your Fabric: Choose a fabric that complements your quilt.
- Press the Fabric: Smooth out any wrinkles for accurate cutting.
- Use a Rotary Cutter: Align your ruler and cut straight strips for clean edges.
- Cut Enough Strips: Measure the perimeter of your quilt and multiply by your strip width to verify you have enough fabric.
Taking the time to cut accurately will pay off. It gives your quilt a professional finish.
Attaching Binding Using a Sewing Machine: Step-By-Step
Once your quilt binding strips are cut and ready, it’s time to attach them using your sewing machine for a clean and professional finish.
Start by aligning the binding strip with the quilt’s edge, right sides together. Use binding tools, like clips or pins, to hold everything in place.
Begin sewing with a ¼-inch seam allowance, guaranteeing you maintain consistent pressure for even stitches.
As you navigate the corners, stop a quarter-inch from the edge, pivot, and continue along the next side.
Once you reach the starting point, backstitch to secure the binding. Trim any excess fabric and press the binding away from the quilt to create a crisp edge.
This approach uses efficient sewing techniques to guarantee your binding attaches smoothly, giving your quilt that polished look.
Enjoy the satisfaction of seeing your project come together!
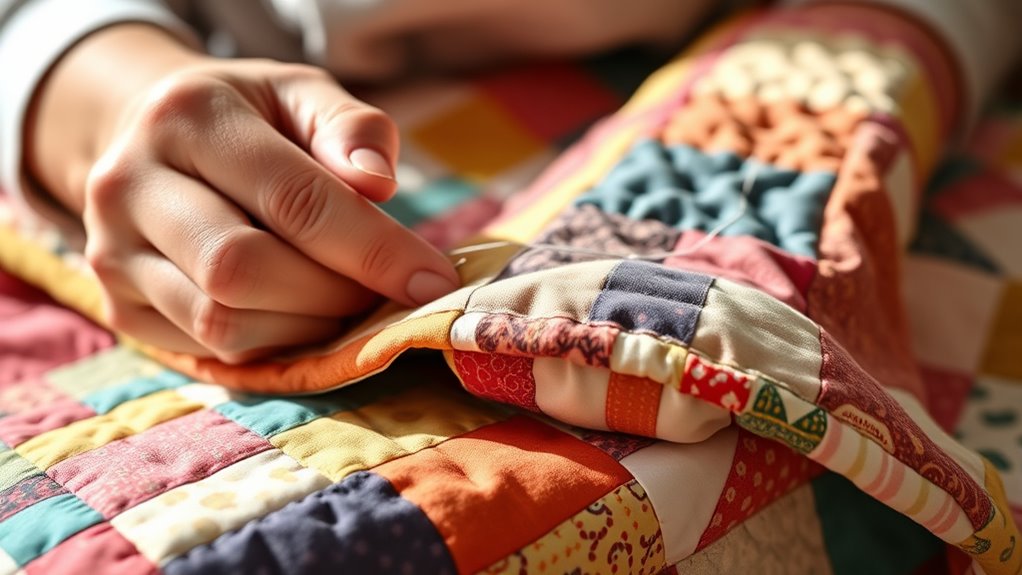
Hand-Sewing Techniques for a Neat Finish
When it comes to hand-sewing your quilt binding, picking the right needle and thread really makes a difference in how polished your project will look. You don’t want to overlook this step—it’s the foundation for a nice, smooth finish.
And while you’re at it, it’s a good idea to get comfortable with a few different stitching techniques. Knowing which stitch to use (and when) can help you keep your binding secure and your stitches looking tidy.
Let’s take a closer look at these basics so you can really step up your quilt binding skills.
Needle and Thread Selection
Selecting the right needle and thread is essential for achieving a polished quilt binding.
The combination you choose can greatly affect the thread durability and overall finish.
Here’s what to take into account:
- Needle Size: Opt for a size 9 or 10 needle for a fine finish, suitable for most quilting fabrics.
- Thread Type: Use a cotton or polyester blend for durability and strength, which helps prevent breakage during sewing.
- Color Matching: Select a thread color that closely matches your fabric for a seamless look.
- Thread Weight: Choose a medium-weight thread (like 40wt) that balances strength and flexibility.
With the right needle and thread, you’ll guarantee your quilt binding looks neat and professional.
Stitching Techniques Overview
With the right needle and thread in hand, you’re ready to investigate effective stitching techniques that guarantee a neat quilt binding.
First, consider the binding methods comparison. Hand-stitching offers precision, while machine-stitching saves time. If you choose hand-sewing, the whip stitch or slip stitch can provide clean results.
Next, keep fabric weight considerations in mind. Heavier fabrics might require a stronger thread and a more secure stitch, while lighter fabrics allow for finer, delicate techniques.
Regardless of your choice, always make certain your stitches are evenly spaced for a professional look.
Practice these techniques on scrap pieces to build confidence before tackling your quilt. That way, you’ll make certain your binding looks polished and well-finished.
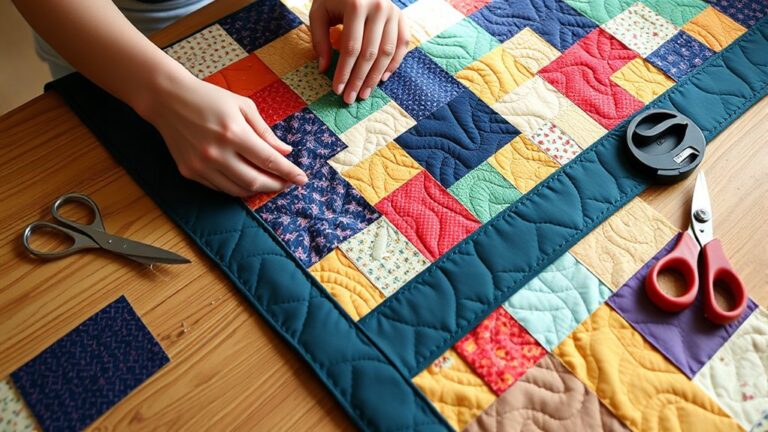
Mastering Quilt Corners: Techniques for Seamless Binding
Mastering quilt corners can make all the difference in achieving a polished finish for your binding.
To guarantee your corners look flawless, follow these essential techniques:
1. Corner Folding: Begin by folding the binding at a 45-degree angle to create mitered seams.
2. Corner Alignment: Carefully align the edges of your quilt and binding to maintain a neat appearance.
3. Binding Clips: Use binding clips to hold everything in place while you sew.
This helps make sure your fabric doesn’t shift.
4. Shaping Corners: As you approach each corner, gently shape it.
This allows for smooth shifts without puckering.
With these steps, you’ll master the art of shaping corners and add those finishing touches that really enhance your quilt.
Troubleshooting Common Binding Mistakes
When it comes to binding, you’ll probably run into a few common issues, like uneven edges or fabric bunching. These hiccups can definitely be annoying, but the good news is they’re usually pretty easy to sort out with just a few tweaks. So, let’s walk through some simple ways to tackle these challenges and get your binding looking just the way you want it.
Uneven Edges Issues
Even the most experienced quilters can face uneven edges when binding their quilts, which can be frustrating.
To tackle this issue, focus on these key strategies:
1. Use Quality Binding Tools:
Invest in rotary cutters and rulers to guarantee precise cuts, helping maintain straight edges.
2. Pin Carefully:
Pinning your binding securely can prevent shifting and keep your edges aligned during sewing.
3. Check Your Seam Allowance:
Consistency is essential. Make sure you’re using the same seam allowance throughout the binding process.
4. Edge Stabilization Techniques:
Consider using a lightweight interfacing to stabilize edges, especially on quilts with intricate designs.
With these tips, you’ll find it much easier to keep your quilt edges looking even and professional.
Fabric Bunching Problems
Uneven edges can lead to another common issue: fabric bunching.
This problem often arises when your fabric tension isn’t consistent during quilt layering.
To prevent this, make sure you’re applying even pressure as you sew.
Here’s a quick troubleshooting guide:
| Issue | Solution |
|---|---|
| Bunching near edges | Adjust fabric tension |
| Bunching in the center | Reassess quilt layering |
| Uneven binding | Check stitching consistency |
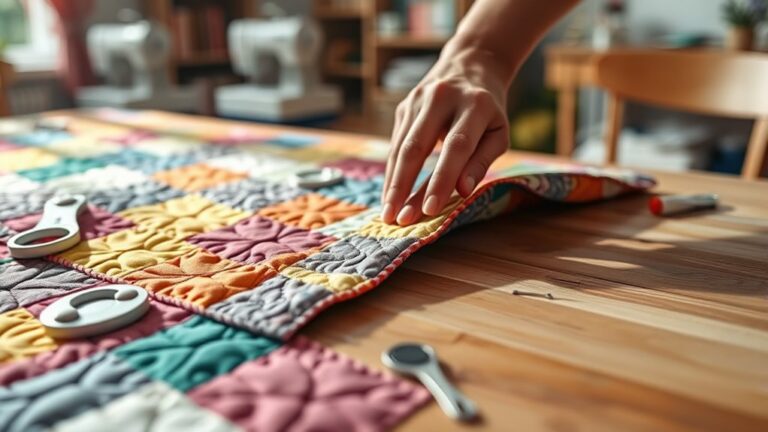
Adding Personal Touches: Decorative Binding Techniques
While traditional quilt binding serves a practical purpose, adding decorative techniques can transform your quilt into a unique masterpiece.
You can uplift your project with various binding styles and embellishment ideas that reflect your personality and creativity. Here are some ways to add those personal touches:
- Piping: Insert a contrasting strip of fabric between the binding and the quilt for a pop of color.
- Embroidered Edges: Hand-embroider a design along the binding for a delicate, custom look.
- Bias Tape: Use patterned bias tape to create an eye-catching finish that complements your quilt.
- Ruffles: Add a ruffled edge to your binding for a playful, fanciful flair.
These techniques not only improve the aesthetic appeal of your quilt but also make it a cherished keepsake.
Experiment with different combinations to find what resonates with your style!
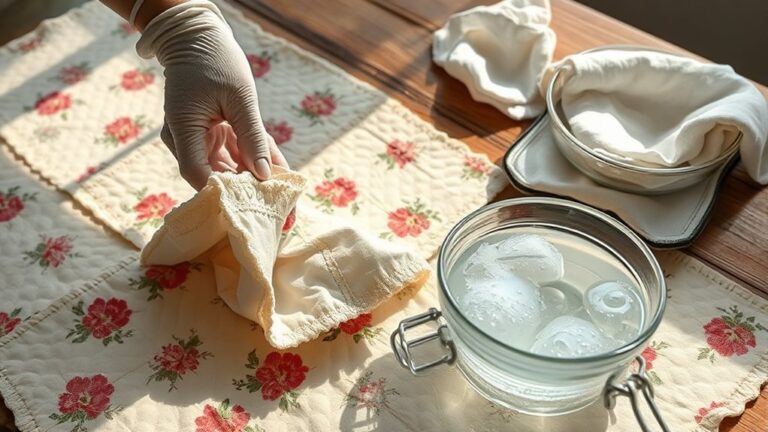
Caring for Your Finished Quilt: Maintenance Tips
To keep your quilt looking beautiful for years to come, it’s essential to establish a proper care routine.
Regular quilt washing can prevent dirt and stains from setting in.
Use mild detergent and cold water to maintain softness and avoid color fading.
When storing your quilt, choose methods that protect it from mildew and pests.
Follow these folding guidelines to keep its shape:
| Storage Method | Tip |
|---|---|
| Folded | Use acid-free tissue paper |
| Rolled | Roll loosely to avoid creases |
| Hanging | Use padded hangers |
| In a Bag | Store in a breathable bag |
For stain removal, act quickly, using gentle techniques.
If you notice any damage, apply basic repair techniques to keep it intact.
Frequently Asked Questions
How Much Binding Fabric Do I Need for My Quilt?
To determine how much binding fabric you need for your quilt, start with binding fabric calculations. Generally, you’ll need about 1/2 yard for every 10-12 linear feet of quilt perimeter.
Consider fabric width too; if you’re using 2.5-inch strips, this affects your total yardage. For instance, if your quilt measures 60×80 inches, you’ll need about 3/4 yard.
Always double-check your measurements to verify you’ve got enough fabric for a neat finish!
Can I Use Pre-Made Binding Instead of Making My Own?
Absolutely, you can use pre-made binding instead of making your own! In fact, nearly 60% of quilters prefer these pre-made options for their convenience.
Pre-made binding advantages include saving you time and ensuring consistency in width and color. This lets you focus more on your quilt’s design rather than the tedious binding process.
Just make sure to choose a quality binding that complements your quilt for the best results!
What Tools Are Essential for Quilt Binding?
For quilt binding, you’ll want a few essential tools. Start with a rotary cutter, mat, and ruler for precise cutting.
A good iron and ironing board help you press your binding neatly. Don’t forget quality pins or clips to hold fabric in place while you sew.
Depending on your binding techniques and fabric choices, a walking foot can also make stitching smoother.
These tools will help you achieve a polished finish for your quilt!
How Do I Store Leftover Binding Strips?
You can store leftover binding strips like precious ribbons in a treasure chest. Use binding storage solutions such as clear plastic bags or small bins to keep them organized and visible.
Fold the strips neatly and label each bag for easy access.
You might even find creative uses for those strips, like making fabric bookmarks or patchwork projects.
Keeping them tidy guarantees you’ll always have the perfect pieces on hand for your next project!
Is Quilt Binding Necessary for All Quilts?
Yes, quilt binding is necessary for most quilts. It finishes the edges, preventing fraying and giving your quilt a polished look.
While some may choose to forgo it for aesthetic choices, like raw edges, binding techniques improve durability and overall appearance.
You’ll find that binding not only protects your quilt but also adds a decorative touch. So, for a well-finished quilt, don’t skip the binding!
Conclusion
You’ve now navigated the nuances of quilt binding, from fabric choices to finishing touches.
With practice, patience, and a pinch of passion, you’re ready to create beautiful, bound quilts that showcase your style.
So, stitch steadily and savor each step. Soon you’ll see your skills soar.
Remember, whether you’re binding boldly or delicately, the joy of quilting lies in the journey.
Happy sewing, and may your quilts always bring warmth and wonder! Mastering quilt binding is truly a rewarding experience, adding that perfect finishing touch to every project.