Step-by-Step Guide to Add Quilt Borders
If you’ve ever felt overwhelmed trying to add quilt borders that actually enhance your finished project, you’re not alone. Many quilters—beginners and seasoned sewists alike—struggle with choosing the right fabrics, getting measurements just right, or achieving crisp, professional-looking edges.
But don’t worry, these challenges are common, and with a few helpful tips, you’ll be able to transform your quilt’s look with confidence.
To add quilt borders, start by choosing complementary fabric. Think prints, solids, and colors that elevate your design.
Measure your quilt top carefully, then cut fabric strips, usually about 2.5 inches wide.
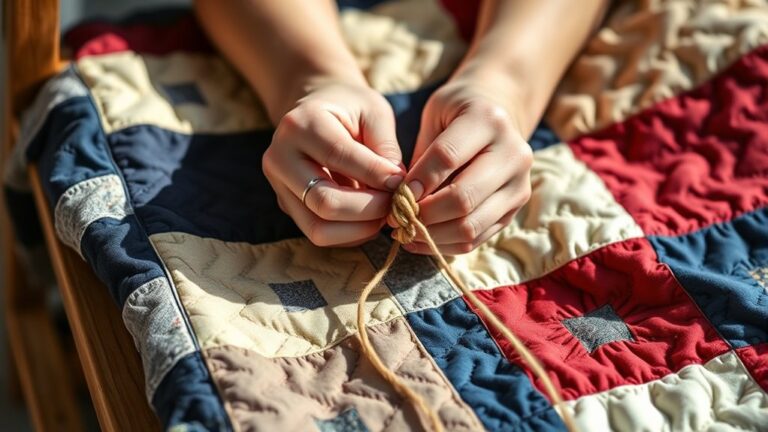
Attach borders by sewing along the edges, ensuring you align everything snugly.
Don’t forget to press seams for a smooth finish, and consider techniques like mitered corners for a polished look.
There are common issues you might face, but solutions exist if you investigate further!
Key Takeaways
- Choose fabrics that complement your quilt’s design. Think about color, pattern, and scale so your borders blend in nicely.
- Measure the quilt accurately and remember to add seam allowances. Cut your fabric strips to consistent sizes for precise borders.
- Attach borders by aligning and pinning them to the quilt top. Start with the side borders, as this helps minimize puckering.
- Press the borders flat and direct the seams toward the border fabric. This gives you a smooth finish and helps prevent distortion.
- You might also want to try techniques like cornerstones or mitered corners for a bit more visual interest and stability in your border design.
How to Choose Fabric for Quilt Borders
When choosing fabric for quilt borders, what factors should you consider? First, think about the border fabric types available. You can opt for prints, solids, or even textured fabrics.
Each type can dramatically affect the overall look of your quilt. Next, focus on color. Choose fabrics that complement or contrast with your main quilt design. This can improve visual interest.
Pattern selection tips are vital, too. If your quilt features busy patterns, consider a solid or subtle print for the border to avoid overwhelming the design.
Conversely, if your quilt is simple, a bold pattern in the border can add excitement. Always keep the scale of your fabrics in mind; larger prints might look disproportionate on narrow borders.
Ultimately, trust your instincts. Choose what resonates with you while keeping harmony in mind. This approach will guarantee your quilt borders enhance your project beautifully.
How to Measure Your Quilt for Perfect Borders?
To get perfect borders on your quilt, start by measuring your quilt top right through the center, both lengthwise and widthwise. This helps you get the most accurate dimensions because the edges can sometimes stretch out of shape. Once you have those measurements, you’ll want to make sure you add your seam allowances so your borders fit just right.
Another thing to keep in mind is the fabric grain. Lining up your borders with the grain of the fabric will help prevent any unwanted stretching or twisting as you sew everything together. Taking these extra steps might seem small, but they really make a big difference in how neat and polished your finished quilt will look!
Measuring Quilt Dimensions Accurately
Accurate measurements are essential for achieving perfect quilt borders. Start by determining your quilt size.
Lay your quilt flat on a large surface and smooth out any wrinkles. Measure the width and length at several points to guarantee consistency.
Use the largest measurement for both dimensions. This will give you the final quilt size.
Next, decide on your desired border width. Keep in mind that wider borders can improve your quilt’s visual appeal, but they’ll also require more fabric.
Once you’ve got these measurements, jot them down. This will help you calculate how much fabric you’ll need for your borders.
Adding Seam Allowance Considerations
While measuring your quilt for perfect borders, don’t forget to factor in seam allowances, as they can greatly affect the final dimensions. There are various seam allowance types you might use, typically ranging from ¼ inch to ½ inch.
To guarantee your borders fit well, measure the quilt top without the seam allowance first, then add the appropriate amount based on your chosen seam type.
Remember these seam allowance tips: always double-check your measurements and cut your border strips slightly longer than needed. You can trim them down later for a precise fit.
This approach helps prevent any last-minute surprises when you’re sewing those borders on. Happy quilting!
Checking for Fabric Grain
Understanding fabric grain is essential for achieving perfect borders on your quilt. Start by determining the fabric direction; the straight grain runs parallel to the selvage and provides stability.
When checking bias, keep in mind that cutting on the bias offers more stretch, which can lead to wavy borders if not handled properly.
To measure accurately, lay your quilt flat and verify it’s square. Use a ruler to measure from the center out to the edges, keeping an eye on the grain lines.
If your borders don’t align with the fabric grain, they may distort over time. By paying attention to these details, you’ll create a beautifully finished quilt that stands the test of time.
Tips for Cutting Fabric Strips Precisely
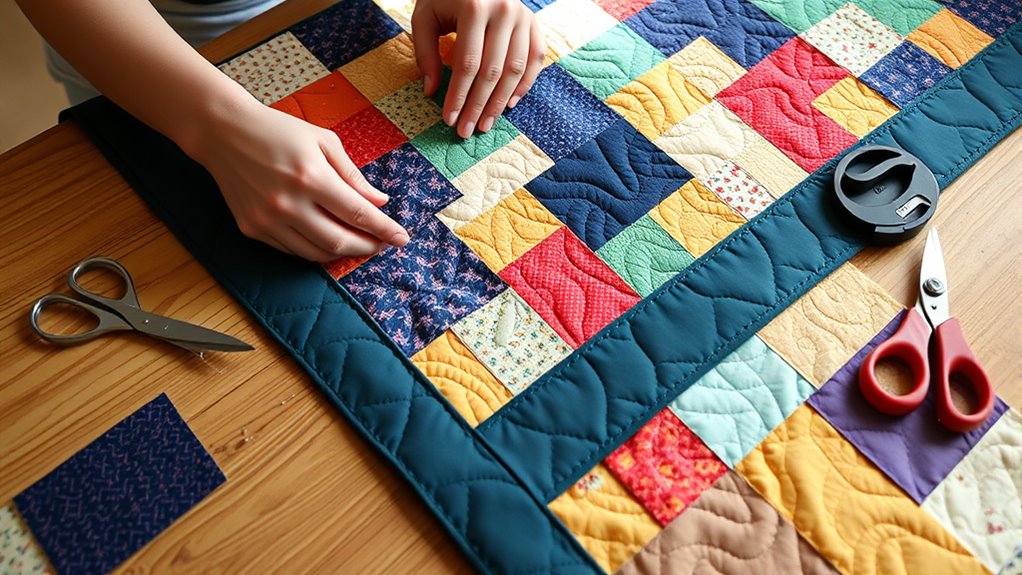
When you’re cutting fabric strips for your quilt borders, precision is key to achieving a polished look. Start by gathering the right cutting tools, such as a rotary cutter, cutting mat, and a clear ruler. These will help you measure and cut accurately.
Next, decide on your strip sizes. Commonly, 2.5 inches works well for borders. Lay your fabric flat on the cutting mat, making sure it’s smooth and free of wrinkles.
Align the fabric’s grain to maintain straight cuts. Use your ruler to measure the desired width, then press down firmly as you cut to avoid slipping.
If you’re cutting multiple strips, stack a few layers of fabric together, but don’t exceed three to guarantee accuracy. Remember, take your time; rushing can lead to uneven edges.
Attaching Borders to Your Quilt Top
Attaching borders to your quilt top can transform its appearance and add that finishing touch.
Start by determining the border styles and widths that best complement your quilt design.
Consider the border styles and widths that enhance your quilt design for a perfect finishing touch.
A wider border can create a dramatic effect, while a narrower one offers a subtle frame.
Lay your quilt top on a flat surface and measure its dimensions carefully.
Cut your border strips according to your chosen widths, ensuring accuracy for a seamless fit.
Begin with the side borders. Align them with the edges of your quilt top and pin in place.
Sew along the edges, removing pins as you go.
After attaching the side borders, repeat the process for the top and bottom borders.
Remember to check for any puckering and adjust as necessary.
Once you’ve finished sewing all the borders, your quilt top will be ready for the next exciting steps in the quilting process!
How to Press Borders for a Seamless Finish
To achieve a seamless finish on your quilt borders, it’s essential to press them correctly after sewing. Start by laying your quilt flat on a clean surface.
Use appropriate border pressing techniques to guarantee the seams lay flat and don’t create bulk. Begin by pressing the seams toward the border fabric. This helps distribute the fabric evenly and minimizes puckering.
Next, follow the pressing order: press the top and bottom borders first, then the side borders. This sequence prevents distortion and keeps your quilt top square.
When pressing, avoid using too much steam, as it can stretch the fabric. Instead, gently press with the iron, lifting it rather than sliding it.
After pressing, check that everything looks even and smooth. Taking the time to press properly will improve your quilt’s overall appearance, making it ready for the next steps in your quilting journey.
Adding Cornerstones: When and How to Use Them?
Adding cornerstones is a great way to bring extra interest and a polished touch to your quilt. When you’re thinking about using them, start by looking at your fabric choices—try picking ones that work well with your quilt’s overall theme. It’s also worth considering where you want those cornerstones to go so they really stand out.
Purpose of Cornerstones
Cornerstones serve as both functional and aesthetic elements in quilt borders. They enhance the overall design while providing structural support.
They help achieve design balance by breaking up long seams and adding visual interest. Here’s a quick look at some cornerstone functions:
| Function | Description | Example |
|---|---|---|
| Structural | Reinforces corners | Prevents sagging |
| Aesthetic | Adds visual appeal | Complements colors |
| Design Balance | Distributes visual weight | Creates harmony |
Using cornerstones effectively can really boost your quilt’s design. Consider their placement and fabric choices to make sure they complement the entire quilt.
They’re not just decorative; they play a key role in the quilt’s integrity and style!
Choosing Fabric Options
Choosing the right fabric for your cornerstones can greatly impact your quilt’s overall look. Cornerstones can serve as a crucial link between your quilt’s borders and blocks.
When selecting fabrics, consider the current fabric color trends and how they complement your chosen border fabric types.
- Contrast: Use a fabric that contrasts with your borders.
- Harmony: Choose colors that harmonize with your quilt’s palette.
- Scale: Consider the scale of your prints; small patterns can balance larger ones.
- Texture: Mix textures for added visual interest.
- Seasonality: Think about seasonal colors to keep your quilt relevant year-round.
Placement Techniques Explained
Regarding incorporating cornerstones into your quilt, understanding their placement can improve both design and functionality. Cornerstones serve as a visual anchor in your border design, providing contrast and interest that can uplift various border styles.
When you’re adding cornerstones, consider using them at the intersections of your borders. This technique not only improves the overall look but also helps to stabilize your quilt’s edges.
Choose a fabric that complements your overall color scheme, ensuring it stands out without clashing. If your quilt has multiple borders, cornerstones can help tie the elements together, creating a cohesive finish.
How to Create Mitered Corners?
Creating mitered corners can improve the look of your quilt borders,
Enhance your quilt’s elegance with polished mitered corners for a truly refined finish.
giving them a polished finish. To achieve perfect mitered corners,
follow these mitered techniques for corner alignment:
– Measure accurately:
Verify your borders are cut to the correct length.
– Pin carefully:
Use pins to hold your border in place while you sew.
– Sew at an angle:
Stitch diagonally to create a mitered effect.
– Press seams open:
This helps eliminate bulk and guarantees a flat finish.
– Check alignment:
Before trimming, double-check that your corners meet neatly.
Common Problems When Adding Borders and How to Fix Them?
When you add borders to your quilt, you might encounter a few common problems that can affect the overall look. One major issue is border misalignment.
This often happens when your borders aren’t the same length as the quilt top. To fix this, measure your quilt top before cutting the borders, and pin them carefully, ensuring equal distribution across the edges.
Another problem is fabric stretching, which can distort your quilt’s shape. To tackle this, consider using fabric stretching solutions like stabilizers or interfacing.
Also, avoid pulling the fabric when attaching the borders; instead, gently ease it in place.
If you notice puckering after sewing, try pressing the seams flat before trimming any excess fabric.
Taking these steps can help you achieve a polished finish, ensuring your quilt borders improve your project rather than detract from it.
Happy quilting!
Getting Your Quilt Ready for Quilting
Preparing your quilt for quilting is an essential step
that sets the stage for a beautiful finish. To guarantee
everything goes smoothly, focus on these key elements:
Choose the right batting options. Consider thickness
and material based on your quilt’s intended use.
Select quality quilt backing. A sturdy backing supports
your quilt and adds to its overall aesthetic.
Press your quilt top. Smooth out wrinkles for a clean
quilting surface.
Trim any excess fabric. Making sure the edges are neat
prevents future issues.
Baste your quilt layers. Secure the top, batting, and
backing together to avoid shifting during quilting.
Choosing Binding That Complements Your Quilt
When you’re picking out binding for your quilt, take a moment to look at how all the colors play together. It really helps to choose shades that complement your overall design, so everything feels harmonious.
Also, think about the texture of the fabric you want to use. Adding a different texture can bring some extra depth and interest to your finished quilt, making it even more special.
Color Harmony Techniques
Choosing the right binding for your quilt can improve its overall appearance, especially when you understand the principles of color harmony.
Using color theory can help you select bindings that create effective border contrast, making your quilt pop.
Here are some techniques to reflect upon:
- Analogous colors: Choose colors next to each other on the color wheel for a harmonious look.
- Complementary colors: Use colors opposite each other for striking contrast.
- Monochromatic schemes: Stick to varying shades of a single color for a subtle effect.
- Neutrals: Incorporate neutral tones to balance vibrant colors.
- Accent colors: Add a binding that picks up a small detail in your quilt for a cohesive touch.
With these tips, your quilt’s binding will improve its beauty!
Fabric Texture Considerations
Color harmony sets a strong foundation, but fabric texture adds another layer of depth to your quilt’s binding.
When choosing your binding, consider fabric weight. Lighter bindings can create a soft contrast, while heavier ones can provide a bold edge.
Try out various texture types like smooth, quilted, or crinkled to enhance your quilt’s overall feel.
Check for pattern compatibility. If your quilt features busy prints, a solid or subtle texture can offer some helpful visual balance.
On the other hand, if your quilt is more subdued, a textured binding can add interest without overwhelming the design.
In the end, the right fabric texture brings your quilt together, tying everything in while making a statement that truly complements your hard work.
Frequently Asked Questions
What Types of Borders Can I Use for My Quilt?
You can use various types of borders for your quilt! Fabric color plays an essential role in enhancing your design.
Consider a solid color for a classic look, or a patterned fabric to add interest. For border width, you might go narrow for a subtle frame or wider for a bold statement.
Experimenting with both elements can enhance your quilt’s overall aesthetic, so have fun mixing and matching until you find the perfect combination!
How Do I Calculate Border Fabric Yardage?
To calculate border fabric yardage, first measure the quilt’s dimensions.
Add the desired border width to each side, then multiply by the number of borders you’re using.
For example, if you want a 5-inch border on all four sides, add 10 inches to both the width and length.
Finally, check the fabric width, which is typically 42 to 44 inches.
Divide your total by the fabric width to determine how much border fabric you’ll need.
Can I Use Leftover Fabric for Borders?
Absolutely, you can use leftover fabric for borders! Just make sure your fabric selection complements the quilt’s overall design cohesion.
Mixing patterns or colors can add interest, but aim for harmony to keep your quilt visually appealing.
If your leftovers blend well, they can create a unique border that showcases your creativity.
Should Borders Match or Contrast With the Quilt Top?
Borders can either match or contrast with the quilt top, depending on the effect you want. If you aim for visual balance, matching colors can create a harmonious look.
On the other hand, contrasting borders can add excitement and draw attention. Use color theory to guide your choices. Complementary colors can make your quilt pop, while analogous colors offer a softer shift.
Ultimately, trust your instincts and choose what resonates with your design vision.
How Do I Clean and Maintain Quilt Borders?
To clean and maintain quilt borders, you should gently hand wash or machine wash on a delicate cycle using mild detergent.
Avoid bleach to guarantee fabric preservation. After washing, air dry your quilt to prevent shrinkage.
Regularly inspect for loose threads or damage, and mend any issues promptly.
For quilt care, keep your quilt stored in a cool, dry place away from direct sunlight to maintain its colors and integrity.
Conclusion
So, you’ve mastered adding quilt borders, right?
It seems like a breeze after all that measuring, cutting, and attaching.
But remember, every quilt tells a story, even if yours includes a few unexpected twists and turns.
Welcome those quirks; they make your quilt distinctly yours!
Now, as you get ready to quilt, just think: the borders might not be perfect, but hey, neither are we.
Enjoy the process of adding quilt borders, and happy quilting!