Step-by-Step Guide to Quilt a Wall Hanging
If you’ve ever felt overwhelmed by how to quilt a wall hanging, you’re not alone. Many crafters struggle to find the right tools, techniques, or inspiration to bring their creative visions to life.
Whether you’re a beginner or looking to refine your skills, it can be challenging to know where to start or which products truly make a difference.
To quilt a wall hanging, start by choosing fabrics that resonate with your vision, mixing textures for added interest. Gather essential tools like cutting mats and rotary cutters for precision.
Find design inspiration in nature or personal stories, and prepare your fabrics by measuring and organizing them carefully.
Piece your quilt top with accuracy, adding borders for a polished finish.
Finally, confirm it’s hung properly to showcase its beauty.
There’s more to investigate that’ll elevate your quilting journey!
Key Takeaways
- Choose complementary fabrics and textures, ensuring a harmonious color palette for your wall hanging design.
- Cut fabrics accurately using a rotary cutter and mat. Measure each piece for precision so your quilt comes together smoothly.
- Piece together fabric shapes, sewing with a quarter-inch seam allowance. Press seams as you go for a polished finish.
- Add borders to frame your design. Try out different styles and make sure they complement the main quilt.
- Hang your quilt using sturdy hardware. Be sure it’s centered and placed for the best light and visual appeal.
Choosing the Right Fabrics for Your Quilt Wall Hanging
When choosing fabrics for your quilt wall hanging, consider three key factors: color, texture, and pattern.
Start with color combinations that resonate with your vision. Think about how warm or cool tones will affect the overall feel.
You want colors that complement each other, creating harmony and visual interest.
Next, pay attention to fabric textures. Mixing smooth and rough textures can add dimension, making your quilt more engaging.
For instance, combining cotton with flannel or linen can give your piece a unique tactile quality.
Lastly, don’t forget about patterns. Whether you prefer bold prints or subtle designs, make sure they work well with your chosen colors and textures.
By carefully selecting fabrics that align with these factors, you’ll set a solid foundation for a stunning quilt wall hanging that reflects your personal style.
Enjoy the process and let your creativity shine!
Essential Tools and Supplies for Quilting
Quilting requires a few essential tools and supplies to bring your vision to life.
To create stunning wall hangings, you’ll need the right fabric types, quilting tools, and storage solutions.
Here’s a handy table to help you gather what you need:
| Essential Tools | Purpose |
|---|---|
| Cutting Mats | Protect surfaces while cutting |
| Rotary Cutters | Make precise fabric cuts |
| Thread Choices | Guarantee durability and style |
| Pressing Techniques | Flatten seams and fabric |
| Fabric Storage | Keep your fabrics organized |
With these supplies, you’ll easily tackle quilting patterns and manage your materials.
Invest in quality tools to simplify your process and improve your results.
Don’t forget to investigate different fabric types to match your design.
That way, you’re sure to achieve a beautiful finish for your wall hanging!
Finding Your Design Inspiration for a Unique Wall Hanging
Finding the right design inspiration can transform your wall hanging into a true reflection of your style.
To ignite your creativity, consider the following sources:
- Nature Inspiration: Look outside for color palettes and seasonal motifs that resonate with you. A sunset or blooming flowers can spark fresh ideas.
- Personal Stories: Think about experiences or memories that hold significance. Translating these into fabric can create a meaningful piece.
- Cultural Patterns and Artistic Influences: Investigate various cultures for geometric shapes and design themes that inspire you. This can add depth and uniqueness to your work.
Once you’ve gathered inspiration, try sketching out your ideas. Combining elements from different sources can lead to a stunning wall hanging that tells your story.
Embrace the process, and let your creativity flow!
Preparing Your Fabrics: Cutting and Organizing
Before you dive into quilting, it’s a good idea to pick out fabrics that really work well with your design. Take your time choosing colors and patterns that you like together. Once you’ve made your selections, go ahead and measure each piece carefully. Cutting with precision here will make a big difference in how polished your finished quilt looks.
After that, it’s super helpful to organize your fabrics and other materials so they’re easy to find as you work. Keeping everything sorted and within reach will make your quilting process smoother, and you’ll spend less time searching for what you need.
Select Your Fabrics Wisely
Selecting the right fabrics is essential for your wall hanging, as the colors and textures will set the tone for your masterpiece.
Take the time to investigate different fabric types and carefully consider your color combinations.
Here are some tips to help you choose wisely:
- Consider the theme: Think about the mood you want to convey, whether it feels warm, cool, or vibrant.
- Mix textures: Combine smooth cottons with textured fabrics like flannel or linen for visual interest.
- Test swatches: Lay out fabric swatches together to see how they interact before committing.
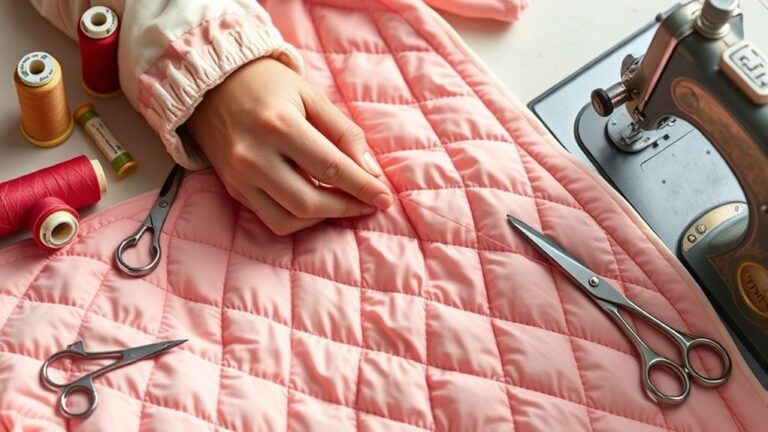
Measure and Cut Precisely
Measuring and cutting your fabrics with precision is essential for a polished wall hanging.
Start by gathering your tools: a rotary cutter, mat, and ruler.
For accurate fabric measurement, lay your fabric flat and smooth out any wrinkles.
Use your ruler to measure the desired dimensions, ensuring it aligns straight along the fabric’s edge.
When employing cutting techniques, always cut away from your body for safety.
Apply even pressure on the rotary cutter to achieve clean edges.
If you’re cutting multiple pieces, stack your fabric to save time, but be cautious to maintain accuracy.
Double-check your measurements before each cut to avoid waste.
With careful cutting, you’ll set a strong foundation for your beautiful quilted masterpiece.
Organize for Efficiency
To create a seamless quilting experience, organizing your fabrics can make all the difference.
Start by establishing an efficient workspace layout that allows easy access to your materials.
Good fabric storage is key. Use clear bins or labeled drawers to keep everything visible and organized.
Here are three tips to streamline your process:
- Pre-cut Fabrics: Cut your fabric pieces beforehand so you can focus on assembling during quilting.
- Color Coding: Organize fabrics by color or pattern to simplify selection when you’re ready to quilt.
- Keep Tools Handy: Arrange your tools like scissors, rulers, and pins within arm’s reach to minimize disruptions.
Step-by-Step Guide to Piecing Your Quilt Top
As you plunge into piecing your quilt top, you’ll find that breaking the process down into manageable steps makes it much easier.
Start by selecting your fabric. Choose a mix of colors that complement each other; vibrant color combinations can create stunning visual effects.
Consider the fabric textures, too. Mixing smooth cotton with textured fabrics like flannel can add depth to your design.
Next, cut your fabric into the desired shapes, ensuring you maintain accuracy for a polished look.
Lay out your pieces according to your design, adjusting as necessary to achieve your preferred balance.
Once you’re satisfied, start sewing the pieces together, using a quarter-inch seam allowance for consistency.
Press your seams as you go. This helps your quilt top lay flat and improves the overall appearance.
Finally, don’t forget to take breaks and enjoy the process. With each stitch, you’re one step closer to your beautiful wall hanging!
Adding Batting and Backing for Your Quilt Wall Hanging
Once you’ve pieced together your quilt top, adding batting and backing is vital for creating a finished wall hanging that’s both beautiful and functional.
Start by selecting your batting types. You can choose from cotton, polyester, or wool, depending on the look and feel you want.
Selecting the right batting—cotton, polyester, or wool—shapes the look and feel of your quilt.
Next, pick backing materials that complement your quilt top and provide fabric stability.
Here’s what to take into account during quilt layering:
- Batting Placement: Verify it’s evenly distributed for consistent thickness.
- Backing Attachment: Secure it to the batting and quilt top, preventing shifting.
- Quilting Techniques: Decide whether you’ll stitch in the ditch or use free-motion quilting for added texture.
Properly adding batting and backing not only improves the aesthetic of your wall hanging styles but also guarantees durability for years to come.
Comparing Hand vs. Machine Quilting Techniques
After layering your quilt with batting and backing, the next big decision is choosing between hand and machine quilting techniques.
Hand quilting offers several benefits, including a personal touch and the ability to create intricate designs that reflect your style. It’s often seen as a calming process, allowing you to connect deeply with your quilt. However, it can be time-consuming.
On the other hand, machine quilting shines in speed. You can finish your project in a fraction of the time compared to hand quilting, which is ideal if you’re short on time or tackling larger quilts.
Machine quilting also allows for consistent stitches and patterns, enhancing the quilt’s durability.
Ultimately, the choice between hand and machine quilting comes down to your personal preference, time constraints, and the look you want to achieve.
Consider trying both techniques to uncover what you enjoy most!
Adding Borders for a Polished Look
Adding borders can transform your wall hanging from a simple quilt into a stunning piece of art. Borders not only frame your design but also add depth and interest.
Consider these key points when choosing the right borders for your quilt:
- Border styles: Experiment with various styles like pieced, solid, or scalloped to improve your overall design.
- Border widths: Wider borders can provide a bold statement, while narrower ones can offer a subtle finish.
- Fabric choices: Choose fabrics that complement your main quilt while adding contrast or harmony.
After deciding on your border styles and widths, cut your fabric accordingly. Make certain to measure twice and sew carefully for a polished look.
Borders can uplift your quilt, so take your time to confirm they improve your overall vision. Enjoy this creative step in making your wall hanging truly unique!
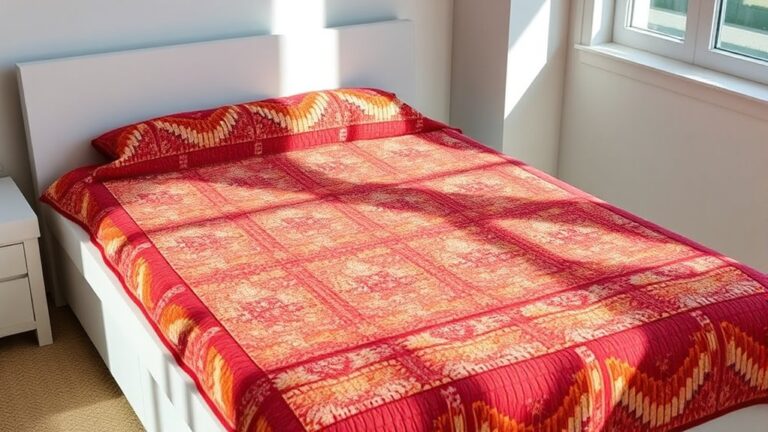
Hanging Your Quilt for Best Effect?
When it comes to hanging your quilt, the spot you choose really makes a difference in how your work is seen. Think about where the light falls in the room and how much wall space you have—it can help your quilt become the focal point. And don’t forget, using the right hanging method not only keeps your quilt safe and secure, but also ensures it looks its absolute best on display.
Choosing The Right Location
Choosing the right location for your quilt can greatly improve its visual impact.
Consider these factors to guarantee your wall hanging shines in your space:
- Ideal Wall: Select a wall that’s free from distractions and has enough space dimensions to let your quilt breathe.
- Lighting Considerations: Natural or soft artificial light can amplify colors and patterns. Think about how light interacts with the quilt throughout the day.
- Color Harmony: Confirm that your quilt complements the room’s color scheme and personal style. This will make it a cohesive part of your decor.
Proper Hanging Techniques
To showcase your quilt at its best, using the right hanging techniques is vital. Start by selecting appropriate hanging hardware, like a sturdy rod or clips, that matches your quilt’s weight and size.
Confirm the hardware is securely fastened to the wall, as wall stability is key for both safety and appearance. Measure carefully to center your quilt and create a balanced look.
Consider using a quilt sleeve for a clean presentation; this allows the quilt to hang flat without distortion. Finally, step back and adjust your quilt’s position to catch the light beautifully, enhancing the colors and patterns.
With these techniques, your quilt will not only hang well but also become a stunning focal point in your space.
Caring for Your Wall Hanging: Maintenance Tips
Although a well-made wall hanging can brighten your space, proper care is essential to keep it looking its best.
A beautifully crafted wall hanging can enhance your decor, but maintaining it is key to preserving its charm.
Regular maintenance guarantees your quilt remains vibrant and free from damage.
Here are some practical tips:
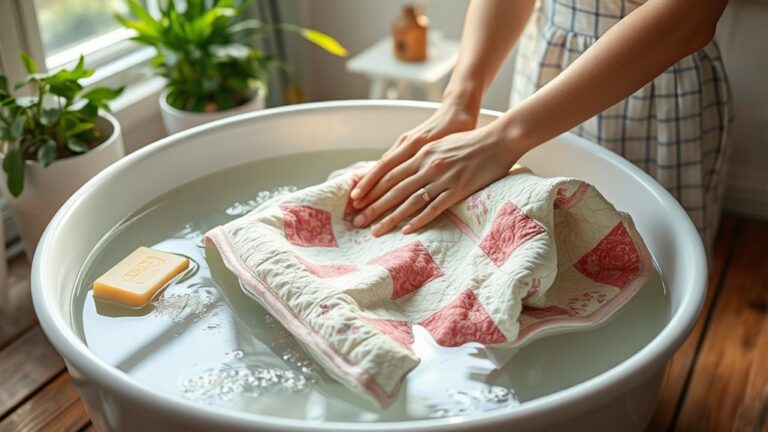
– Cleaning Techniques: Dust your wall hanging with a soft cloth or a vacuum with a brush attachment.
For deeper cleaning, spot clean with mild soap and water, but avoid soaking it.
– Storage Solutions: If you need to take it down, roll it up instead of folding to prevent creases.
Store it in a breathable cotton bag or a box lined with acid-free tissue.
– Avoid Direct Sunlight: Hang it in a spot where it won’t be exposed to harsh sunlight, which can fade colors over time.
Frequently Asked Questions
How Do I Choose a Theme for My Wall Hanging?
To choose a theme for your wall hanging, start by considering your color palette.
Look for design inspiration in your favorite places or memories that hold personal significance.
Think about seasonal themes that resonate with you, like autumn leaves or spring blossoms.
Investigate various fabric patterns that complement your chosen colors.
Determine the quilt size based on where you plan to display it.
Let your creativity guide you!
Can I Use Old Fabrics or Clothing for My Quilt?
Absolutely, you can use old fabrics or clothing for your quilt! Fabric recycling not only gives new life to materials but also adds sentimental value.
Imagine a patchwork of memories, each piece telling a story. Just keep an eye on color coordination to guarantee a cohesive look.
Mixing fabrics can be tricky, but with some patchwork techniques, you’ll create a stunning quilt that’s both meaningful and visually appealing.
Immerse yourself and start crafting!
What Is the Best Way to Hang a Quilt?
To hang a quilt as wall decor, you’ve got a few great options. Use a quilt hanger for easy access and a classic look.
If you prefer a more minimalist approach, try wooden dowels or curtain rods to display it. For a seamless finish, sew a sleeve on the back of your quilt to slide it onto the rod.
Whichever method you choose, make sure it’s secure to keep your quilt looking beautiful!
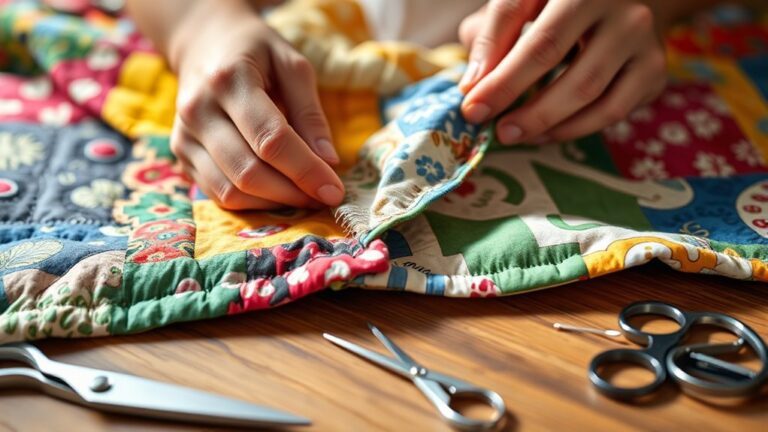
How Do I Fix Mistakes While Quilting?
Mistakes in quilting can feel like a little hiccup in your creative journey,
but don’t worry, you can easily turn things around.
For mistake correction, use quilting tips like fabric repair for small tears
or seam adjustments to fix misalignments.
If colors clash, consider color fixes to harmonize your design.
Welcome design revisions as an opportunity to improve your piece,
turning those little stumbles into beautiful, unique features that tell your story.
Can I Machine Sew the Binding on My Quilt?
Yes, you can machine sew the binding on your quilt! For effective binding techniques, use a walking foot to guarantee even feeding.
Set your machine to a straight stitch with a medium length for the best results. Start by attaching the binding to the front, then fold it over to the back and stitch in place.
Just make certain to keep your edges aligned for a clean finish, and you’ll be all set!
Conclusion
Creating a quilt wall hanging can be incredibly rewarding, especially since studies show that displaying handmade art can boost your mood by 25%.
By following this guide, you’ll not only craft a unique piece but also infuse your space with personal charm.
Remember to choose fabrics that inspire you and take pride in every stitch.
With a little care, your quilt will bring joy for years to come.
Enjoy the process, let your creativity shine, and know that your quilt wall hanging will brighten your home in a truly special way.