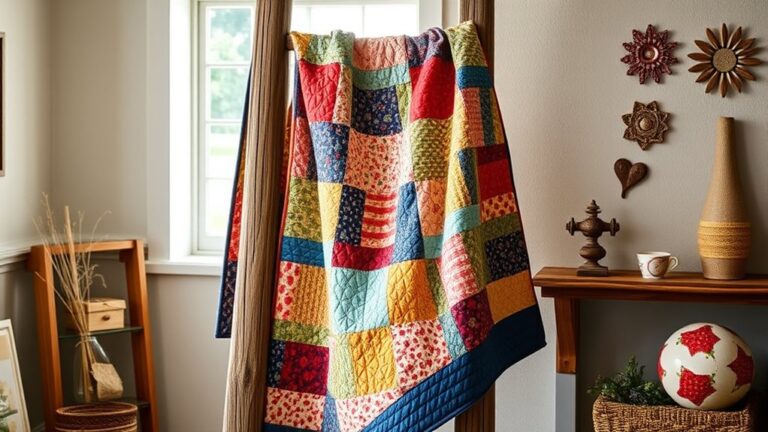
How to Make Quilt Squares: A Step-by-Step Guide
If you’ve ever felt overwhelmed by the idea of piecing together the perfect quilt, you’re not alone. Many people struggle to find the right techniques or supplies, and it’s easy to feel lost with so many options out there.
That’s why we’re here—to help you transform your quilting journey from stressful to satisfying. Whether you’re a beginner or looking to refine your skills, knowing how to make quilt squares can make a world of difference in your projects.
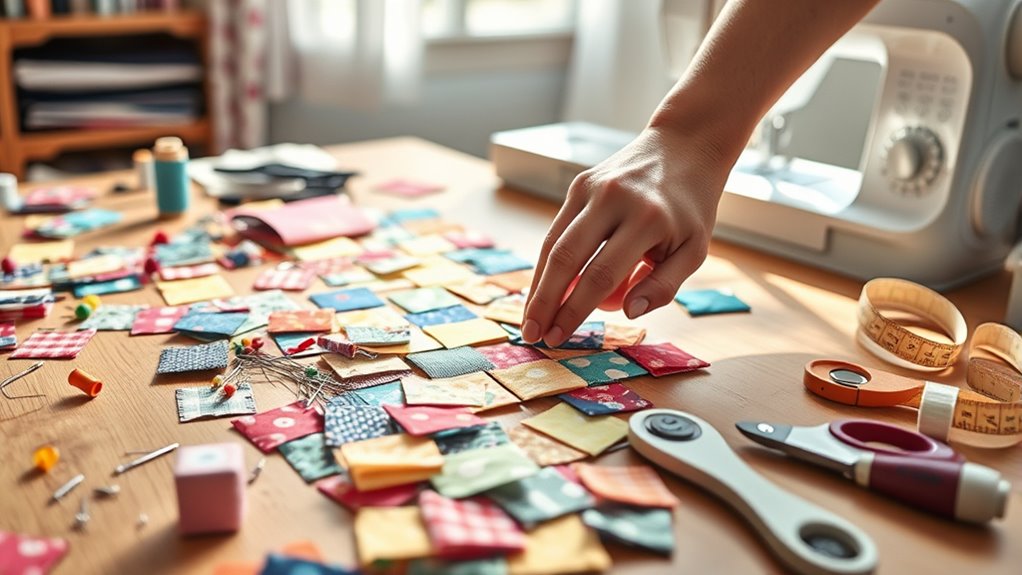
To make quilt squares, start by choosing fabrics like cotton or flannel that suit your style. Gather essential tools, including a sewing machine, rotary cutter, and quilting ruler.
Wash and cut your fabric accurately to prevent shrinkage and distortion. Get creative with designs, adding personal touches like embellishments or appliqué.
Press your squares for crisp edges and use effective finishing techniques. There’s plenty more to investigate, so keep going to uncover additional tips and tricks!
Key Takeaways
- Choose durable fabrics like cotton or flannel and essential tools such as a reliable sewing machine and rotary cutter for effective quilting.
- Pre-wash fabrics to prevent shrinkage. Then, accurately measure and cut squares along the fabric grain for consistent sizes.
- Seek inspiration from various sources. Experiment with geometric shapes and textures to create unique quilt square designs.
- Use embellishments like buttons or fabric paint, and ensure proper pressing for crisp edges and flat seams in your quilt squares.
- Address common issues like thread tension and color bleeding. You can also explore creative uses for quilt squares, such as pillows or wall hangings.
Choosing the Right Fabrics for Quilt Squares
When you’re choosing fabrics for your quilt squares, it’s essential to contemplate both color and texture to create a harmonious design.
Start by exploring various fabric types, like cotton, flannel, and linen. Cotton is popular for its durability and ease of use, while flannel adds warmth and softness.
Next, think about your color combinations. You might want to blend contrasting colors for a bold look or select shades that complement each other for a more subtle effect.
Don’t shy away from experimenting with patterns, as they can add depth to your quilt squares.
Also, consider the scale of your patterns. Larger prints can make a statement, while smaller ones can serve as nice accents.
Ultimately, the right mix of fabric types and thoughtful color combinations will enhance your quilt squares, making them visually appealing and distinctly yours.
Essential Tools for Quilt Square Creation
To successfully create quilt squares, you’ll need a few essential tools that streamline the process and improve your craftsmanship.
Start with a reliable sewing machine for efficient stitching. A rotary cutter paired with a cutting mat makes cutting fabric pieces quick and accurate.
A reliable sewing machine and a rotary cutter with a cutting mat ensure efficient stitching and precise fabric cutting.
Don’t forget a good pair of fabric scissors for those precise snips. A quilting ruler is invaluable for measuring and guaranteeing your pieces are the right size.
For planning your design, a design wall helps visualize how your squares will look together. When it comes to thread selection, choose quality threads to guarantee strong seams and a beautiful finish.
Finally, marking tools like fabric pens or chalk will help you make accurate markings without damaging your fabric.
With these tools in hand, you’re well on your way to crafting stunning quilt squares!
How to Wash and Cut Your Fabric
Before you jump into sewing, it’s a good idea to wash your fabric first. This helps prevent any unexpected shrinkage later on. Once your fabric is clean and dry, you’ll want to focus on cutting it accurately. Getting the hang of some basic cutting techniques will make sure your quilt squares turn out precise. Let’s take a closer look at these important steps together!
Pre-Washing Your Fabric
Pre-washing your fabric is essential, as it helps prevent shrinkage and color bleeding later.
Start by checking the care instructions on the fabric label.
Use the appropriate water temperature. Cold is best for delicate fabrics, while warm works well for sturdier ones.
Add a mild detergent so you avoid any harsh chemicals that could affect your fabric’s quality.
After washing, dry your fabric according to the label’s recommendations. Air drying is often safest.
This process not only removes any chemicals from manufacturing, but also minimizes fabric shrinkage.
It also helps set the dye, preventing dye bleeding when you sew your quilt squares.
Once your fabric is clean and dry, you’re ready to move on to cutting techniques!
Cutting Techniques Explained
Now that your fabric is clean and dry, it’s time to focus on cutting techniques.
Start by determining your cutting layout based on the quilt design.
For strip cutting, use a rotary cutter for swift, straight lines.
Precision cutting guarantees your pieces fit perfectly, so always cut along the fabric grain.
If you need specific shapes, template usage can guide your cuts accurately.
For bias cutting, keep in mind that this technique allows for more stretch but requires careful handling.
Utilize cutting tools like rulers for safety and efficiency.
Always follow safety tips, like keeping blades sharp and cutting away from your body.
Creating Unique Quilt Square Designs
When you’re ready to start designing your own quilt squares, it’s fun to look for inspiration in unexpected places—maybe you’ll spot a striking pattern in nature or find a color combination you love in a piece of art. You never know what might spark your creativity!
And once you have an idea brewing, the fabrics you choose can really take your design to the next level. The right material will make your quilt square pop and help your vision come together just the way you imagined.
Inspiration Sources
Finding inspiration for your quilt square designs can be as simple as looking around your environment or diving into your interests.
Consider using color palettes that reflect seasonal influences or personal memories. Investigate design themes rooted in historical patterns or cultural motifs that resonate with you.
Nature inspirations, like floral shapes or landscapes, can guide your choices in geometric shapes and fabric textures.
Don’t hesitate to experiment with different artistic styles, blending them to create something distinctly yours.
Keep an eye out for patterns in everyday life, whether it’s the symmetry of a building or the flow of a river.
Collect ideas, and let them spark your creativity as you begin your quilting journey.
Fabric Selection Tips
Choosing the right fabric is essential for creating unique quilt square designs that reflect your personal style.
Pay attention to a few key elements to guarantee your selections stand out:
1. Fabric Color Combinations:
Experiment with contrasting colors to create visual interest.
Consider a color wheel to find complementary shades that improve your design.
2. Fabric Texture Considerations:
Mix different textures to add depth.
Combining smooth, soft fabrics with rougher ones can create a dynamic look.
3. Pattern Balance:
Choose fabrics with varying patterns, but keep them balanced.
Too many busy prints can overwhelm your design, while solid fabrics can offer much-needed contrast.
Step-by-Step Guide to Cutting Quilt Squares
Cutting quilt squares can be a fun and satisfying process that sets the foundation for your quilting project. To start, lay out your fabric on a flat surface, guaranteeing it’s smooth and free of wrinkles.
Pay attention to the fabric grain, as cutting against it can cause distortion. Use a ruler and rotary cutter for cutting accuracy; this will help you achieve precise edges.
Measure and mark your desired square size on the fabric. Double-check your measurements before cutting to avoid mistakes.
When you’re ready, align your ruler with your marks, and cut through the fabric, applying even pressure. Repeat this process for each square, keeping track of your pieces to confirm you have the correct number.
Once you’ve cut all your squares, take a moment to inspect them. Consistent sizes will make sewing much easier, so make adjustments if necessary.
Happy cutting!
How to Sew Your Quilt Squares Together
After you’ve cut your quilt squares, it’s time to sew them together to create your beautiful quilt top.
After cutting your quilt squares, it’s time to bring them together and create a stunning quilt top.
This quilt assembly process is where your creativity shines through using various sewing techniques.
Here’s how to get started:
1. Arrange Your Squares:
Lay out your squares in a pleasing pattern.
Take a step back to see how they look together before you start sewing.
2. Sew the Rows:
Begin by sewing squares together in rows.
Use a consistent seam allowance, typically 1/4 inch, to guarantee everything fits together nicely.
3. Join the Rows:
Once your rows are complete, sew them together.
Press the seams as you go to keep everything flat, which will make your quilt top look polished.
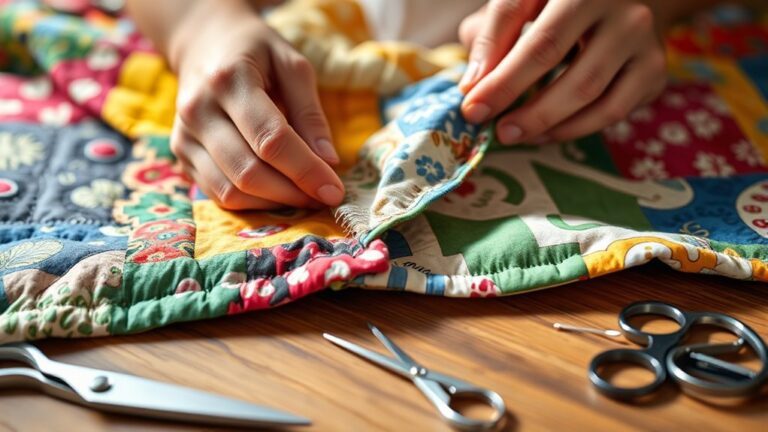
Adding Personal Touches: Embellishments and Appliqué
Adding personal touches to your quilt can elevate it from a simple craft project to a cherished masterpiece.
You can achieve this through various embellishment techniques and appliqué styles. Start by selecting embellishment materials that resonate with your personal themes, like buttons, beads, or lace.
Consider using fabric paint to add unique designs that reflect your style. For appliqué, investigate different layering methods to create depth.
You can cut shapes from fabric and stitch them onto your quilt squares using decorative stitches, which not only secure the pieces but also add visual interest.
Experiment with stitch patterns to further personalize your quilt. Combining these elements allows you to express your creativity and make your quilt truly one of a kind.
Whether you choose simple or intricate designs, each embellishment adds character and warmth, turning your quilt into a treasured keepsake.
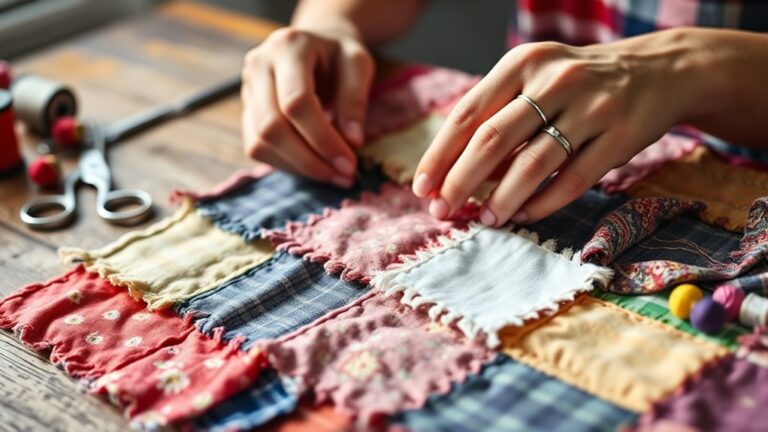
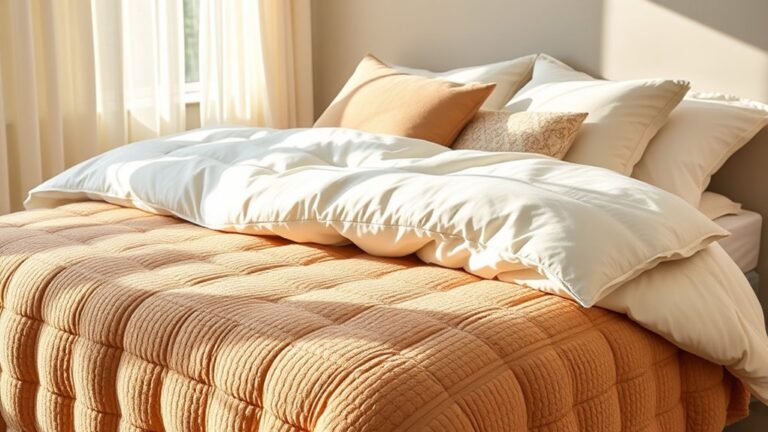
Pressing and Finishing Your Quilt Squares
Pressing your quilt squares is a really important step if you want those crisp, clean edges and nice, flat seams. It makes a big difference in how your finished quilt will look! There are actually a few different techniques you can try for finishing, and exploring these options can really elevate your project. So, let’s chat about some best practices that’ll help you get those quilt squares looking perfect.
Importance Of Pressing
While it might be tempting to skip the pressing step, taking the time to properly press your quilt squares is essential for achieving a polished finish.
Proper pressing techniques not only improve the appearance of your quilt but also guarantee better fabric preparation. When you press your squares, you help seams lie flat and eliminate any unwanted creases.
Here are three key benefits of pressing:
- Improved Accuracy: Pressing helps maintain the dimensions of your squares, ensuring accurate piecing.
- Augmented Fabric Texture: It brings out the beauty of your fabric, making your quilt more visually appealing.
- Easier Assembly: Flat seams make it simpler to sew subsequent pieces together, streamlining your quilting process.
Don’t underestimate the importance of pressing!
Techniques For Finishing
After understanding the importance of pressing, you’ll want to focus on the finishing techniques that can improve your quilt squares even further.
Start by using effective layering methods; this guarantees your quilt squares come together seamlessly. Lay down your squares, keeping the design and colors aligned.
Next, investigate various binding techniques to give your quilt a polished look. You can choose from bias binding, straight binding, or even a pillowcase finish, depending on your style.
Make certain to pin securely before sewing to avoid any shifting.
Once finished, give your quilt a final press to flatten seams and elevate its overall appearance.
With these techniques, your quilt squares will not only look great but also stand the test of time.
Common Quilting Issues and Solutions
Quilting can be a rewarding hobby, but it often comes with its share of challenges. To help you overcome some common issues, here are solutions you can apply:
1. Fabric Shrinkage:
Always pre-wash your fabrics to minimize shrinkage. This’ll help maintain the integrity of your quilt after washing.
2. Uneven Seams:
Check your thread tension and cutting accuracy. Use a rotary cutter for precise cuts, and make certain your sewing machine is properly calibrated for consistent seams.
3. Color Bleeding:
Test fabric colors before sewing. Use color catchers in the wash to prevent bleeding from affecting your quilt.
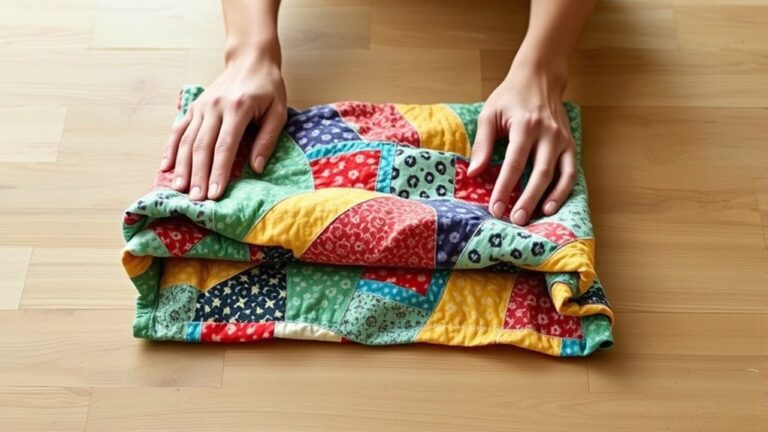
Creative Ways to Use Your Quilt Squares in Projects
Once you’ve tackled common quilting issues and created beautiful quilt squares, you might wonder how to put them to good use. One great idea is to craft decorative pillows that can brighten up your living space.
You can also make eye-catching wall hangings that showcase your favorite quilt squares in creative displays. For a practical twist, consider sewing patchwork bags or fabric coasters that add charm to everyday items.
If you’re looking for gifts, quilt square gifts make heartfelt presents for friends and family. Transform your squares into stunning table runners that elevate your dining experience.
Plus, think about seasonal decor. Use your quilt squares to create unique decorations for holidays or special occasions.
The possibilities are endless, so let your creativity flow and find joy in using your quilt squares in various projects!
Frequently Asked Questions
How Do I Choose a Color Palette for My Quilt Squares?
To choose a color palette for your quilt squares, start by exploring color theory. Think about complementary or analogous colors for harmonious fabric combinations.
You can pick a dominant color and select a few accents to create depth. Don’t shy away from experimenting. Grab fabric swatches and see how they interact.
Trust your instincts; if a combination feels right to you, go for it! Your quilt will reflect your unique style.
What Is the Best Batting to Use for My Quilt?
When you think about snuggling under your quilt, what batting type do you envision? For the best results, consider cotton or polyester batting.
Cotton offers a natural feel and breathability, while polyester provides durability and loft. If you want your quilt to be thicker, go for high-loft polyester.
Can I Machine Wash My Finished Quilt?
Yes, you can machine wash your finished quilt. Just make sure to use gentle washing techniques to preserve its integrity.
Use cold water and a mild detergent to avoid fading and damage. It’s also wise to wash it on a delicate cycle.
For fabric care, consider adding a pillowcase or mesh bag for extra protection. Always check the care instructions for the fabrics you used, as different materials might require specific handling.
How Do I Store My Fabric Before Using It?
You can store your fabric like it’s a treasure waiting to be uncovered! For stellar fabric organization, use clear bins to keep your stash visible and accessible.
Make certain you’ve got humidity control in place. Too much moisture can ruin your gorgeous materials.
Pre-washing fabric is essential, but once that’s done, keep it folded neatly.
Consider labeling each bin for easy access, turning your storage solutions into a delightful adventure every time you quilt!
What Are Some Beginner-Friendly Quilt Patterns to Try?
If you’re just starting out, try simple patchwork patterns like the nine-patch or four-patch.
These designs let you play with fabric combinations without overwhelming you.
Geometric designs, such as triangles or hexagons, can also be beginner-friendly and add visual interest.
Focus on mastering a few techniques, and don’t hesitate to experiment with colors and layouts.
You’ll find joy in seeing your unique creations come together!
Conclusion
Now that you’ve learned how to craft your quilt squares, remember: every stitch tells a story, blending vibrant fabrics with your unique touch.
As you navigate the joys of quilting, you’ll face challenges and triumphs, each square a demonstration of your creativity.
Welcome the imperfections, for they add character, just like life itself.
Whether you create a cozy throw or a stunning wall hanging, your quilt squares will reflect not only your skills but your heart.
In the end, the process of making quilt squares becomes a beautiful way to express yourself and cherish every moment spent stitching.