Mastering Hand Quilting With a Hoop – a Step-By-Step Guide
If you’ve ever felt frustrated by puckered stitches or uneven lines when hand quilting with a hoop, you’re not alone. Many quilting enthusiasts struggle to achieve those smooth, even results that look professional and last for years.
Finding the right tools and learning the proper techniques can feel overwhelming, especially when you just want to focus on enjoying your craft. The good news? With the right guidance and products, mastering hand quilting with a hoop is absolutely within your reach.
To master hand quilting with a hoop, start by choosing quality materials, like cotton fabric and appropriate thread. Select a hoop that suits your comfort and project size, then prepare your quilt sandwich by basting layers securely.
Learn basic stitches, maintaining even tension for consistent results. Improve your work with decorative stitches that reflect your style.
Knowing these fundamentals will boost your quilting skills, and there’s so much more to uncover about techniques and tips.
Key Takeaways
- Choose high-quality cotton fabrics, threads, and batting for durability and ease of handling in your quilting projects.
- Select an appropriate hoop size and type for comfort and maneuverability. Make sure it holds the fabric taut to help you quilt more easily.
- Master basic hand quilting stitches, and try to keep a consistent tension. This will give you even and precise stitching throughout your quilt.
- Enhance your quilt’s design by adding decorative stitches and patterns that show off your personal style and creativity.
- Finish your quilt with proper binding techniques, and use care instructions to protect and preserve its appearance.
Choosing the Right Materials for Hand Quilting
When you plunge into hand quilting, selecting the right materials can make all the difference in your project’s success.
Start with fabric selection; choose cotton for durability and ease of handling. Think about color coordination that reflects your chosen quilt patterns and seasonal themes.
Next, examine thread types. Cotton or polyester threads are popular for their strength and variety.
Explore thread types, as cotton and polyester offer the strength and variety essential for your quilting success.
Don’t forget batting choices. The type you choose affects the quilt’s warmth and texture. Opt for cotton or polyester batting based on the project’s purpose.
Also, pay attention to needle sizes. A size 10 or 12 needle works well for most hand quilting tasks.
Finally, let project inspiration guide your selections. Whether you’re crafting a cozy winter quilt or a vibrant summer throw, these choices will improve your quilting experience and guarantee a beautiful final product.
Happy quilting!
What You Need to Know About Hand Quilting Hoops
Hand quilting hoops are vital tools that can significantly improve your quilting experience.
Understanding their various aspects will help you choose the right one for your projects.
Here are three key points to take into account:
- Hoop Types: Choose between adjustable, traditional, or lap hoops based on your comfort and quilting style.
- Hoop Sizes: Select size carefully; larger hoops are great for bigger projects, while smaller ones offer better maneuverability.
- Hoop Materials: Opt for wood or plastic, each offering unique benefits and limitations.
Proper hoop maintenance is essential for longevity.
Keep your hoop clean and check for any wear.
Also, evaluate hoop accessories like fabric grips for better positioning and stability.
These can make your quilting process much smoother.
While hoops improve your quilting experience, keep in mind they may limit your reach on larger quilts.
Accept the benefits and find the perfect hoop for your next hand quilting adventure!
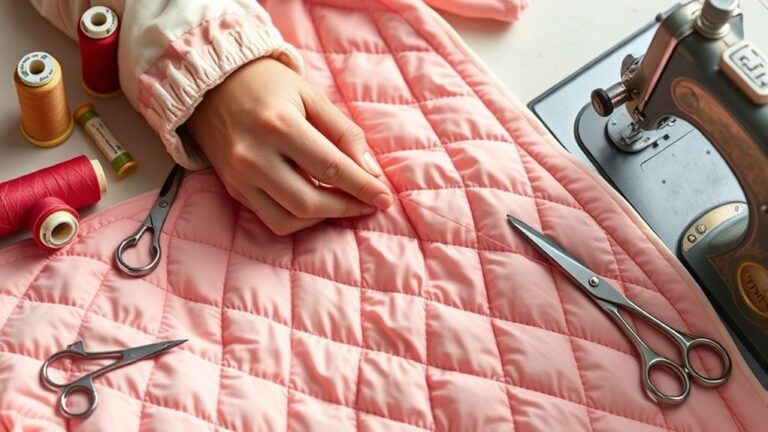
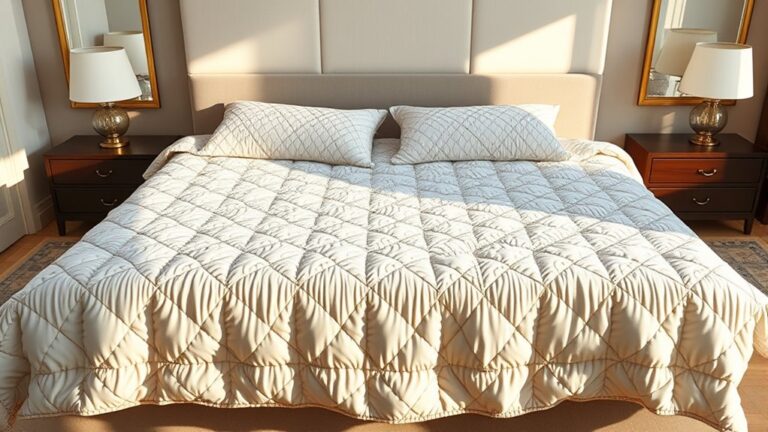
Preparing Your Quilt Sandwich: Materials and Basting Techniques
Choosing the right hoop sets the stage for the next step in your quilting journey: preparing your quilt sandwich.
Start with proper fabric preparation; prewash your fabrics to avoid shrinkage later. Lay out your quilt top, batting, and backing in your desired quilt layout.
For batting choices, select one that suits your project, such as cotton or polyester. Both options work well and have different textures and benefits.
Now, let’s discuss basting methods. You can use safety pins for a secure hold or quilting clips for ease.
If you prefer a quicker approach, adhesive sprays can be a game-changer. Just make sure to follow the manufacturer’s instructions.
Finally, thread selection is essential; choose a thread that complements your fabrics.
With everything in place, you’re ready to plunge into the actual quilting process. Enjoy this creative phase, knowing you’ve set a solid foundation for your masterpiece!
Mastering Basic Hand Quilting Stitches: Step-by-Step
Now that you’ve got your quilt sandwich ready, let’s talk about the essential tools and the basic stitches you’ll be using. Knowing these stitches is really going to help you create lovely patterns and keep all your quilt layers snug and secure. Ready to dive in? Let’s check out the tools you’ll need and some easy techniques to make your hand quilting experience fun and rewarding.
Essential Tools Needed
To commence your hand quilting journey, having the right tools at your fingertips is vital. Investing in a few hand quilting essentials will make your experience smoother and more enjoyable.
Here are three essential tools you won’t want to skip:
- Quilting Hoop: This keeps your fabric taut, making it easier to stitch accurately.
- Needles: Opt for hand quilting needles, which are designed for easier threading and better control.
- Thread: Choose high-quality cotton thread that matches your fabric to guarantee durability and a polished look.
With these essential tools, you’ll set the foundation for your hand quilting success.
Basic Quilting Stitches Explained
Mastering basic hand quilting stitches is essential for creating beautiful quilts, as each stitch adds character and strength to your work.
Start with the running stitch, which is perfect for outlining and joining layers. The whip stitch is great for binding edges, while the basting stitch holds layers together temporarily.
For added texture, try the decorative stitch types like the cross stitch or herringbone.
When it comes to thread choices, opt for cotton or polyester threads, depending on your project’s needs. Cotton offers a matte finish, while polyester provides durability.
Always match your thread color to your fabric for a seamless look. Experiment with these stitches and threads to find what works best for your quilting style!
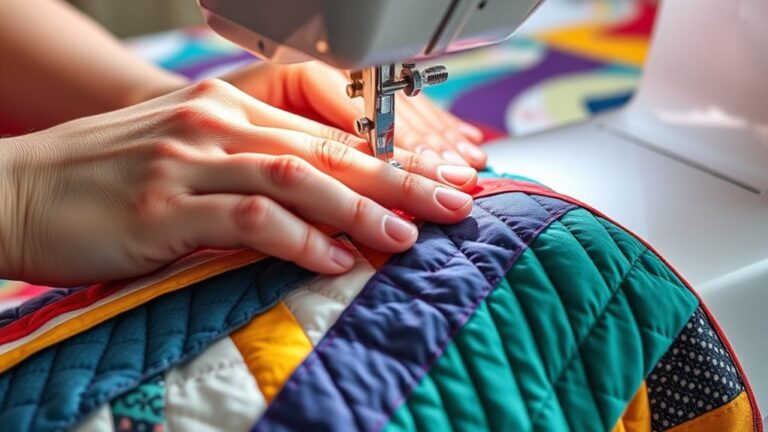
Position Your Hand Quilting Hoop for Optimal Stitching
To get beautiful results with hand quilting, it really helps to position your hoop just right. Try moving it around a bit until you find a spot that feels most comfortable for you. As you set up, make sure your fabric is nice and taut in the hoop—think firm, but not stretched too tightly. When the tension is just right, you’ll find it much easier to keep your stitches even and consistent all the way through your project.
Hoop Placement Techniques
Proper hoop placement can make all the difference in your hand quilting experience.
When you position your hoop correctly, you improve both comfort and hoop stability,
allowing for more precise stitches.
Here are three key techniques to guarantee ideal placement:
1. Center Your Fabric: Make certain your fabric is centered within the hoop
for balanced tension and easy access to all areas.
2. Adjust the Hoop Height: Position the hoop at a comfortable height,
so you can maintain a natural wrist position while stitching.
3. Secure the Hoop: Confirm the hoop is tightly secured to prevent any movement,
which helps with consistent hoop adjustments throughout your project.
With these techniques, you’ll find your stitching becomes more enjoyable and efficient!
Adjusting Tension Correctly
As you immerse yourself in hand quilting, adjusting the tension of your fabric is essential for achieving those perfect stitches.
Proper tension techniques guarantee your fabric lies flat and allow for consistent, even stitching.
Consider the type of fabric you’re using, since this will influence how tightly you need to pull.
| Fabric Type | Tension Level | Stitch Quality |
|---|---|---|
| Cotton | Medium | Smooth and even |
| Denim | High | Strong and durable |
| Silk | Low | Delicate and precise |
How to Keep Your Hand Quilting Tension Consistent
While you stitch away at your quilt, maintaining consistent tension is essential for achieving that professional look.
Maintaining consistent tension while stitching is key to achieving that polished, professional finish in your quilt.
Here are three effective tension techniques to help you guarantee stitch consistency:
1. Use the Right Needle: Choose a needle that suits your fabric type.
A wrong needle can lead to uneven tension and frustration.
2. Practice Your Grip: How you hold your needle can impact tension.
Experiment with holding it lightly to avoid pulling too tightly or loosely.
3. Check Your Thread: Make sure your thread isn’t too thick or thin for your needle and fabric.
A mismatch can cause inconsistent stitches.
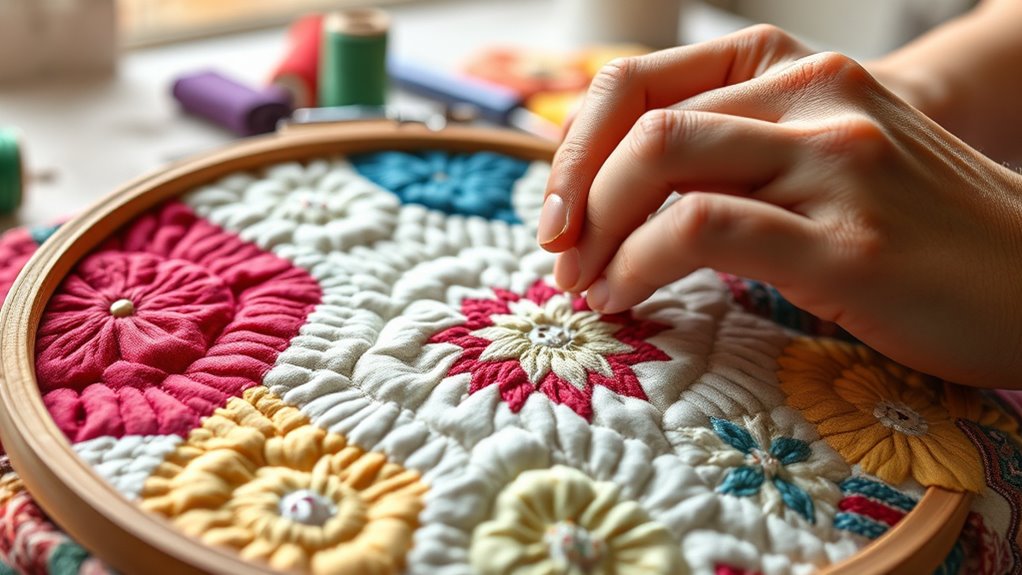
Add Unique Designs With Decorative Stitches
Adding decorative stitches is a fun way to really enhance your hand quilting projects. First, think about choosing patterns that fit your style—don’t be afraid to let your personality shine through! You’ll also want to gather the right tools for the job, like specialized needles or colorful threads, since these little details can make a big difference.
Once you’ve got your materials, it’s a good idea to practice your stitch spacing on a scrap piece of fabric. This helps your finished work look neat and polished. As you experiment, you’ll start to see how these elements come together, helping you create truly unique designs that stand out.
Choosing Decorative Stitch Patterns
How can you improve your hand quilting projects with decorative stitches? By thoughtfully choosing stitch patterns, you can transform your work into a masterpiece.
Here are some stitch selection techniques to explore:
- Nature-Inspired Designs: Look to flowers or leaves for seasonal pattern inspiration.
- Geometric Shapes: Incorporate triangles or circles for a modern twist.
- Traditional Motifs: Use classic designs like paisleys or stars to evoke nostalgia.
Experiment with these ideas to find what resonates with your style. Don’t hesitate to mix and match patterns for a unique flair.
Remember, the right decorative stitches not only improve your quilt’s beauty but also reflect your personality and creativity.
Happy quilting!
Tools For Decorative Stitches
To improve your decorative stitching, having the right tools at your fingertips makes all the difference. Start with high-quality decorative threads that augment your stitch variations and create stunning visual effects.
Choose the right needles that match your thread choices for ideal stitch tension. For pattern selection, consider tools like templates or markers to guide your designs.
Fabric compatibility is vital; verify your materials can handle the embellishment techniques you plan to use. Investigate design inspirations through books or online resources to spark creativity.
Finally, don’t underestimate the power of decorative motifs. They can transform a simple quilt into a masterpiece.
With the right tools, you’ll boost your hand quilting skills and create unique, eye-catching designs.
Tips For Even Spacing
While achieving even spacing in your decorative stitches can seem challenging, it’s essential for creating visually appealing designs.
Here are some tips to help you master the art of spacing:
- Use Visual Guides: Mark your fabric with light pencil lines to act as guides for your stitching.
- Maintain Rhythm: Develop a steady pace while quilting, ensuring your movements are consistent for stitch accuracy.
- Adjust Your Hoop: Regularly check your hoop adjustments for ideal fabric alignment and tension control, which aids in stitch consistency.
Common Hand Quilting Problems and Solutions
Hand quilting can be a rewarding yet challenging craft, and you’re likely to encounter a few common problems along the way.
Thread bunching often occurs when your tension isn’t just right. To fix this, adjust your needle and thread tension, and make certain your fabric is smooth.
Thread bunching can disrupt your quilting; ensure proper tension and a smooth fabric surface for a flawless finish.
Needle breakage can be frustrating. Always use the right needle for your fabric type and replace it when it becomes dull.
Fabric puckering usually results from uneven stitches, so practice consistency in your stitch length.
If you experience hoop slippage, tighten the hoop to keep your fabric taut.
Tension issues can also lead to knot problems, so verify your thread isn’t too tight.
Finally, hand fatigue is common. Take breaks to rest your hands and stretch.
Finishing Touches: Binding and Caring for Your Quilt
Finishing your quilt involves two essential steps: binding and caring for it.
Proper binding not only improves your quilt’s appearance but also protects its edges.
Here are three key binding techniques to reflect upon:
- Straight Binding: This method is straightforward and popular for its clean finish.
- Bias Binding: Ideal for curved edges, it offers flexibility and style.
- Piped Binding: Adds a decorative touch, making your quilt stand out.
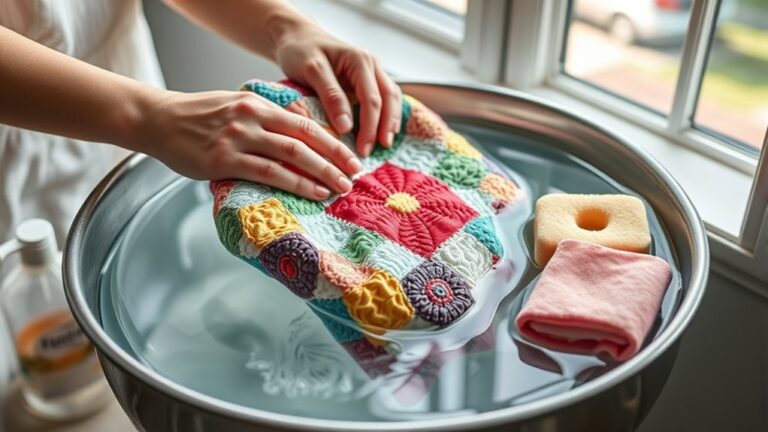
Once you’ve bound your quilt, it’s vital to focus on quilt care.
To keep your masterpiece looking fresh, follow these tips:
- Wash Gently: Use cold water and mild detergent to preserve fabrics.
- Avoid Harsh Chemicals: Stay away from bleach, as it can damage colors.
- Store Properly: Keep your quilt in a cool, dry place, away from direct sunlight.
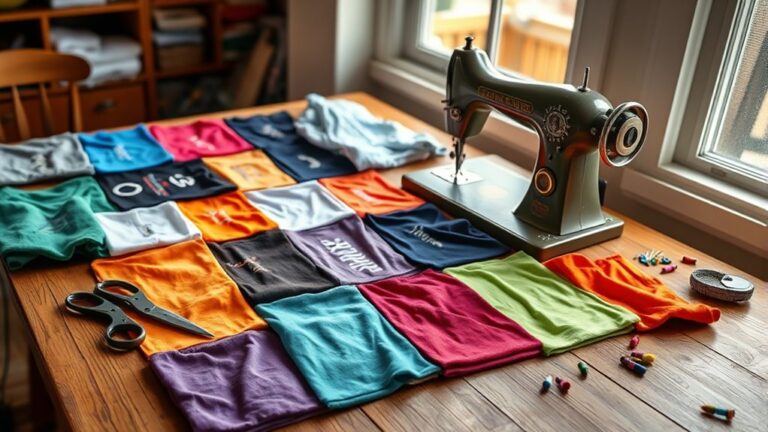
Inspiring Hand Quilting Projects for Beginners
What projects can spark your creativity as a beginner in hand quilting? Start with colorful quilt designs that are not only fun but also beginner friendly.
Here are a few projects to ignite your passion:
| Project Type | Description |
|---|---|
| Patchwork Pillow | Simple squares create a cozy pillow. |
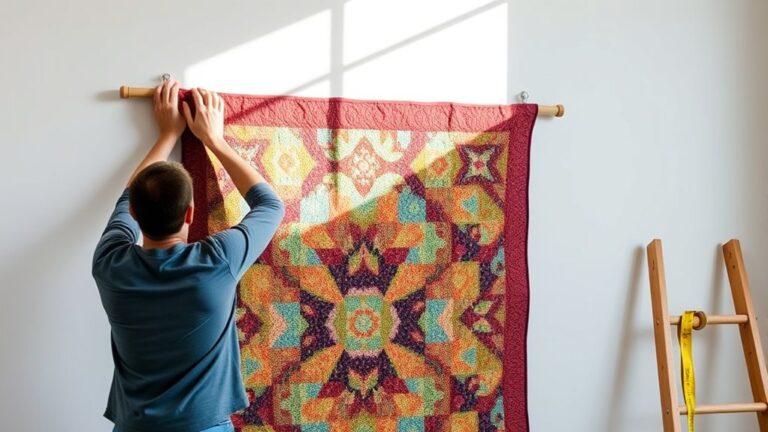
| Mini Quilt Wall Art | Small designs perfect for practice. |
| Sampler Quilt | Combine various beginner friendly patterns for a unique piece. |
Each of these projects encourages you to experiment with fabric and stitching techniques.
You’ll gain confidence while creating something beautiful.
Don’t hesitate to choose vibrant colors that resonate with you; they’ll make your quilting journey even more enjoyable.
Each stitch you make brings you closer to mastering hand quilting.
Immerse yourself, and let your creativity flow!
Frequently Asked Questions
How Long Does It Typically Take to Complete a Hand Quilt?
It typically takes anywhere from a few weeks to several months to complete a hand quilt, depending on your skill level, the quilt size, and your available time.
For a smoother quilting timeline, it’s essential to engage in project planning. Break your quilt into manageable tasks and set realistic goals for each session.
Can I Use Machine Quilting Techniques for Hand Quilting?
Yes, you can definitely use machine quilting techniques for hand quilting! Incorporating those methods can improve your stitch patterns and overall design.
For example, try using similar quilting tools, like a thimble or quilting needle, to achieve precise results. You might also adapt your favorite machine patterns to hand quilting, allowing for more creativity.
Just remember to maintain a steady rhythm, and you’ll create beautiful, cohesive projects that showcase your unique style!
What Types of Fabric Are Best for Hand Quilting?
For hand quilting, you’ll want to choose fabric types that are durable yet soft, like cotton or cotton blends. These fabrics hold stitches well and allow for smooth hand movement.
Avoid slippery or stretchy materials, as they can make quilting challenging. As you gather your quilting supplies, consider pre-washing your fabric to prevent shrinkage later.
This way, your finished quilt will look great and withstand wear over time. Happy quilting!
How Can I Prevent Finger Fatigue While Quilting?
To prevent finger fatigue while quilting, focus on finger care and use ergonomic tools. Choose thimbles that fit comfortably and allow for easy movement.
Take regular breaks to stretch your fingers and hands. It also helps to use a hoop that’s lightweight and easy to handle.
Adjust your grip on the needle and practice a relaxed sewing technique. These small adjustments can greatly reduce strain, keeping you more comfortable during those long quilting sessions.
Is It Necessary to Prewash My Fabric Before Quilting?
Prewashing your fabric isn’t strictly necessary, but it’s highly beneficial. Imagine the vibrant colors releasing their potential as you soak them, preventing any future surprises.
By prewashing, you reduce fabric shrinkage, ensuring your quilt maintains its shape over time. Plus, it removes any chemicals or residues that could affect your quilting experience.
Conclusion
So, you’ve conquered hand quilting with a hoop, and now you’re practically a quilting guru, right? Just remember, mastering those stitches doesn’t mean you’re suddenly a domestic goddess.
You’ll still have to navigate fabric stores like a maze and dodge the “helpful” advice of well-meaning friends. And of course, there’s always the inevitable battle with thread tangles.
But hey, at least you’ve got a quilt to show for it! Who needs perfection when you can have cozy chaos?
Now, go forth and stitch, and enjoy mastering hand quilting with a hoop every step of the way!