Step-by-Step Guide to Add a Border to Your Quilt
If you’ve ever stared at your nearly finished quilt and felt unsure about how to add a border, you’re not alone. Many quilters struggle to achieve that perfect, polished edge that really brings a quilt together.
Whether your corners never quite line up or your borders just don’t sit flat, it’s a common frustration—but don’t worry, we’re here to help you find the best solutions.
To add a border to your quilt, start by choosing fabrics that complement your design.
Measure your quilt accurately, then cut your border strips to size.
Pin the first border piece to the quilt’s edge, sew with a quarter-inch seam, and press the seams open.
Confirm your calculations account for the border width.
With a few pressing techniques and binding methods, you’ll achieve a polished finish.
Stick around to uncover tips for fixing common border issues!
Adding a border to your quilt doesn’t have to be stressful. With the right approach and a few helpful products, you can create a beautifully finished quilt you’ll be proud to show off.
Key Takeaways
- Choose border fabrics that complement your quilt’s colors and textures for visual impact and appeal.
- Measure your quilt accurately, including seam allowances, to ensure a perfect border fit.
- Cut border strips precisely using a rotary cutter so you get clean edges and a smoother attachment.
- Attach borders by aligning and pinning them to the quilt, then sew with a consistent quarter-inch seam allowance.
- Press seams open and finish with binding techniques to give your quilt a polished, professional look.
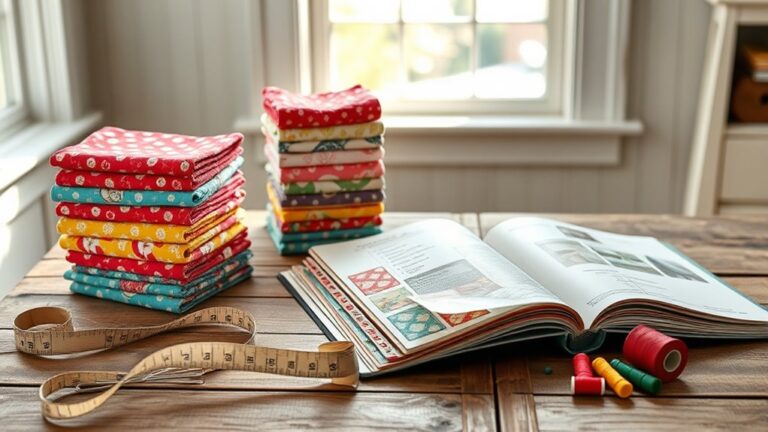
Choosing Fabric for Your Quilt Border
When choosing fabric for your quilt border, consider how it complements the overall design. Think about the color combinations you’ve used in the quilt itself.
A border that echoes or contrasts those colors can improve the visual appeal. For instance, if your quilt features warm tones, a border in a complementary cool shade can create a striking balance.
A well-chosen border can enhance your quilt’s visual appeal by echoing or contrasting its colors for striking balance.
Next, pay attention to fabric textures. Mixing textures can add depth and interest to your quilt.
Pairing a smooth cotton with a textured fabric, like linen or a soft flannel, can raise the overall look. Just make sure the textures work harmoniously together.
Finally, don’t forget to keep your audience in mind. If the quilt is a gift, consider the recipient’s taste in colors and textures.
Measuring Your Quilt for the Perfect Fit
Getting your quilt border just right starts with a good measurement. So, grab your measuring tape and check the dimensions of your quilt. Don’t forget to factor in the seam allowance while you’re at it! Taking a few extra moments to measure carefully really pays off—your border will fit perfectly and give your quilt that polished, finished look you want.
Use a Measuring Tape
Measuring your quilt accurately is essential for achieving a perfect fit when adding a border. Grab your measuring tape and start by laying your quilt flat on a clean surface.
Use clear measuring techniques to determine the width and length of your quilt. Make sure to measure from the center to avoid any discrepancies caused by uneven edges.
Take note of these dimensions, as they’ll guide you in selecting the right border styles. Once you’ve got your measurements, consider how different border styles can complement your quilt’s design.
Whether you prefer simple or intricate borders, knowing your quilt’s precise dimensions will help you create a polished final product that improves your unique creation.
Determine Quilt Dimensions
Getting the right dimensions for your quilt is essential for a seamless border addition.
Start by measuring the length and width of your quilt top.
Knowing these dimensions helps you choose the perfect border width and fabric color that complements your design.
| Measurement Type | Dimension (inches) | Notes |
|---|---|---|
| Length | Measure from top to bottom. | |
| Width | Measure from side to side. | |
| Border Width | Decide how wide you want the border. |
Once you have these measurements, you can calculate the total dimensions needed for your border fabric.
This preparation guarantees a polished finish and a beautiful final product that showcases your hard work.
Account for Seam Allowance
While you’ve gathered your quilt dimensions, it’s essential to account for seam allowance to secure a perfect fit.
This consideration guarantees that your border aligns correctly and complements your quilt’s overall design.
Here are some border alignment tips to keep in mind:
- Measure and add at least ¼ inch for each seam when cutting your border strips.
- Double-check your quilt top’s measurements after piecing, as it might shift slightly.
- Use a consistent seam allowance throughout your project to maintain uniformity.
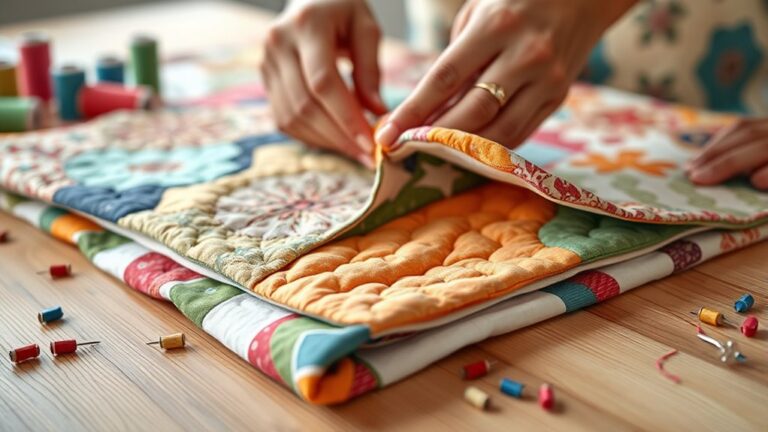
Preparing Your Quilt and Border Pieces
Before you dive into adding borders, take a moment to pick out fabrics that really complement your quilt. It’s worth spending a little extra time on this step since the right fabric can make all the difference in your finished look.
Once you’ve chosen your fabric, go ahead and measure your quilt carefully. Accurate measurements are key here—this helps ensure your borders will fit perfectly, without any awkward stretching or bunching.
Now that you have your measurements, it’s time to cut your border strips. Try to cut as precisely as you can; this will make attaching the borders much smoother and help your whole project come together easily.
Selecting Fabric Types
As you prepare your quilt and border pieces, selecting the right fabric types can greatly improve the overall aesthetic and durability of your project.
Here are some key factors to contemplate:
- Cotton Blends: These offer a good balance of durability and softness, making them ideal for quilts.
- Color Coordination: Think about how your fabric choices will work together; complementary colors can uplift your design.
- Texture Contrast: Incorporate different textures for added depth. This enriches the visual interest of your border.
Also, pay attention to fabric weight and pattern scale to guarantee everything harmonizes.
Don’t forget to factor in seasonal themes and your personal preferences for a quilt that truly reflects your style!
Measuring Your Quilt
Once you’ve selected your fabric types, it’s time to measure your quilt accurately. Start by laying your quilt flat on a smooth surface.
Use a measuring tape to find the width and length of the quilt top. Don’t forget to measure at multiple points, as quilts can sometimes be uneven.
For border styles, consider how wide you want the border to be. Typically, 2 to 6 inches works well.
Keep in mind that your border choice can greatly influence your quilt aesthetics. Opt for a width that complements your design.
Once you have your measurements, jot them down clearly. This preparation sets you up for cutting border strips that fit perfectly and improve your quilt’s overall look.
Cutting Border Strips
To cut your border strips accurately, start by determining the width of your chosen border.
Consider the different border fabric types you might want to use, like solid colors, prints, or even pieced designs.
Once you’ve made your selection, measure and mark your fabric accordingly.
- Choose your fabric carefully: Consider how it complements your quilt’s theme.
- Explore border design ideas: Think about adding a double border or incorporating contrasting colors for visual interest.
- Use a rotary cutter: This tool guarantees clean, straight edges for your strips.
Finally, cut your strips to the required length, keeping in mind any seam allowances.
Enjoy the process and watch your quilt come alive with the perfect border!
Cutting Your Border Fabric Accurately
Cutting your border fabric accurately is essential for achieving a polished look in your quilt.
Start by selecting the right cutting tools. Your rotary cutter, ruler, and cutting mat will be your best friends in this process.
Make certain your fabric is smooth and wrinkle-free before you begin. Lay it flat on your cutting mat, with the selvage edges aligned.
Next, measure and mark the desired width of your border strips on the fabric. Use your ruler for precision, and double-check your measurements to avoid mistakes.
When you’re ready, glide your rotary cutter along the ruler to cut each strip cleanly. Take your time; rushing can lead to uneven edges.
Finally, repeat this process for all the border fabric you need. Remember, accuracy here sets the stage for the perfect quilt border, so focus on getting it right!
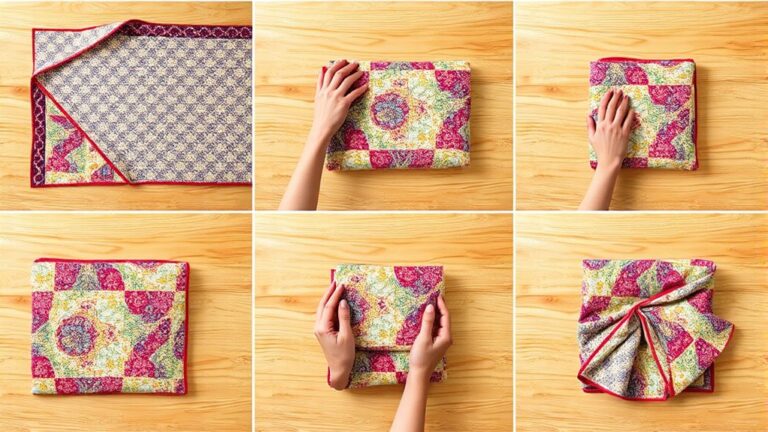
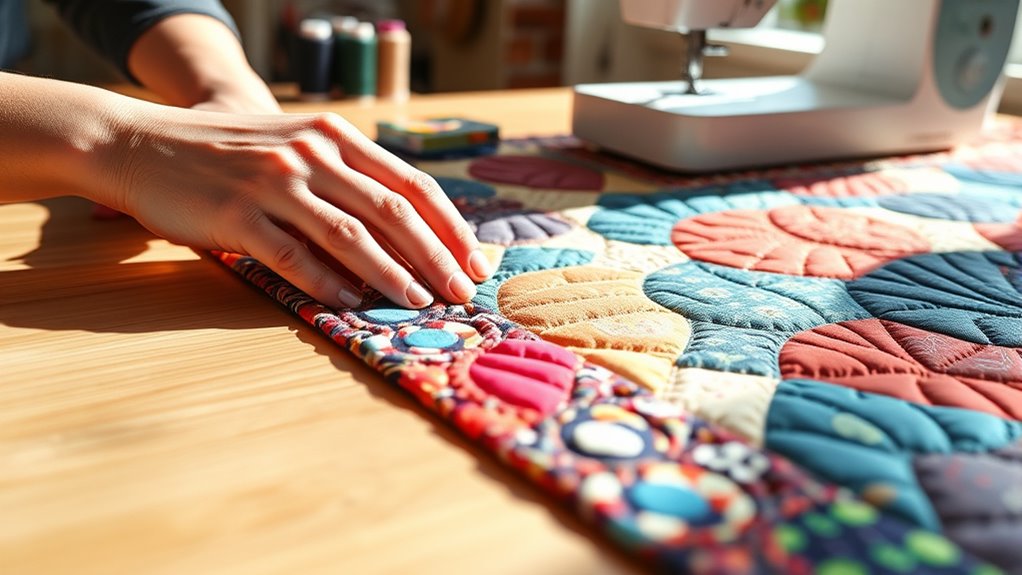
Attaching Your First Quilt Border: Step-by-Step
As you prepare to attach your first quilt border, it’s important to guarantee your quilt top is laid out flat and ready for the next step.
Start by choosing your border styles and fabric combinations carefully, as these will set the tone for your quilt.
Here’s how to attach your border effectively:
- Align the first border piece: Place it right sides together along the edge of your quilt top.
- Pin securely: Use plenty of pins to keep everything in place, ensuring no shifting occurs while sewing.
- Sew with a consistent seam: Use a quarter-inch seam allowance to attach the border, keeping your stitches even.
Once you’ve sewn the first side, press the seam open to avoid bulk.
Repeat the process for the remaining edges.
With each addition, you’ll see your quilt transform beautifully!
Adding Borders for Depth and Style
When you’re ready to add borders, start by picking a fabric that really speaks to you—it’s amazing how much the right choice can boost your quilt’s overall look. Next, you’ll want to grab a measuring tape and do a little math to make sure your borders fit just right; getting those measurements spot-on makes all the difference. And when it comes time to sew, experimenting with different techniques can help you create a finish that’s both polished and full of depth and style.
Selecting Fabric Options
Choosing the right fabric for your quilt borders can really transform your project. It adds both depth and style to your finished piece.
Start by thinking about how your color choices will improve the overall design. Consider whether you want contrasting shades to make the borders pop or harmonious tones for a more subtle effect.
It’s also helpful to play with fabric textures. Mixing different textures can create visual interest and give your quilt extra dimension.
- Bold Prints: Use vibrant patterns to make a statement.
- Solid Colors: Choose a solid to frame your quilt and highlight the main design.
- Textured Fabrics: Incorporate materials like linen or velvet for added depth.
Calculating Border Measurements
Calculating border measurements is essential for achieving the perfect finish for your quilt. Start by determining your desired border width, which can vary based on your chosen border style.
For a narrow border, aim for 2 to 3 inches, while a wider border might range from 5 to 8 inches. Measure the quilt top’s dimensions, then add twice the border width to both the length and width.
For example, if your quilt measures 60 inches by 80 inches and you want a 4-inch border, your final measurements will be 68 inches by 88 inches. This guarantees that your borders frame your quilt beautifully, enhancing its overall design.
Take your time with these calculations to achieve a balanced look.
Sewing Techniques Explained
Adding borders to your quilt not only frames your creation but also boosts its visual appeal.
You can use various sewing techniques to enrich both depth and style.
Here are some methods to contemplate:
- Hand stitching: This technique adds a personal touch and can create intricate designs.
- Border embellishments: Try adding lace, rickrack, or appliqué to make your borders pop.
- Layering fabrics: Use contrasting fabrics to give your borders more dimension.
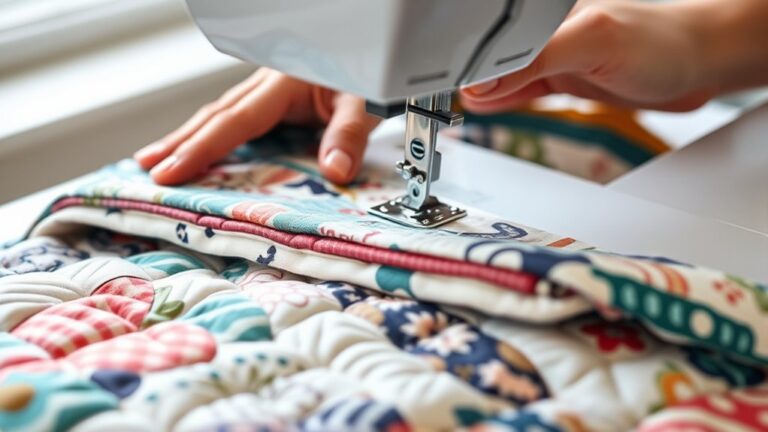
Pressing Techniques for a Neat Finish
Achieving a polished look for your quilt hinges on effective pressing techniques. Start by choosing the right pressing methods for your fabric.
For cottons, a hot iron with steam works wonders, while synthetic fabrics benefit from a cooler setting. Always test a small area first to guarantee you don’t scorch your fabric.
When pressing seams, open them up flat to create a crisp finish. If you’re working with bias edges, press gently to avoid distortion.
Use a pressing cloth to protect delicate fabrics and maintain their integrity.
Don’t forget fabric care; pre-wash your materials to prevent shrinking later. As you press, take your time and make certain each section is smooth before moving on.
A little patience here will pay off in the end, ensuring your quilt’s borders look sharp and professional. Remember, neat pressing is key to achieving that stunning final result you’re aiming for!
Best Quilting Techniques for Borders
Once your quilt is pressed to perfection, it’s time to focus on the borders. Selecting the right techniques can improve your quilt’s visual impact and guarantee design balance.
- Explore Border Styles: From simple strips to intricate piecing, find out which border styles suit your quilt’s overall look.
- Consider Fabric Choices: Choose fabrics that complement your main quilting patterns, improving color theory while adding texture.
- Play with Border Widths: Experiment with different widths to create a striking contrast or harmonious flow.
When you combine various fabric textures and colors, you’ll achieve a cohesive look. Think about how the borders frame your quilt.
A well-chosen border not only completes your design but also raises it. So, take your time to plan and choose techniques that resonate with your quilt’s theme, making it a true labor of love.
Binding Your Quilt for the Final Touch?
Binding your quilt is the finishing touch that transforms your hard work into a polished masterpiece. Choosing the right binding techniques is essential to improve your quilt’s overall appearance.
You can opt for a straight grain binding for a clean, classic look or a bias binding to add a bit more flexibility, especially around curved edges.
When it comes to border styles, consider how they complement your binding choice. A simple border can highlight intricate binding, while a more complex border style might benefit from a streamlined binding to avoid visual clutter.
To begin, cut your binding strips, usually 2.5 inches wide, and sew them together to create a long continuous strip.
Attach the binding to the quilt’s edge, ensuring you miter the corners for a professional finish.
Finally, fold the binding over to the back and secure it with hand stitching or machine sewing for a neat, finished look.
Fixing Common Border Problems
Borders can sometimes present their own set of challenges, even after a quilt is beautifully bound. You might encounter common border issues that can detract from your quilt’s overall appearance.
Thankfully, with the right border techniques, you can address these problems effectively.
- Confirm your border design complements the quilt’s main pattern.
- Choose appropriate border fabrics that improve your chosen border styles.
- Be mindful of border finishes to maintain a polished look.
If your borders are uneven or misshapen, don’t panic. You can trim or adjust them for balance.
If colors clash, consider adding a narrow strip between the quilt and the border for a seamless shift.
Adopt border creativity by experimenting with different styles and fabrics for unique inspiration.
With a little patience and practice, you’ll have borders that raise your quilt to new heights!
Frequently Asked Questions
What Types of Borders Are Best for Beginners?
For beginners, simple border styles like straight or pieced borders work best. Straight borders give your quilt a clean finish, while pieced borders add a bit of creativity without being too complicated.
When choosing fabrics, stick to a few coordinating colors to keep it manageable. This helps you stay focused and makes the process less overwhelming.
How Do I Choose Colors for My Quilt Border?
To choose colors for your quilt border, consider color theory and how different hues interact.
Start by selecting a fabric combination that complements your quilt’s main colors. Use contrasting or analogous shades for a striking effect or a softer look.
It’s helpful to create a swatch layout to visualize how the border ties into the overall design.
Don’t hesitate to experiment; your unique choices can bring your quilt to life!
Can I Use Pre-Cut Fabric for Borders?
Yes, you can definitely use pre-cut fabric for borders! Pre-cut options like jelly rolls or charm packs make it easy to find coordinating colors and patterns.
You can experiment with different border styles, such as a simple strip or a pieced design, to improve your quilt’s overall look.
Just make sure the pre-cuts match your quilt’s size and theme, and you’ll create a stunning finish effortlessly!
How Do I Fix Uneven Border Edges?
Think of your quilt as a beautiful garden, where every border blooms perfectly.
If you’ve got uneven edges, first, assess your quilt edge alignment.
Use border trimming techniques, like squaring up the corners or trimming excess fabric, to create harmony.
Measure carefully, and don’t hesitate to adjust as needed.
You’ll transform those jagged edges into a seamless finish, making your quilt look polished and complete.
Your hard work deserves that perfect border!
What Tools Do I Need for Border Sewing?
For border sewing, you’ll need a few essential tools. Start with a rotary cutter and cutting mat for precise fabric selection.
A quilting ruler helps guarantee your borders are straight and even. Don’t forget quality thread and pins to secure your fabric pieces.
A sewing machine is vital for stitching everything together. Finally, an iron is handy for pressing seams, giving your quilt a polished look.
Happy sewing!
Conclusion
Adding a border to your quilt can truly enhance its beauty.
Remember, “Good things come to those who sew.” With the right fabric, precise measurements, and careful stitching, you’ll create a stunning finish that showcases your hard work.
Don’t shy away from troubleshooting common issues. Every quilter faces them, so you’re definitely not alone.
Welcome the process, and soon you’ll have a quilt that not only keeps you warm but also tells your unique story.
So, enjoy adding a border to your quilt—it’s the perfect final touch to make your creation shine. Happy quilting!