Mastering Applique for Quilters: A Step-by-Step Guide
If you’ve ever felt frustrated by messy edges or uneven stitches in your quilt projects, you’re not alone. Many quilters struggle to master appliqué, feeling overwhelmed by the techniques and tools out there.
The good news is, with the right guidance and products, you can take your appliqué skills to the next level—and enjoy the creative process along the way.
To master appliqué, you need to grasp essential techniques, choose the right fabrics, and prepare your pieces carefully.
Start with quality tools, like sharp scissors and fusible web, to guarantee clean edges.
Experiment with various appliqué styles like needle turn and raw edge to find what suits your projects best.
Don’t forget to troubleshoot common issues like fraying or uneven stitches.
Keep exploring creative project ideas to enhance your skills and bring your quilting visions to life.
Key Takeaways
- Learn essential appliqué techniques like needle turn, raw edge, and fused appliqué. These methods help you achieve varied effects in your quilting projects.
- Choose fabrics wisely, paying attention to weight, color contrast, and texture. This ensures both visual appeal and long-lasting durability.
- Master layering techniques by combining different fabric textures and colors. It’s a great way to create depth and interest in your designs.
- Troubleshoot common issues, such as fraying or uneven stitches, so your finished product looks polished and professional.
- Explore creative project ideas and try out embellishments. This will help you enhance your appliqué skills and inspire unique, personalized designs.
Essential Techniques for Appliqué
When you plunge into appliqué, mastering essential techniques can make all the difference in your quilting projects.
Start by exploring appliqué history to understand how this art form has evolved. Choose your fabric types wisely, as they influence your project’s overall aesthetic.
Exploring the history of appliqué enriches your understanding and enhances the aesthetic of your quilting projects. Choose fabrics wisely.
Tool selection is vital. Invest in quality scissors, fusible web, and a good iron to guarantee crisp edges.
Experiment with stitch variety. Whether you prefer a simple straight stitch or a decorative zigzag, each adds unique charm.
Color theory plays a key role, helping you create harmonious designs that pop. Don’t forget about embellishment options like beads or embroidery for added flair.
Finally, effective project planning will streamline your process. Sketch your design and determine finishing techniques early on, making sure you achieve a polished look.
Choosing the Right Fabrics for Appliqué
Selecting the right fabrics for appliqué can greatly impact your quilt’s overall look and feel. Start by considering fabric weight; lighter fabrics work well for intricate shapes, while heavier ones provide structure.
Aim for color contrast to make your appliqué pop against the background. Don’t overlook texture variety, either. Mixing smooth and textured fabrics adds visual interest.
Keep print scale in mind, because large prints can overwhelm small appliqué pieces. Finding balance here is key.
Explore fabric blends that combine natural and synthetic fibers for durability and ease of care. Seasonal themes can also guide your choices, whether you’re going for bright spring florals or cozy autumn tones.
Finally, think about maintenance considerations. Pre-wash fabrics to prevent shrinkage.
For fabric sourcing, local shops and online retailers offer a wide array of options. Choosing wisely guarantees your appliqué stands out beautifully in your quilt!
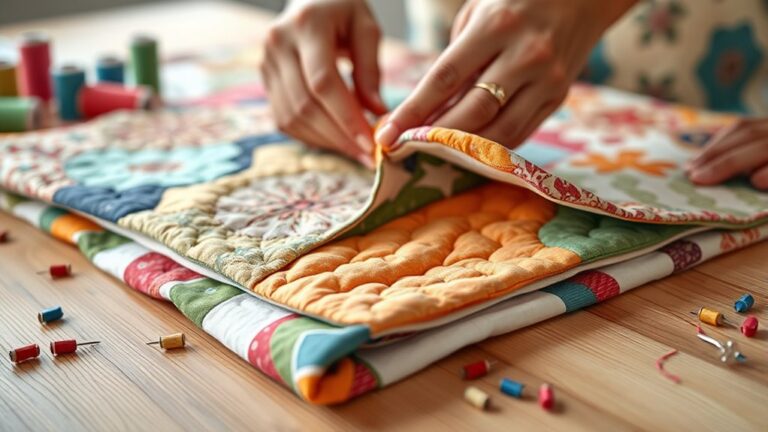
Preparing Your Fabric Pieces for Appliqué
Preparing your fabric pieces for appliqué sets the stage for a successful project. Start with fabric preparation by washing and pressing your fabrics to eliminate shrinkage and wrinkles.
Use effective cutting techniques to guarantee clean edges. Sharp scissors or a rotary cutter work best.
You might want to consider starch application for added stability, making your fabric easier to handle. Choose the right interfacing options to reinforce your pieces without adding bulk.
Next, focus on fabric stabilization, assuring your shapes hold up during stitching. Trace your patterns accurately, allowing for seam allowances to guarantee a snug fit.
Pay attention to fabric orientation, too. Align patterns correctly for visual appeal.
Finally, plan your layout carefully, considering each piece’s placement in relation to others. Finish edges with a method that suits your style, whether it’s zigzag stitching or fusible webbing.
These steps will guide you toward flawless appliqué results.
Key Appliqué Techniques to Master
Mastering key appliqué techniques can improve your quilting projects and bring your designs to life.
Understanding appliqué history helps you appreciate the art’s evolution.
Exploring fabric types guarantees your choices complement your vision.
Consider design inspiration from nature or art.
Apply color theory to create striking contrasts in your work.
| Technique | Description | Tools Needed |
|---|---|---|
| Needle Turn | Turn edges under as you sew | Sharp needle, thread |
| Raw Edge | Leave edges unturned for a casual look | Scissors, fabric glue |
| Reverse Appliqué | Sew the top piece over a base fabric | Two fabric pieces, thread |
| Fused Appliqué | Use adhesive to bond fabric pieces | Fusible web, iron |
With the right tools and stitch variations, you can achieve professional results.
Try out these techniques, and watch your appliqué skills flourish!
Discover Various Appliqué Styles
When you start exploring appliqué styles, you’ll quickly notice that there are a few different ways to go about it. For example, needle turn and raw edge are two popular techniques, and each one brings something special to the table.
Needle turn appliqué is great if you’re aiming for a smooth, polished finish. With this method, you tuck under the fabric edges as you sew, so everything looks neat and seamless.
On the other hand, if you’re going for a project that feels a bit more relaxed and textured, you might want to try raw edge appliqué. Here, you leave the edges exposed, which gives your work a softer, more organic look.
Needle Turn Appliqué Techniques
Uncover the art of needle turn appliqué, a technique that allows you to create beautifully detailed designs with a smooth, hand-stitched finish.
Start by selecting the right needle types and thread choice for your fabric. Proper fabric preparation is vital, so make certain to press and starch your pieces for crisp edges.
As you work, pay attention to your stitch length and tension adjustment to guarantee evenness. Use layout strategies to position your designs accurately before stitching.
Edge finishing is important. Consider using a blind hem stitch for a clean look.
Practice pieces can help you refine your skills. Effective pressing techniques will improve your final result.
Enjoy the process and let your creativity shine!
Raw Edge Appliqué Methods
While needle turn appliqué offers a classic, polished finish, raw edge appliqué brings a playful and modern twist to your quilting projects. This technique often uses fusible web to secure your fabric pieces, allowing for easy design placement.
You’ll enjoy experimenting with various stitch options, from straight to zigzag, to improve your project’s visual appeal.
Keep in mind that raw edge appliqué can lead to fabric fraying over time, adding unique texture contrast to your quilt. Utilize layering methods to create depth, and consider edge finishing techniques like blanket stitching or serging to prevent fraying.
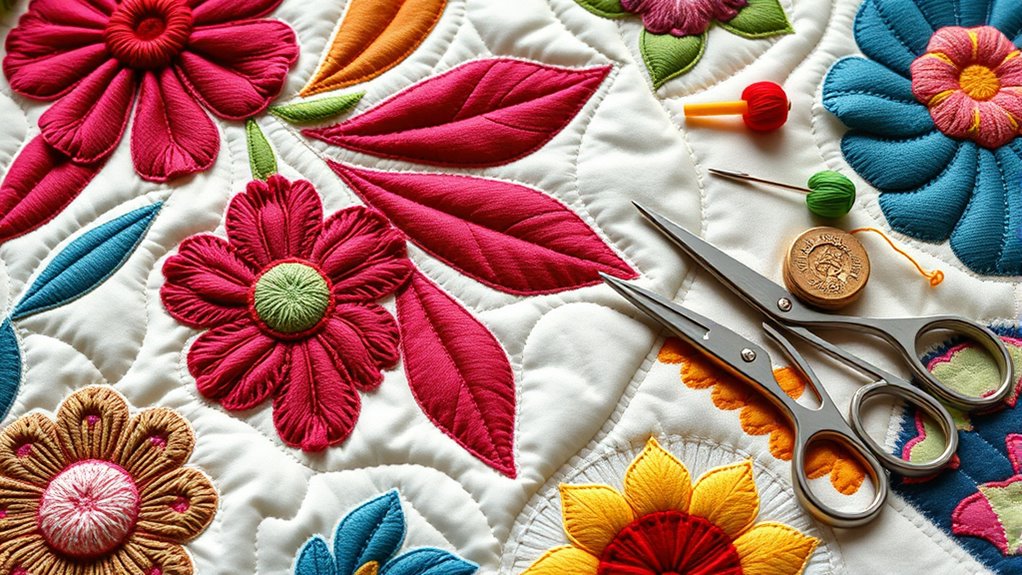
Design Tips for Detailed Appliqué Patterns
When it comes to creating detailed appliqué patterns, picking the right fabrics really matters. Start by sketching out your design—this helps you make sure all the pieces fit together just right. And don’t worry if it takes a few tries to get the look you want; that’s all part of the process! By following these tips, you’ll find yourself making beautiful appliqué projects in no time.
Choosing Fabrics Wisely
How can the right fabric choices improve your appliqué projects? Selecting the perfect color combinations and fabric textures can raise your design markedly.
Consider the pattern scale. Larger prints can create bold statements, while smaller prints add subtle detail.
Think about seasonal themes to inspire your fabric choices. Try using warm tones for fall or cool pastels for spring.
Pay attention to fabric weights. Heavier fabrics offer stability, while lighter ones allow for delicate layering.
Don’t shy away from contrasting colors; they can make your appliqué pop.
Experiment with different print types like florals or geometrics to find what resonates with your vision.
Layering fabrics effectively can also add depth and interest, transforming your project into a stunning work of art.
Sketching Your Design
Sketching your design is an essential step in creating detailed appliqué patterns. Start by gathering design inspiration from nature, art, or personal experiences.
Use sketch techniques like digital sketching or hand-drawn designs to visualize your ideas. Think about your color selection early on; vibrant hues can improve your motifs.
Investigate various motif ideas that resonate with your theme examination. Keep composition tips in mind to create balance and harmony in your design.
Don’t hesitate to play with style variations to find what suits your vision best. As you sketch, refer to visual references for guidance, ensuring your final design reflects your unique artistic voice while being practical for appliqué work.
Layering Techniques for Depth
Layering techniques can transform your applique projects from flat to fabulously dynamic.
To create stunning layering effects, start by choosing fabrics with varying textures and colors.
This not only adds visual interest but also improves the dimensional contrast in your work.
Begin with a base layer and build up, ensuring that each piece is securely stitched or fused.
Consider using overlapping shapes to create depth; this technique allows colors to interact beautifully.
As you layer, think about how light and shadow play across your design.
To highlight certain elements, use lighter fabrics in the foreground and darker ones behind.
Don’t forget to experiment with shapes and sizes.
Varying these can lead to unexpected yet pleasing results.
Remember, the key to mastering layering is practice.
Each project is an opportunity to refine your skills and develop your unique style in applique.
Common Appliqué Problems and How to Fix Them
Even with your layering skills in place, you might encounter a few common appliqué problems that can disrupt your project.
Fabric fraying can be a nuisance. Using a stabilizer or a zigzag stitch helps prevent it.
If you notice uneven stitches, check your thread tension and needle choice. A sharp needle is essential for thicker fabrics.
Poor adhesion can lead to lifting edges, so make certain your fusible web is applied correctly and press firmly.
Color bleeding may occur with certain fabrics. Prewashing can save you from unexpected surprises.
Design distortion often results from improper pattern alignment. It’s a good idea to double-check your placement before committing.
Finally, mastering pressing techniques will help eliminate unwanted creases that can detract from your design.
Final Touches: Quilting and Binding Your Appliqué
Completing your appliqué project requires just a few final touches to make it truly shine. Start by choosing the right quilting techniques to improve your design.
Consider using layering methods to add depth, and be mindful of fabric selection for visual balance.
Here’s a table to help you decide on your finishing touches:
| Quilting Techniques | Binding Options | Embellishment Ideas |
|---|---|---|
| Free-motion quilting | Bias tape binding | Beads and buttons |
| Straight-line quilting | Piped binding | Decorative stitches |
| Echo quilting | Self-binding | Fabric flowers |
| Hand quilting | Zipper binding | Appliqué accents |
| Trapunto | Double-fold binding | Ribbons and trims |
Finally, focus on edge finishing to guarantee durability. Your project presentation will impress with thoughtful color coordination and embellishment ideas that truly reflect your style!
Creative Appliqué Projects to Enhance Your Skills
As you immerse yourself in creative appliqué projects, you’ll uncover new techniques that not only sharpen your skills but also inspire your artistic expression.
Start with beginner projects that incorporate seasonal themes, like autumn leaves or spring flowers. These simple designs allow you to experiment with different fabric combinations and color palettes.
As you grow more confident, challenge yourself with advanced techniques, such as layering fabrics or using creative placements for unique effects. You can also investigate embellishment techniques, like beading or embroidery, to make your projects stand out.
Consider pattern sourcing from various resources, including online project showcases and quilting magazines. They can provide fresh appliqué inspiration and spark your creativity.
Frequently Asked Questions
What Tools Are Essential for Successful Appliqué Work?
To succeed in appliqué work, you’ll need a few essential tools. Start with sharp scissors for precise cuts and an iron for crisp edges.
Use a good quality fusible web to secure your fabric choices. Don’t forget a rotary cutter, which helps you achieve clean, straight lines with ease.
A fine-tipped fabric marker is great for accurate tracing and marking details. Finally, having a variety of thread colors will improve your appliqué techniques and give your projects that perfect finishing touch.
How Do I Choose the Right Thread for Appliqué?
Choosing the right thread for appliqué is like picking the perfect spice for a dish; it’s essential!
You’ll want to contemplate thread types, like cotton or polyester, depending on your fabric.
For color matching, select a thread that complements or contrasts your fabric beautifully.
Test it on a small piece to see how it looks when stitched.
With the right thread, your appliqué will shine like a star in the night sky!
Can I Use Fusible Web on Delicate Fabrics?
Yes, you can use fusible web on delicate fabrics, but you need to be careful. Make certain you choose a lightweight fusible web designed for delicate fabric care.
When applying it, use a low heat setting on your iron to prevent damage. Test on a scrap piece first to see how the fabric reacts.
This way, you can achieve a secure bond without compromising the fabric’s integrity. Happy crafting!
What Are the Best Practices for Washing Appliqué Quilts?
To wash appliqué quilts, always pre-wash fabrics to prevent color bleeding.
Use cold water and a gentle cycle to protect the appliqué.
It’s best to follow care instructions specific to the fabrics you’ve used.
Avoid fabric softeners, as they can affect the fusible web.
After washing, lay your quilt flat to dry or tumble dry on low, ensuring you maintain its shape and integrity.
Regular care keeps your quilt looking beautiful!
How Do I Store Appliqué Pieces Before Assembly?
“An ounce of prevention is worth a pound of cure.”
To keep your appliqué pieces organized before assembly, use clear plastic bags or labeled containers. This way, you can easily identify each piece and prevent any damage.
Consider using a dedicated binder with plastic sleeves for flat storage.
These storage solutions not only keep everything neat but also make it easier to find what you need when you’re ready to start sewing.
Conclusion
You’ve now got the tools to take your appliqué skills to the next level! By mastering essential techniques and exploring different styles, you can truly make your quilts pop.
Remember, practice makes perfect. Don’t be afraid to immerse yourself and experiment with your applique for quilters projects.
With a little patience and creativity, you’ll be stitching up stunning projects in no time. So, roll up your sleeves and let your imagination run wild.
When it comes to applique for quilters, there’s no limit to what you can create!