Quick Tips to Square Up a Quilt
If you’ve ever felt frustrated by a quilt that just won’t lay flat or struggles to look crisp and professional, you’re not alone. Many quilters struggle with getting those edges perfectly straight and corners squared up, especially after hours of piecing and sewing.
But don’t worry—squaring up your quilt doesn’t have to be intimidating, and we’re here to help you get that flawless finish you’re after.
Squaring up your quilt is key for a polished finish that lays flat and lasts longer. Start by using a good quilt ruler and a sharp rotary cutter.
Measure in multiple spots and check corners for accurate angles. Lay your quilt flat and trim edges evenly to avoid wonkiness.
Remember, a gentle grip helps maintain control while cutting.
There’s more to learn about perfecting your corners and troubleshooting squaring issues, so keep going!
Key Takeaways
- Use a good quilt ruler and sharp scissors for precise measurements and clean cuts during the squaring process.
- Measure diagonally to make sure your corners are crisp and form 90-degree angles. This helps confirm your quilt is actually square.
- Lay the quilt flat on a cutting mat, and check that the edges line up before trimming. This way, you’ll get nice, even sides.
- Try not to overlook things like fabric distortion, and don’t rush your measurements. Taking your time keeps everything accurate.
- Hold your tools with a steady grip so you have stability and control. This ensures smoother, more accurate cuts and helps avoid slips.
Why Squaring Up Your Quilt Matters
When you square up your quilt, you’re not just tidying up the edges; you’re ensuring a polished final product. Squaring is essential for achieving quilt aesthetics that stand out.
When your edges are aligned, the overall appearance becomes more professional and visually pleasing. You want your hard work to shine, and that starts with perfect fabric alignment.
If you skip this step, you risk ending up with a wonky quilt that doesn’t lay flat or fit well into a binding. Not only can this affect the look, but it can also compromise the quilt’s durability.
By taking the time to square up, you’re setting the stage for a quilt that not only looks good but also holds its shape over time. So, grab your ruler and get ready to make those edges neat and precise.
Your quilt deserves that extra attention to detail!
Essential Tools for Squaring a Quilt
To square your quilt effectively, you’ll need a few essential tools that make the process smoother and more accurate.
First, invest in a good quilt ruler. This tool helps you measure and cut your quilt with precision, ensuring clean, straight edges. Look for a ruler with grid lines and angled markings for added versatility.
Next, a sharp pair of fabric scissors is vital. Dull scissors can lead to jagged edges and uneven cuts, which defeats the purpose of squaring up your quilt.
Keep your scissors well-maintained for the best results.
Finally, a cutting mat provides a protective surface for your fabric while you work.
Together, these tools will help you achieve a professional finish. With the right equipment, squaring your quilt becomes a straightforward task, allowing you to focus on your creativity and enjoy the quilting process.
Measuring Your Quilt Correctly
When you’re measuring your quilt, it’s important to use straight edges to make sure your measurements are accurate. You don’t want any curves or wobbles throwing things off!
Also, try measuring your quilt in a few different spots rather than just one. This way, you can check that your measurements are consistent all the way across. It’s a simple step, but it really helps you avoid any surprises when you get to the finishing stage.
Use Straight Edges
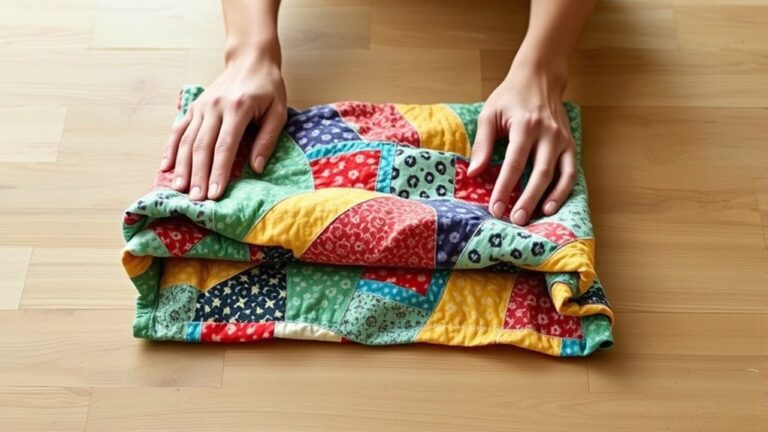
Using straight edges is vital for measuring your quilt accurately. When you’ve selected your fabric, make certain that you lay it out flat on a smooth surface.
Start by aligning the edges of your quilt with a straight ruler or cutting mat. This will help you achieve precise edge alignment, which is critical for a well-finished quilt.
You can also use a long quilting ruler to check the straightness of your edges. If you notice any waviness or distortion, gently stretch the fabric until it lies straight.
Consistent edge alignment not only improves the overall look of your quilt but also makes it easier to sew your layers together.
Take your time with this step for the best results.
Measure Multiple Points
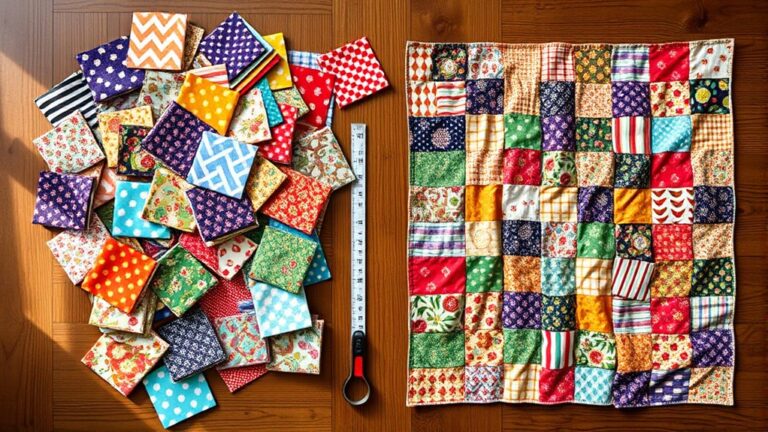
How can you guarantee your quilt measurements are spot on? Start by measuring multiple points on your quilt to confirm accuracy.
Begin with measuring corners; they should all align perfectly. Use a reliable ruler or measuring tape, and don’t skip any corners.
Next, check your diagonals. Measure from corner to corner on both sides. If the measurements are the same, you’re on the right track.
If not, adjust your quilt until they match. This method helps you identify any distortions early on, allowing for fixes before you proceed.
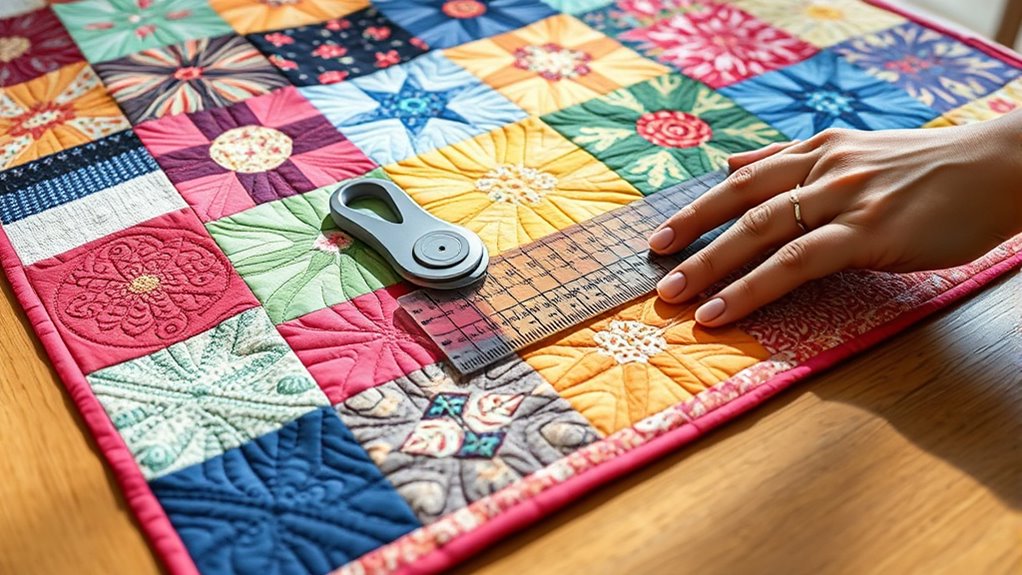
Step-by-Step Guide to Trimming Edges
Trimming edges is an essential step in achieving a polished quilt, ensuring every piece fits seamlessly together.
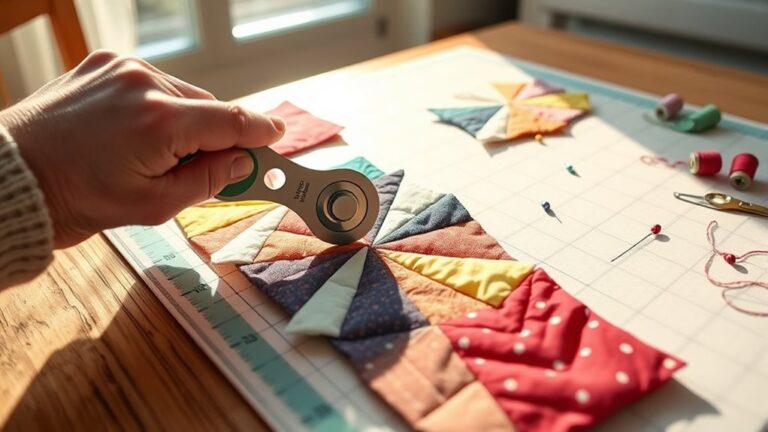
Start by laying your quilt on a flat surface. Use a long ruler and a rotary cutter for precision.
Lay your quilt flat and utilize a long ruler with a rotary cutter for precise trimming.
First, check your edge alignment, making sure all layers are even. Align the ruler with the edge you want to trim, ensuring it’s straight.
Next, apply light pressure and cut along the ruler’s edge. Don’t rush; steady hands yield better results.
If you’re using different trimming techniques, like squaring up each corner, take a moment to adjust and measure again.
After trimming, inspect your work for any uneven edges and correct them as needed.
Repeat this process around the entire quilt for uniformity. With these steps, you’ll have clean edges, setting the stage for the next phase of your quilting project.
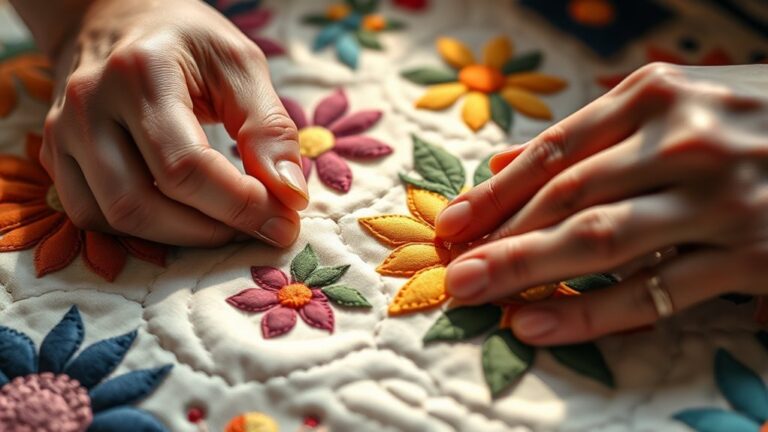
Proven Techniques for Creating Perfect Quilt Corners
With clean edges in place, you’re ready to tackle quilt corners, which are key to achieving a professional look. Start by ensuring proper corner alignment.
When you fold your fabric, make sure the edges meet perfectly at the point. This not only gives a neat finish but also prevents any puckering.
Next, pay attention to fabric tension. If your corners are too tight, they can distort the shape. If they’re too loose, they’ll appear floppy.
To maintain the right tension, gently pull the fabric while sewing, but don’t overstretch it.
Use a ruler or a corner template to guide your cuts, ensuring each corner is crisp and even.
Finally, press each corner carefully after sewing. This helps set the shape and finish.
Common Mistakes to Avoid When Squaring Your Quilt
Squaring your quilt is essential, yet many quilters make common mistakes that can lead to frustration. One major pitfall is ignoring fabric distortion.
Squaring your quilt is crucial; neglecting fabric distortion can lead to uneven edges and frustration.
If you stretch your quilt while measuring, it’ll throw off your measurements, resulting in uneven edges. Always lay your quilt flat and avoid pulling on the fabric.
Another mistake involves improperly handling quilt borders. When adding borders, make sure they’re the right length and not too tight. This can cause puckering and distort the overall shape.
Additionally, don’t forget to double-check your measurements before cutting. Rushing through this step can lead to uneven sides.
Finally, remember to trim evenly from all sides. Skipping this can create a lopsided finish.
Troubleshooting Squaring Issues
Even if you’ve followed all the steps to square your quilt, issues can still arise.
It’s important to troubleshoot any problems, especially regarding alignment adjustments and fabric distortion.
Here are a few tips to help you get back on track:
1. Check Alignment:
Lay your quilt on a flat surface and verify all corners align properly.
If they don’t, you might need to make minor adjustments to the edges.
2. Look for Distortion:
Examine your fabric closely.
If it appears stretched or warped, consider re-pressing or trimming those areas to restore shape.
3. Reassess Your Cutting Technique:
If squaring still seems off, review your cutting method.
Using a rotary cutter incorrectly can lead to uneven edges, contributing to squaring issues.
How to Use a Rotary Cutter Safely
A rotary cutter is a real time-saver for quilting, but safety should always come first. Before you dive in, it helps to know a few basics. For starters, getting comfortable with the right grip makes a big difference, so take a moment to practice holding your cutter securely. Most rotary cutters also have built-in safety features—like blade guards or locks—so make sure you know how those work before you start cutting.
And don’t forget about your cutting mat! It protects your surfaces and keeps your blade sharp, so always use one. With a bit of practice and attention to these details, you’ll find that handling your rotary cutter becomes second nature—and you can work confidently and safely every time.
Proper Grip Techniques
A rotary cutter is a quilter’s best friend, but its sharp blade demands respect and proper handling.
To guarantee safety while cutting, focus on grip techniques that improve control:
1. Grip Pressure:
Apply firm yet gentle pressure.
Too much force can lead to slips, while too little may result in uneven cuts.
2. Hand Positioning:
Keep your dominant hand on the handle, using your other hand to guide the fabric.
This stabilizes the cut and helps prevent accidents.
3. Body Alignment:
Position your body close to the cutting area.
Staying close helps you maintain balance and control, so your cuts come out smoother and more accurate.
Blade Safety Features
While rotary cutters are essential tools for quilting, understanding their safety features can greatly reduce the risk of accidents.
Start by choosing the right blade types. Some are designed specifically for safety, minimizing exposure when not in use.
Look for ergonomic designs that fit comfortably in your hand. This reduces strain during long cutting sessions.
Always use safety guards. These guards automatically retract when you press the cutter down, protecting your fingers.
Safety guards not only protect your hands but also boost your cutting accuracy. They help ensure a clean and precise cut without the risk of injury.
By incorporating these safety features into your routine, you’ll not only keep yourself safe but also improve your quilting experience.
Cutting Mat Essentials
Choosing the right cutting mat is essential for safely using your rotary cutter.
You’ll want to prioritize safety and precision in your quilting projects.
Here are three key tips:
1. Mat Size Selection:
Choose a mat that fits your workspace and the size of your fabric.
A larger mat allows for more comfortable cutting.
2. Cutting Mat Maintenance:
Regularly clean your mat to prevent debris buildup, which can dull your rotary cutter’s blade.
A gentle soap and water solution works wonders.
3. Protective Layer:
Always use a self-healing cutting mat.
It absorbs cuts and extends the life of both your mat and blade.
Checking Squareness After Cutting
Checking squareness after cutting is vital for achieving precise quilt blocks. Once you’ve cut your fabric, take a moment to assess your pieces.
Start by laying them out flat on your cutting mat. Check that the edges align perfectly; any discrepancies can affect your overall cutting accuracy.
Use a clear ruler to measure diagonally from corner to corner. If the measurements aren’t equal, your fabric isn’t square.
Next, look at the corners. Are they crisp and 90 degrees? If they’re off, you’ll need to trim them to guarantee proper fabric alignment.
A quick re-measure can save you from headaches later on. Remember, even small inaccuracies can compound as you sew, leading to a less-than-perfect finish.
Taking these extra steps now will pay off in the long run, so don’t skip this vital check!
How to Maintain Squareness While Quilting
To keep your quilt square, it really helps to start with accurate cutting techniques. That way, each piece will fit together just right. It’s also important to pay attention to your seam allowance and try to keep it consistent as you sew. This little detail makes a big difference because it helps your design stay true to what you planned. By focusing on these steps, you’ll avoid distortion and your project will stay nicely aligned as you go.
Accurate Cutting Techniques
Maintaining squareness in your quilting project starts with precise cutting techniques.
When you focus on cutting accuracy, you lay the foundation for a well-aligned quilt.
Here are three tips to help you achieve that:
1. Use a rotary cutter and mat:
This guarantees clean, straight edges, making it easier to maintain fabric alignment.
2. Measure twice, cut once:
Double-check your measurements before cutting to avoid waste and verify each piece fits perfectly.
3. Square your fabric:
Before cutting, fold your fabric to check for squareness. Trim any uneven edges to maintain accuracy.
Consistent Seam Allowance
Achieving consistency in seam allowance is essential for keeping your quilt pieces aligned and square. When you maintain seam precision, each piece fits perfectly and enhances the overall design.
Use a consistent seam allowance, typically ¼ inch, for best results.
| Tip | Description | Benefit |
|---|---|---|
| Measure Your Foot | Use a ¼ inch foot for accuracy. | Guarantees seam consistency. |
| Press Open Seams | Press seams open for better alignment. | Reduces bulk and distortion. |
| Use a Guide | Place tape on your machine for a visual guide. | Aids in maintaining precision. |
| Practice Before Cutting | Sew scrap pieces to fine-tune your technique. | Builds confidence and skill. |
Frequently Asked Questions
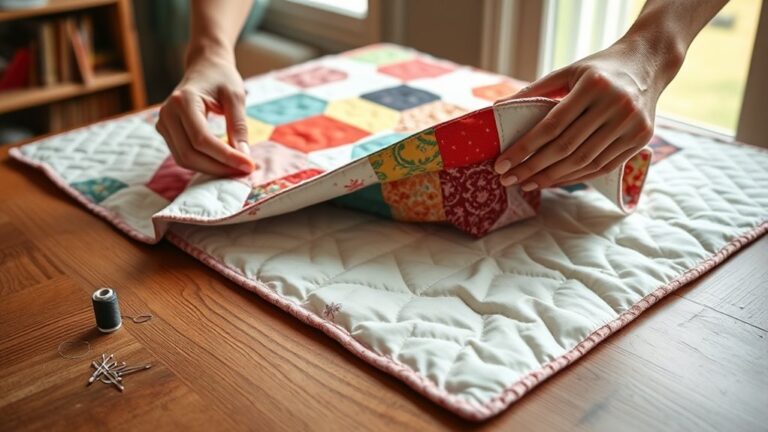
Can I Square up a Quilt After It’s Been Quilted?
Yes, you can square up a quilt after it’s been quilted! Start by laying your quilt on a flat surface.
Use a ruler or straight edge to measure and mark where you need to trim. Carefully cut away any excess edges to achieve a straight line.
This quilt trimming method allows for post quilting adjustments, ensuring your quilt looks sharp and neat.
Don’t hesitate to take your time for the best results!
How Often Should I Square My Quilt During the Process?
You should square your quilt at several stages throughout the process. Start by using pre-squaring techniques before you piece the blocks together. This helps guarantee everything lines up correctly.
As you sew each section, check your measurements with reliable measuring tools. Regularly squaring up your quilt as you go reduces the chance of issues later on.
This also makes your final trimming easier and more accurate. Stay consistent, and you’ll achieve great results!
What if My Quilt Is Slightly off After Squaring?
If your quilt’s slightly off after squaring, don’t worry! You can use trimming techniques to fix those crooked edges.
Start by laying your quilt flat and measuring the corners to see how much you need to trim. Use a rotary cutter and ruler to carefully cut the excess fabric, ensuring you maintain straight lines.
This’ll help you achieve a polished finish and keep everything looking neat. You’ve got this!
Is Squaring Necessary for All Quilt Types?
Squaring isn’t necessary for all quilt types, but it brings several benefits. For traditional patchwork or precision quilts, squaring helps guarantee your blocks align perfectly, enhancing the overall look.
If you’re working on a more relaxed style, like a rag quilt, you might skip it without major consequences. Still, taking the time to square can improve your quilt’s longevity and fit, no matter the type.
Ultimately, it’s up to your project’s needs!
Can I Use Scissors Instead of a Rotary Cutter?
Yes, you can use scissors instead of a rotary cutter, but it might take longer.
Did you know that 70% of quilters prefer rotary cutters for their precision? Scissors have advantages, like being easier to control for small cuts and intricate details.
However, in terms of long, straight edges, a rotary cutter usually provides a cleaner cut. Ultimately, the choice depends on your comfort and the project’s requirements.
Conclusion
By squaring up your quilt, you guarantee it looks polished and fits together seamlessly. It also helps your work stand the test of time.
Adopt the right tools, measure accurately, and trim with confidence. That way, you’ll catch any issues before they become problems.
Remember to check for squareness throughout your process. Maintain precision while quilting, and troubleshoot any issues that arise along the way.
With these tips in hand, you’re not just finishing a quilt; you’re crafting a masterpiece. Squaring up a quilt showcases your skills, reflects your creativity, and brings joy to every stitch.
Happy quilting!