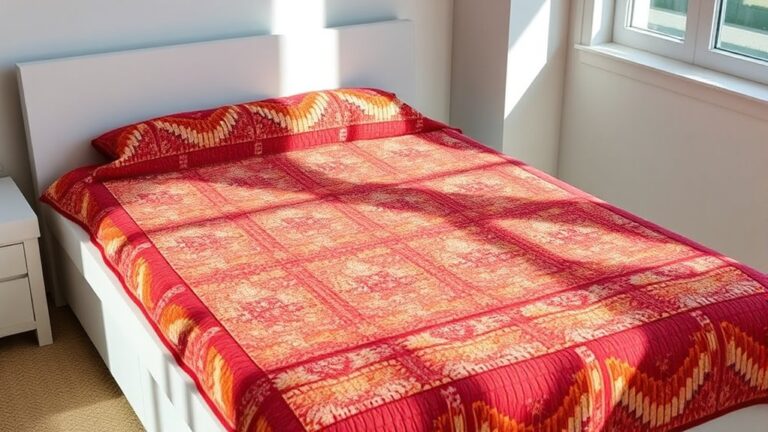
Step-by-Step Guide to Make a Jelly Roll Quilt
Starting a new quilting project can feel overwhelming, especially when you’re staring at a pile of beautiful fabric but have no idea where to begin.
If you’ve ever felt stuck choosing patterns or confused by all the steps, you’re not alone—many people struggle with these same challenges.
That’s exactly why learning how to make a Jelly Roll Quilt is so popular—it’s approachable, fun, and perfect for quilters of all levels.
To make a Jelly Roll Quilt, start by choosing fabrics that fit your theme, mixing patterns and textures for depth.
Gather essential tools like a rotary cutter, sewing machine, and cutting mat.
Cut your jelly roll strips, then organize them by color for easy access.
Use a consistent ¼” seam allowance and press seams for a polished look.
Finally, quilt and bind your project for a beautiful finish.
You’ll uncover even more tips and techniques as you continue!
Key Takeaways
- Choose complementary fabrics and colors, mixing textures and patterns for a visually appealing jelly roll quilt.
- Organize your sewing space with essential tools, and make sure you have a well-lit area for efficient work.
- Cut jelly roll strips uniformly using a rotary cutter. Stack them by color for easy access as you sew.
- Select quilting techniques that resonate with you, whether that’s machine or hand quilting, to create unique effects.
- Attach binding securely with a ¼-inch seam allowance, ensuring a clean finish and lasting durability.
How to Choose the Best Jelly Roll Fabrics for Your Quilt
When you’re ready to pick the perfect jelly roll fabrics for your quilt, what should you take into account first?
Start with fabric selection. Think about the overall theme or mood you want your quilt to convey. Are you drawn to vibrant colors or softer tones?
Next, focus on color coordination. Selecting fabrics that complement each other improves the visual appeal of your quilt.
Color coordination is key; fabrics that complement one another enhance your quilt’s visual appeal and overall beauty.
Use a color wheel as a guide; colors that are adjacent often work well together, while contrasting colors can add excitement.
Don’t forget to take into account the fabric’s texture and pattern. Mixing solids with prints can create depth and interest.
If you’re feeling adventurous, try incorporating a few unexpected fabrics for a unique twist.
Remember, the right jelly roll can transform your vision into a stunning quilt, so take your time and enjoy the process of choosing!
Your quilt will reflect your personal style and creativity.
What Tools and Supplies Do You Need?
After selecting your jelly roll fabrics, it’s time to gather the tools and supplies that’ll make your quilting experience smooth and enjoyable.
First, you’ll need a rotary cutter or fabric scissors. These cutting tools are essential for trimming your fabric strips accurately.
A cutting mat is also vital. It protects your surfaces and helps you measure precisely.
Next, grab a quilting ruler to guarantee your cuts are straight and uniform. A sewing machine is a must, along with an assortment of thread that matches your fabric types.
Don’t forget to include pins or clips to hold your pieces together while you sew.
Lastly, a seam ripper is a handy tool for any mistakes. With these supplies in hand, you’re all set to plunge into your jelly roll quilt project with confidence!
Preparing Your Sewing Space for Quilting
Creating an efficient sewing space is essential for a successful quilting experience. Start by choosing a well-lit area with ample room to spread out your materials. Clear your workspace of distractions, and make sure your sewing machine is easily accessible.
Next, focus on fabric organization. Use labeled bins or shelves to keep your jelly roll strips sorted by color or pattern. This not only saves time but also keeps your space tidy.
Have a designated area for tools like scissors, pins, and threads. Make certain everything’s within arm’s reach, so you don’t have to interrupt your flow.
Consider adding a cutting mat and ruler to your setup. These can really streamline the process when you start cutting your strips.
Finally, keep a trash bin nearby for easy cleanup. A well-prepared sewing space improves your quilting flow and creativity, making the entire process more enjoyable.
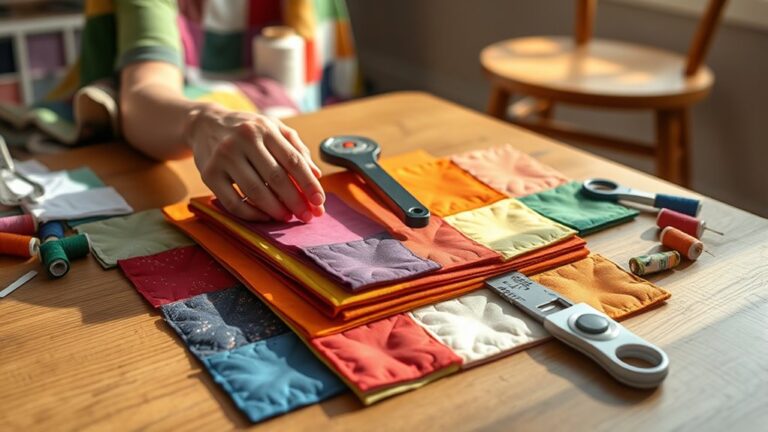
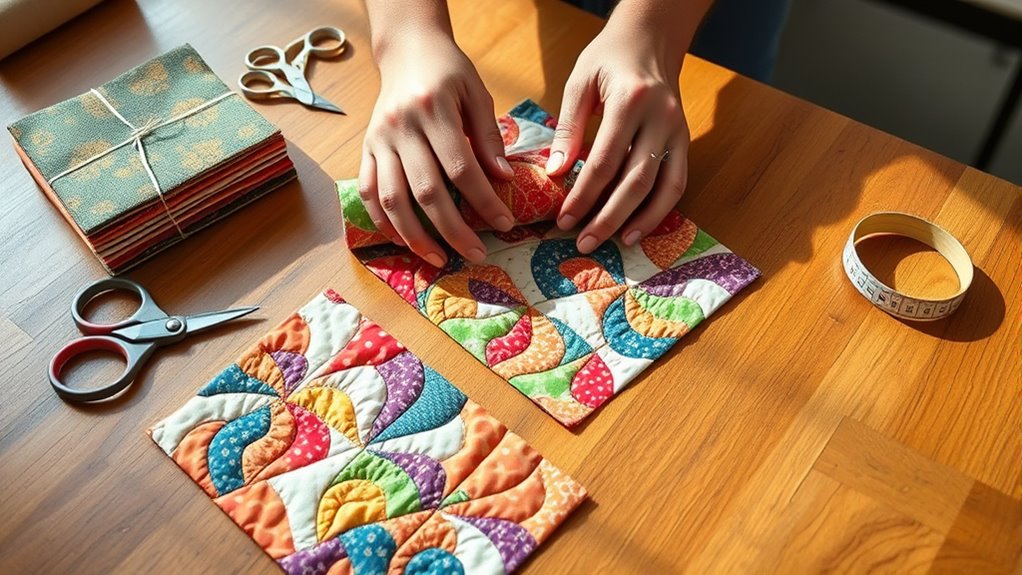
Cutting and Organizing Your Jelly Roll Strips
To effectively cut and organize your jelly roll strips, start by laying them out flat on your cutting mat. Take a moment to assess your fabric selection; choose colors and patterns that inspire you.
Once you’ve decided on the strips you’ll use, it’s time to focus on strip organization. Use a rotary cutter to slice the strips to your desired length, ensuring you keep the edges straight for accurate piecing later.
As you cut, stack the strips neatly in groups, perhaps by color or pattern, to make them easier to grab during sewing. Consider using labeled bins or containers to keep everything organized.
This step saves you time and frustration when you start assembling your quilt. With your strips cut and organized, you’re now ready to move on to creating beautiful layouts that showcase your fabric choices.
Happy quilting!
Creative Layout Ideas for Your Jelly Roll Quilt
With your jelly roll strips neatly organized, it’s time to investigate how to arrange them for a stunning quilt layout. The right layout can improve your color palette and create visual balance.
Here are some creative layout variations to evaluate:
Explore creative layout variations to elevate your jelly roll quilt design and enhance your color palette.
- Staggered Rows: Alternate the lengths of your strips for a dynamic look. This style is perfect for playful design themes.
- Diagonal Layout: Arrange strips diagonally to add movement and interest. This approach really helps showcase your favorite fabric combinations.
- Checkerboard Pattern: Mix light and dark strips for a classic quilt pattern. This method emphasizes contrast and creates a sense of depth.
- Spiral Design: Create a spiral effect by arranging strips in a circular manner. This draws the eye inward and adds an artistic twist.
Experimenting with these ideas will help you find the perfect layout that complements your fabric combinations and your overall vision for the jelly roll quilt.
Enjoy the process!
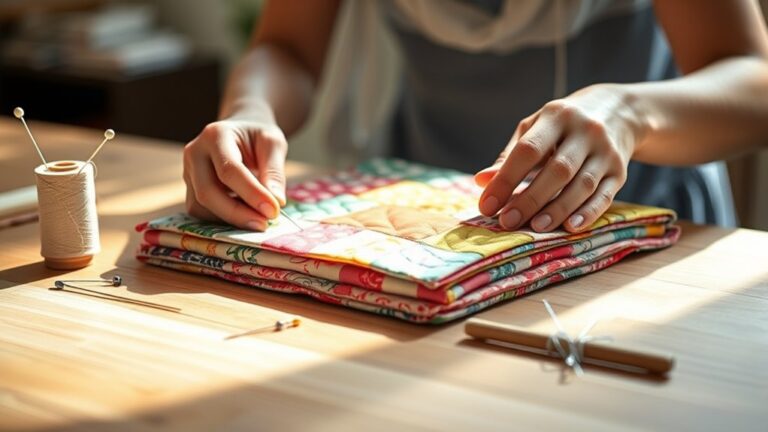
Sew Your Strips Together Step-by-Step
As you plunge into sewing your strips together, you’ll want to guarantee each seam is precise for a polished finish.
Start by aligning your strips carefully. Use these seam alignment tips to ensure an even look:
| Step | Action |
|---|---|
| 1. Choose Strips | Select your favorite colors |
| 2. Lay Out | Arrange strips in desired order |
| 3. Pin Strips | Pin each strip together firmly |
| 4. Sew Seams | Use a 1/4″ seam allowance |
| 5. Check Alignment | Confirm strips align correctly |
Employ strip piecing techniques to streamline the process. Sew each strip in sequence, making sure to maintain your seam allowance throughout.
After sewing, you’ll notice how these techniques elevate your quilt’s overall design.
Keep your workspace organized to promote both efficiency and creativity. Happy quilting!
Pressing Seams for a Professional Finish
Once you’ve sewn your strips together, pressing seams correctly is key to achieving that professional finish.
Proper pressing techniques help your quilt lay flat and improve its overall appearance.
Proper pressing techniques are essential for a flat quilt and an enhanced overall appearance.
Here are four essential tips to keep in mind:
- Use the Right Heat Setting: Adjust your iron’s temperature based on your fabric type to avoid scorching.
- Press, Don’t Iron: Gently lift the iron and press down to avoid stretching your seam allowances.
- Open vs. Layered Seams: Decide whether to press seams open or to the side, depending on your quilt’s design, for a neater finish.
- Invest in a Good Iron: A quality iron with a steam function can make a significant difference in achieving crisp seams.
Adding Borders and Batting to Your Jelly Roll Quilt
To improve your jelly roll quilt’s design and structure, adding borders and batting is essential.
Start by selecting your border types. You can choose from various styles, such as single, double, or pieced borders, depending on how you want to frame your quilt.
Measure your quilt top and cut your borders accordingly, guaranteeing they complement your jelly roll fabrics.
Next, it’s time to pick batting materials. Cotton batting is popular for its softness, while polyester offers durability and loft.
Lay your quilt top, batting, and backing on a flat surface. Trim everything to the same size, then sandwich them together.
Secure the layers with safety pins or basting spray to prevent shifting while you sew.
Adding borders not only boosts your quilt’s visual appeal but also provides structure, while the right batting guarantees it has the warmth and comfort you desire.
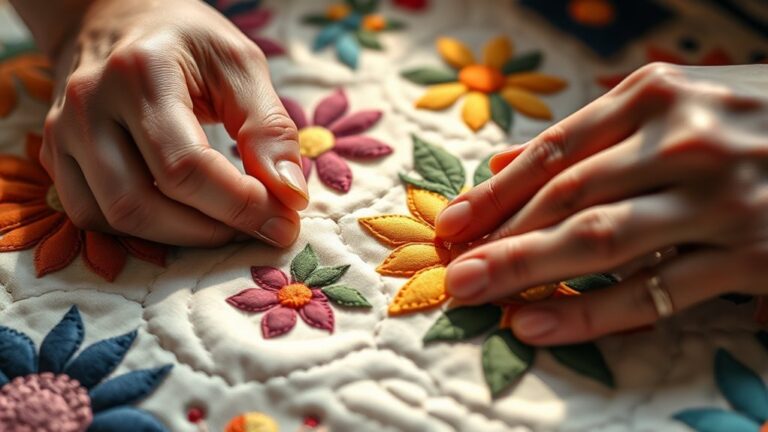
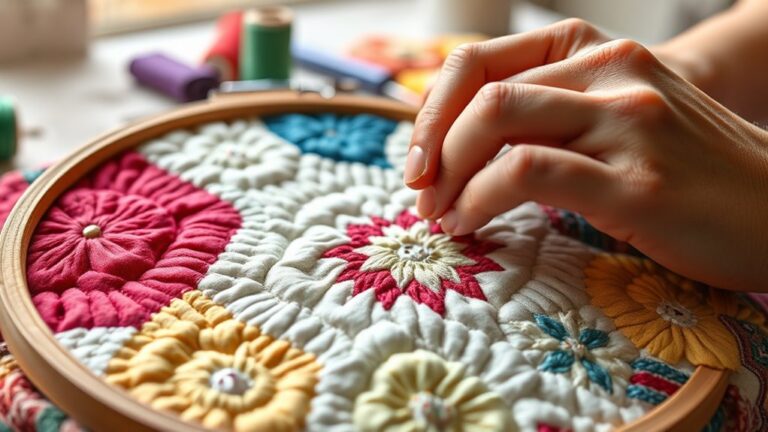
What Quilting Techniques Should You Use?
In relation to quilting techniques for your jelly roll quilt, you’ll find several effective options to boost its beauty and durability.
Here are some techniques you can use:
- Machine Quilting: This method saves time and lets you try out intricate quilting patterns. You can experiment with various stitches for unique designs.
- Hand Quilting: For a more traditional touch, hand quilting adds charm and character. It’s perfect if you enjoy a slower, more meditative process.
- Patchwork Techniques: Try using different patchwork methods to create interesting visual effects. Mixing various fabric prints can really improve the overall look of your quilt.
- Quilting Patterns: Explore different quilting patterns, like stippling or echo quilting, to add depth and texture. These patterns can help highlight your design beautifully.
Choose the techniques that resonate with you to make your jelly roll quilt truly unique!
Binding Your Jelly Roll Quilt: Final Touches
After perfecting your quilting techniques, it’s time to focus on the final touches that bring your jelly roll quilt together: the binding.
Start by choosing your binding fabric, which should complement your quilt’s colors. Cut strips, usually 2.5 inches wide, from the fabric, and sew them together to make one long strip.
Next, fold the strip in half lengthwise and press it. Attach one edge of the binding to the quilt’s front, using a ¼-inch seam allowance.
This is where your binding techniques come into play. You can use a straight stitch or a zigzag stitch for a decorative finish.
When you reach a corner, fold the binding at a 45-degree angle, then continue sewing.
Once you’ve sewn all around, fold the binding over to the back and hand-stitch it down for a clean finish.
These finishing touches will enhance your quilt, making it truly special.
Frequently Asked Questions
How Long Does It Take to Complete a Jelly Roll Quilt?
It usually takes about a weekend to complete a jelly roll quilt, depending on your experience and sewing machine setup.
If you follow some quilt assembly tips, like organizing your strips and planning your layout, you can speed things up.
Don’t forget to prep your sewing machine properly to avoid any hiccups.
With focus and a bit of practice, you’ll have a beautiful quilt ready to show off in no time!
Can I Use Pre-Cut Jelly Rolls From Different Manufacturers?
Yes, you can use pre-cut jelly rolls from different manufacturers, but keep jelly roll compatibility in mind.
Fabrics from different brands might have slight variations in quality and texture, which can affect the overall look of your quilt.
To guarantee a cohesive design, try to stick to similar fabric qualities and colors.
Mixing jelly rolls can create a unique quilt, but make sure the fabrics blend well together for the best results.
What Should I Do With Leftover Jelly Roll Strips?
With your leftover jelly roll strips sprawled across the table like a rainbow waiting to be crafted, you can plunge into a world of creative projects!
Consider strip quilting small items like table runners or placemats, showcasing those vibrant patterns.
You can also stitch together a scrappy throw pillow or even a mini quilt.
Don’t let those beautiful strips go to waste; each piece holds the potential for something special!
Is It Necessary to Pre-Wash My Jelly Roll Fabrics?
It’s a good idea to pre-wash your jelly roll fabrics. Pre-washing benefits include removing any chemicals and excess dye, which helps prevent color bleeding later on.
If you skip this step, you risk having your quilt’s colors bleed when it’s washed. By taking the time to pre-wash, you’ll guarantee your finished quilt looks great and stands the test of time.
Plus, it makes the fabric easier to work with!
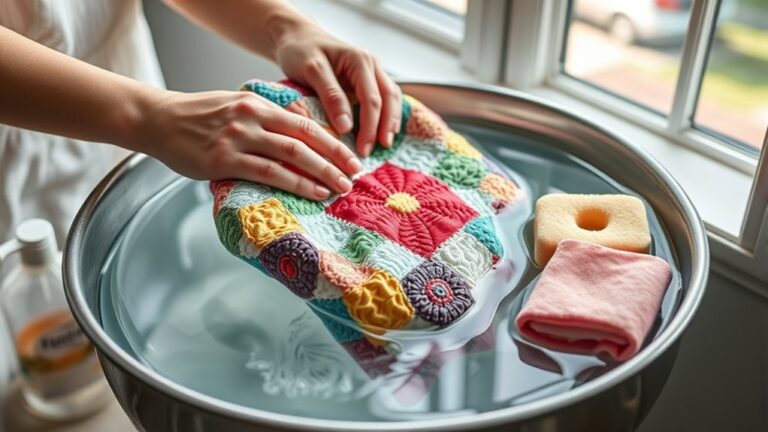
How Do I Care for My Completed Jelly Roll Quilt?
To care for your completed jelly roll quilt, follow some quilt maintenance tips. Always wash it on a gentle cycle with cold water to preserve the fabric’s integrity.
Use a mild detergent and avoid bleach. When drying, choose a low heat setting or air dry to prevent shrinking.
For longevity, store it in a cool, dry place. Regularly check for any loose threads and fix them promptly using fabric care techniques to keep your quilt looking its best.
Conclusion
You’ve bravely ventured into the world of jelly roll quilting, armed with fabric strips and a questionable amount of caffeine.
Sure, you might’ve accidentally sewn a few strips together upside down, but who needs perfection when you can have a quilt that doubles as abstract art?
Remember, every crooked seam tells a story, mostly about your late-night sewing escapades.
So, grab that quilt, welcome the chaos, and let it remind you that life’s too short for straight lines! After all, a jelly roll quilt is all about embracing creativity and enjoying the process.