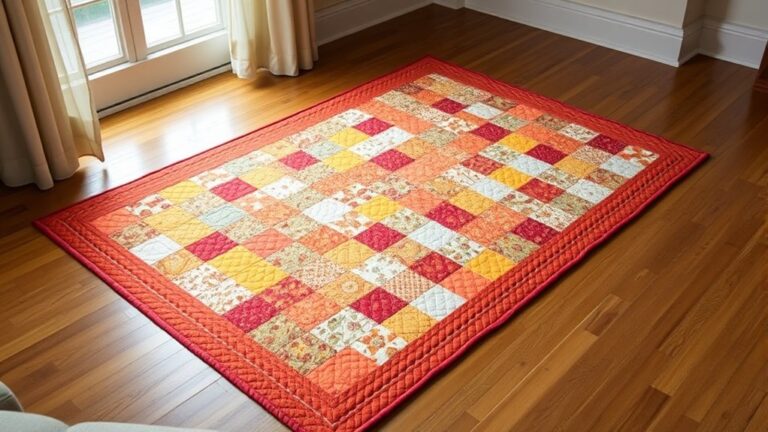
Mastering Hand Binding for Quilters: A Step-by-Step Guide
If you’ve ever finished a quilt only to feel frustrated by messy edges or uneven binding, you’re not alone. Many quilters struggle to get that crisp, professional look on their projects. It can be discouraging to spend hours on a beautiful quilt, only to have the binding let you down.
That’s why finding the right tools and methods for mastering hand binding is so important. Mastering hand binding is essential for achieving a polished finish on your quilts.
Start by choosing complementary fabrics and durable threads. Gather important tools like binding clips and sharp scissors to streamline your process.
Prepare your quilt by trimming edges and creating the right binding strips. Focus on mastering the basic stitch and neat corners while maintaining consistent tension.
Don’t worry about mistakes; they’re great for learning. You’ll uncover even more tips and techniques to improve your binding skills.
Key Takeaways
– Select coordinating fabrics and threads to enhance the quilt’s overall design.
This also helps ensure durability and strength in your binding.
– Use essential tools like binding clips, sharp scissors, and appropriate needles.
These tools will help streamline the hand binding process.
– Prepare the quilt by trimming edges and creating binding strips.
Make sure to check grain alignment for a neat finish.
– Master basic binding stitches and techniques for neat corners.
Focus on keeping your stitches small, even, and invisible from the front.
– Troubleshoot common binding mistakes as you go.
Maintain stitch tension, and consider adding decorative elements to enhance your quilt’s aesthetics.
Choosing the Right Fabrics and Threads for Binding
When you’re ready to choose fabrics and threads for binding, consider how they’ll complement your quilt’s design. Start by exploring color combinations that elevate your quilt’s palette.
Think about seasonal selections, like soft pastels for spring or rich hues for fall. Fabrics come in various weights, so you’ll want to select one that balances well with your quilt’s body.
Texture considerations are crucial; a smooth fabric can contrast beautifully with a textured quilt top. Pay attention to thread types, too. Cotton threads are durable and blend seamlessly, while polyester threads add extra strength.
Confirm your binding fabric coordinates with the quilt patterns for a cohesive look. Finally, keep your personal preferences in mind. The right choices reflect your unique style while guaranteeing durability factors that will stand the test of time.
Your binding should not only look good but also last through countless washes and cuddles.
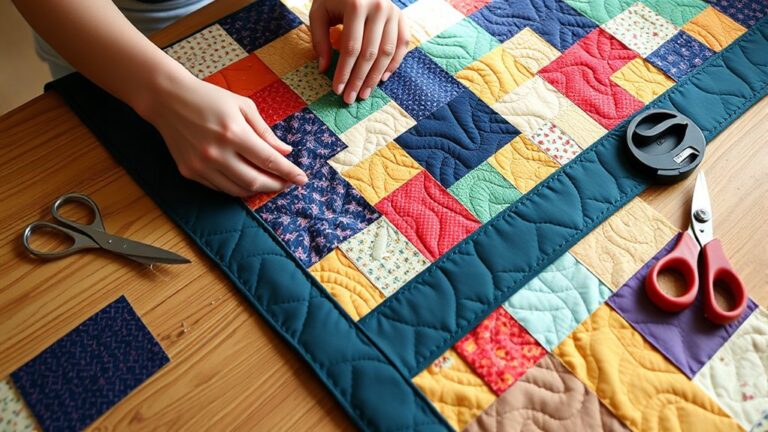
Essential Tools You’ll Need for Hand Binding
When you’re ready to try hand binding, having the right tools really makes all the difference. It’s a good idea to gather a few must-have binding tools before you begin, since they’ll help everything go smoothly. And don’t forget about your fabric choice—picking the right fabric can really boost both the look and the durability of your quilt.
Must-Have Binding Tools
To achieve beautiful hand binding, you’ll need a few essential tools that streamline the process.
Here’s a binding tools overview to get you started:
| Essential Binding Accessories | Purpose |
|---|---|
| Binding Clips | Hold layers together securely |
| Needle and Thread | Guarantee strong, neat stitches |
| Scissors | Trim excess fabric neatly |
These accessories make your binding experience smoother and help you achieve professional results.
Using binding clips can prevent shifting, while a good needle and thread combo guarantees durability.
Don’t underestimate the importance of sharp scissors for clean edges.
With these must-have binding tools, you’ll find the hand binding process enjoyable and efficient, setting you up for success in your quilting projects.
Fabric Selection Tips
Choosing the right fabric for your binding can make all the difference in your quilt’s final look and durability. Start by considering fabric durability; opt for materials that can withstand wear and tear, like cotton or cotton blends.
Think about color combinations, too. Your binding should complement the quilt’s overall palette without overpowering it.
If your quilt features bold colors, a solid or subtle print for the binding can create balance. On the other hand, if your quilt is more muted, a vibrant binding can add a pop of interest.
Finally, always pre-wash your fabric to prevent shrinkage and bleeding. With these tips, you’ll guarantee a beautiful finish that improves your quilt’s charm and longevity.
Preparing Your Quilt for the Hand Binding Process
Before you dive into binding your quilt, let’s make sure it’s all set for the process. First, you’ll want to pick out the perfect fabric for your binding—something that complements your quilt and will hold up well over time. Next, take a little time to trim the edges of your quilt so they’re nice and neat. This helps everything line up easily later on. Once that’s done, go ahead and prepare your binding strips. Getting these steps sorted out now makes the hand binding part so much smoother and more enjoyable!
Selecting Your Binding Fabric
As you prepare your quilt for hand binding, selecting the right fabric for your binding is essential.
Start by considering binding color combinations that complement or contrast with your quilt’s design.
A bold color can add a striking finish, while a subtle hue might improve the overall look without overwhelming it.
Next, think about fabric texture considerations. You’ll want a fabric that feels good in your hands and stands up to wear.
Cotton is a popular choice for its durability and ease of handling, but you might experiment with other materials to achieve the desired effect.
Trimming Quilt Edges
Trimming your quilt edges is an essential step that sets the foundation for a polished hand binding process. Start by using the right trimming tools, like a rotary cutter and a cutting mat, to achieve clean, straight edges.
Lay your quilt flat and carefully measure each side. Make sure you trim away any excess fabric that might interfere with your binding.
Employ effective quilt edge techniques, such as keeping the quilt taut while you cut, to avoid uneven edges. This attention to detail not only improves the overall look of your quilt, but also makes the binding process smoother.
Once you’ve trimmed all edges, you’ll be ready to move on to creating your binding strips. That way, you can ensure a flawless finish.
Preparing Binding Strips
With your quilt edges neatly trimmed, you’re ready to create binding strips that will frame your quilt beautifully.
Start by cutting your fabric into strips, usually 2.5 inches wide, but adjust the binding strip measurements based on your quilt’s thickness.
For a polished look, make certain the fabric grain alignment is correct.
This means cutting along the straight grain for minimal stretch and distortion.
You’ll need enough strips to encircle your quilt, so don’t forget to measure the perimeter first.
Once you’ve cut the necessary strips, join them at a 45-degree angle to avoid bulky seams.
Press the seams open for a smooth finish, and you’ll be all set to start the hand binding process with confidence!
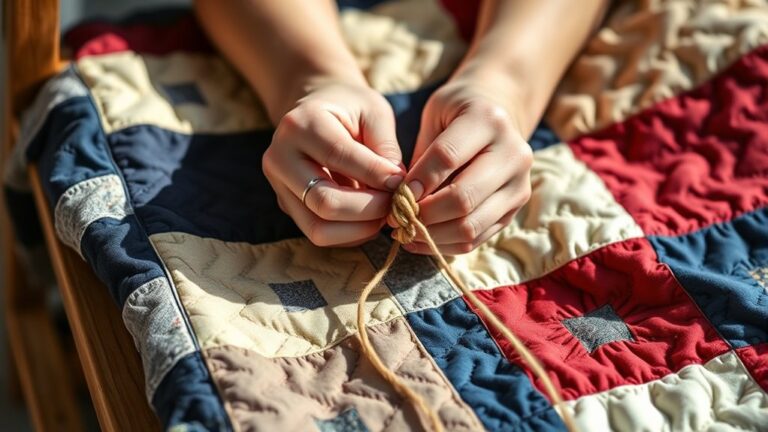
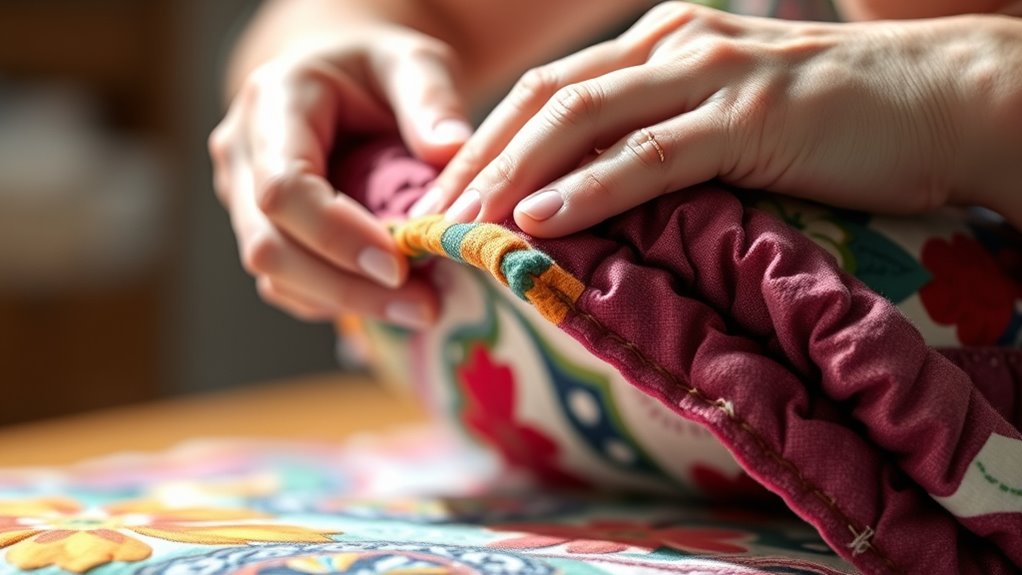
Master the Basic Binding Stitch
Mastering the basic binding stitch is essential for any quilter looking to achieve a polished finish. This stitch not only secures the binding but also improves the overall appearance of your quilt.
Start by folding the binding over the quilt edge and securing it with pins. As you stitch, make sure your thread matches the binding fabric for a seamless look.
You can investigate various binding stitch variations, such as the slip stitch or the ladder stitch, each offering a unique finish. Focus on your binding stitch techniques; consistency is key.
Keep your stitches small and even, ensuring they catch the quilt backing without being visible from the front. As you practice, you’ll gain confidence and precision, elevating your quilting skills.
Create Neat Corners in Your Binding
To get those neat corners in your binding, it really helps to pay attention to how you prep your fabric corners. Taking the time to fold things the right way makes a big difference in how polished your final project looks. Let’s walk through some simple techniques that can give your quilt those sharp, crisp edges everyone admires.
Preparing Your Fabric Corners
As you prepare your fabric corners, keep in mind that neatness is key to achieving a polished look in your binding. Start by measuring corners accurately to guarantee proper fabric angles.
Use corner techniques that promote binding precision, allowing your corners to sit flat and aligned. As you fold the fabric, pay close attention to your corner alignment; this will help in achieving crisp corner finishes.
When you’re satisfied with the fabric folding, check for quilt squaring to confirm everything lines up perfectly. Taking the time to prepare your fabric corners will make a significant difference in the overall appearance of your quilt, so invest the effort to get it right.
Folding Techniques Explained
Often, quilters overlook the importance of effective folding techniques when creating binding corners.
Mastering these methods guarantees neat, professional-looking edges.
Start by making precise binding folds and pay close attention to your fabric creases.
A well-executed fold will really improve your quilt’s overall appearance.
| Step | Description |
|---|---|
| 1. Pin | Secure the binding in place. |
| 2. Fold | Create a 45-degree angle. |
| 3. Press | Use an iron to set creases. |
| 4. Stitch | Attach the binding securely. |
| 5. Trim | Cut excess fabric for neatness. |
Easily Join Your Binding Ends
Once you’ve stitched your binding around the quilt, joining the ends can feel tricky, but it doesn’t have to be.
Start by laying your binding flat, ensuring the edges align perfectly. Use your favorite binding technique, whether it’s straight or bias cut, to bring the two ends together.
Lay your binding flat, aligning the edges perfectly, and use your preferred technique to join the ends seamlessly.
Check for fabric compatibility and color coordination to keep everything looking cohesive.
Next, fold the ends at a 45-degree angle for a clean finish, and pin them in place.
As you sew, use secure knots to prevent any unraveling. This step is essential for durability, especially with various binding styles.
Don’t forget about pattern matching; aligning prints can really enhance your quilt’s aesthetics.
Finally, trim any excess fabric and stitch down the binding for those finishing touches.
With practice, you’ll master joining your binding ends seamlessly, giving your quilt that polished, professional look.
Keep Your Binding Stitch Tension Consistent
Joining your binding ends sets the stage for the next important detail:
maintaining consistent stitch tension throughout the binding process.
This guarantees your quilt looks polished and holds up over time.
Here are some binding tension tips to keep in mind:
1. Use Uniform Stitches:
Aim for even stitches, both in length and spacing.
This not only improves the appearance but also keeps the binding securely attached.
2. Check Your Grip:
Hold your needle and thread firmly, but not too tightly.
A relaxed grip helps prevent puckering in the fabric.
3. Practice Different Techniques:
Experiment with various binding stitch techniques to find what feels comfortable.
This can help you achieve better control over tension.
Fix Common Hand Binding Mistakes
While mistakes can happen even to the most experienced quilters, knowing how to fix them can save your binding project from disaster.
If you notice uneven binding tension, adjust your stitch length to create a more consistent look.
Common errors, like fabric fraying, can often be prevented by choosing the right thread choice. Opt for a strong, durable thread that matches your fabric.
For visual alignment, double-check that your binding width is uniform and that you’re folding corners correctly.
If your corners don’t lay flat, you might need to re-fold them for a neater finish.
Remember, it’s all about practice. Don’t be discouraged by setbacks; instead, treat each mistake as an opportunity to improve your skills.
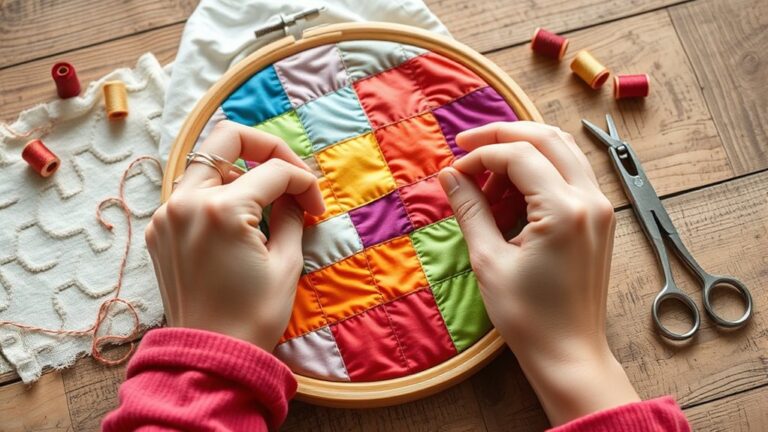
Add Decorative Touches to Your Binding
Adding decorative touches to your binding can improve your quilt from ordinary to extraordinary.
You can make your quilt truly unique by incorporating personal touches that reflect your style.
Here are some embellishment ideas to take into account:
1. Decorative Stitches: Use your sewing machine to add intricate stitches along the binding.
This can improve the overall look and add texture.
2. Contrasting Colors: Choose binding trims in contrasting colors to make your quilt pop.
This can create a striking visual effect that draws the eye.
3. Fabric Appliqués: Add thematic designs or quilting motifs to the binding.
These little fabric appliqués can tell a story and add a charming detail.
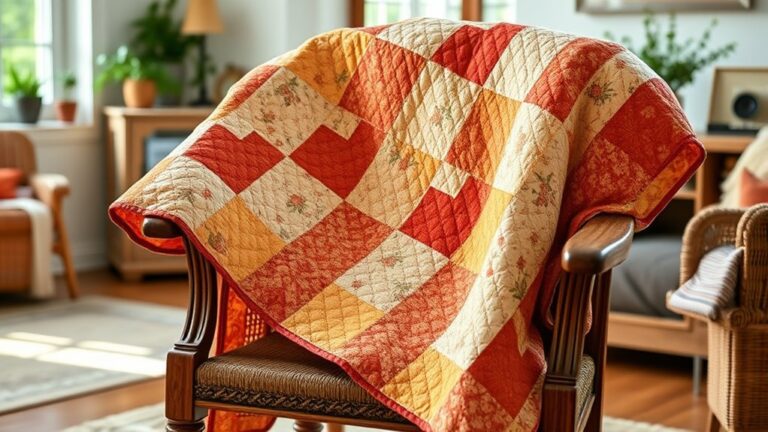
Best Practices for Caring for Your Quilts After Binding
After you’ve added those decorative touches to your quilt’s binding, it’s important to think about how to care for your masterpiece.
Start with proper quilt storage; avoid folding your quilt in the same spot to prevent creases. Use a breathable cotton bag or acid-free box for long-term storage.
When it comes to washing techniques, always check the fabric care labels. Hand wash in cold water with a gentle detergent, or use a front-loading washer on a delicate cycle.
If you notice any damages, follow these repair tips: patch small holes with leftover fabric and reinforce loose seams with a needle and thread.
For display options, consider hanging your quilt on a well-ventilated wall, away from direct sunlight, to preserve its colors.
Frequently Asked Questions
How Long Does It Take to Hand Bind a Quilt?
It typically takes you about 4 to 10 hours to hand bind a quilt, depending on its size and your binding techniques.
If you’ve prepared your quilt well, with the edges neatly trimmed and pressed, the process can go smoother.
You’ll find that practicing can speed things up, too.
Just remember to enjoy the journey, as each stitch adds a personal touch to your beautiful creation.
Can I Use Machine-Binding Techniques Instead of Hand Binding?
Yes, you can use machine binding techniques instead of hand binding.
Machine binding can save you time and is often more durable, making it a popular choice for many quilters.
While hand binding offers a personal touch and is great for intricate quilts,
machine binding guarantees your quilt stands up to wear and tear.
Experiment with both binding techniques to see which one you prefer for different projects!
What Fabric Types Are Best for Binding?
Regarding binding fabric types, you’ll want to choose wisely to hit the nail on the head. Cotton is a top choice for its durability and ease of handling.
Flannel provides a cozier finish, which can be great if you want a softer edge on your quilt. Consider fabric weight too; lighter fabrics fold neatly, but heavier ones might add bulk.
Ultimately, select a binding fabric that complements your quilt’s overall design and structure for the best results.
How Do I Choose the Right Thread Color for Binding?
To choose the right thread color for binding, think about thread color psychology. For a subtle look, match the thread to your fabric; this creates harmony.
If you want to make a statement, select a contrasting color that pops, enhancing the binding color combinations.
Consider the overall palette of your quilt, and keep in mind that lighter threads can blend in, while darker ones stand out.
Trust your instincts. Your quilt should reflect your style!
Is Hand Binding Suitable for All Quilt Sizes?
Yes, hand binding is suitable for all quilt sizes! In fact, studies show that quilts with hand-stitched bindings can last up to 50% longer than those with machine bindings.
When you choose hand binding, you not only improve your quilt’s durability but also add a personal touch to each piece.
Whether you’re working on a small baby quilt or a large king-sized one, hand binding will raise your project beautifully.
Conclusion
Mastering hand binding not only improves your quilts but also connects you to a rich tradition. Did you know that nearly 70% of quilters prefer hand-binding their projects?
By following these steps, you’re not just finishing your quilt. You’re adding a personal touch that machine binding can’t replicate.
So, grab your tools and enjoy the process. Remember, each stitch truly tells a story.
Your quilts will be cherished for years to come, thanks to your dedication, skill, and mastery of hand binding.