5 Steps to Finish Your Quilt Perfectly
If you’ve ever spent hours piecing together a gorgeous quilt, only to feel uncertain about how to finish it perfectly, you’re not alone. Many quilters find that the final steps can be the trickiest, with lots of questions about binding, stitching, and adding those last special touches.
Everyone wants their finished quilt to look polished and professional—after all, you’ve put so much love and effort into every block. That’s why we’ve rounded up the top tips and products to help you overcome those common finishing frustrations and achieve the perfect result.
To finish your quilt perfectly, start by choosing binding that complements your design and matches fabric from the quilt.
Master your final stitches with sharp needles and the right techniques, like whip and ladder stitches.
Press and trim edges for a neat finish, then add personal touches like custom labels or embellishments.
Finally, follow care instructions to guarantee longevity.
You’ll want to make certain each step is done just right for a stunning result.
Key Takeaways
– Choose complementary binding fabric and consider binding types for the best fit
with your quilt’s design and weight.
– Use sharp needles and quality thread for smooth final stitches. You might opt for
whip or ladder stitches to create neat edges.
– Press seams open and trim excess fabric for straight, even edges before applying
binding. This step helps achieve a polished finish.
– Add personal touches like custom labels, messages, or embellishments. These
details can really enhance the quilt’s character and story.
– Follow proper care instructions, such as washing in cold water and air-drying,
to ensure quilt longevity.
How to Choose the Best Binding for Finishing Your Quilt
Choosing the best binding for finishing your quilt can make all the difference in both its appearance and durability.
Start by considering your fabric selection; the binding should complement your quilt’s overall design. For a cohesive look, match the binding to one of the fabrics used in the quilt top or back.
Next, think about binding types. You’ve got options like straight-grain, bias, or even knit bindings, each offering different looks and feels.
Straight-grain is easy to work with, while bias binding provides a nice stretch for curves.
Don’t forget about the weight of your fabric. A heavier quilt may require a sturdier binding.
Finally, consider how you plan to use the quilt. A decorative quilt might benefit from a more intricate binding, while a utility quilt could use something simpler.
Your choices here will guarantee your quilt looks great and stands the test of time.
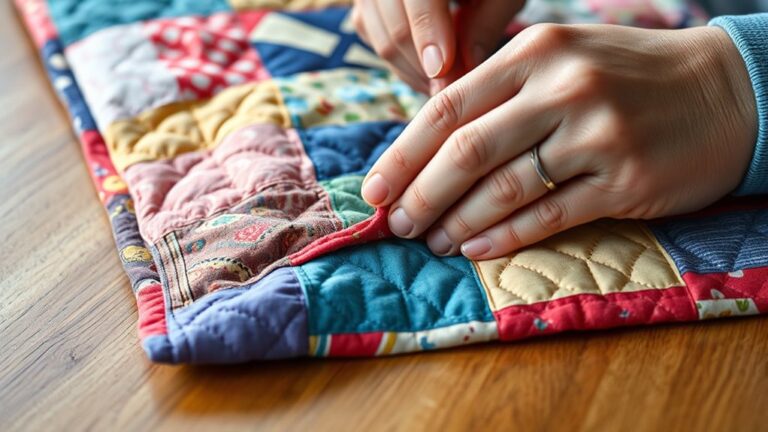
Master Final Stitches: Techniques for a Polished Quilt
Achieving a polished finish on your quilt hinges on mastering the final stitches. By focusing on hand stitching techniques, you can really improve your quilt’s appearance.
Select the right quilting tools, like a sharp needle and quality thread, to guarantee smooth stitching.
Here’s a quick guide to help you choose the best hand stitching method:
| Stitch Type | Best For | Tips |
|---|---|---|
| Whip Stitch | Binding edges | Keep stitches small and even |
| Ladder Stitch | Invisible seams | Use a matching thread |
| Blind Stitch | Hemming | Stitch only through the top layer |
| Running Stitch | Decorative effects | Vary stitch length for texture |
| Basting Stitch | Temporary holds | Use long stitches for ease |
Practice these stitches before you finalize your quilt. The right technique will not only secure your layers, but also improve your quilt’s overall look.
Happy stitching!
Press and Trim for Neat Edges
Pressing and trimming your quilt’s edges is crucial for a professional finish. Start by using effective pressing techniques. Gently press your seams open with a hot iron, making sure to use steam for stubborn creases.
This step guarantees your quilt lays flat, creating a polished look. Next, focus on trimming methods. Use a rotary cutter and a clear ruler to trim any excess fabric along the edges, making sure they’re straight and even.
This not only improves the quilt’s appearance but also prepares it for binding. Take your time during this process; rushing might lead to jagged edges.
After trimming, give your quilt one final press to set everything in place. Remember, neat edges can greatly boost your quilt’s overall quality, so don’t skip these important steps.
Following these pressing techniques and trimming methods will leave you with a beautifully finished quilt that you’ll be proud to show off.
Add Fun Labels and Personal Touches to Your Quilt
After ensuring your quilt has neat edges, it’s time to add some personality.
Fun labels and personal touches can make your quilt truly distinctive. Here are some ideas to inspire you:
1. Custom Label Designs: Create your own fabric labels using printable fabric sheets.
Include your name, the date, and the quilt’s title.
2. Personal Messages: Stitch in a heartfelt message or quote.
It can be a favorite saying or a note for the recipient.
3. Embellishments: Add buttons, patches, or appliqués that reflect your style or the quilt’s theme.
4. Quilt Story: Write a small note explaining the quilt’s inspiration or the materials used,
and tuck it into a pocket on the back.
These personal touches not only elevate your quilt’s character,
Personal touches enhance your quilt’s character, transforming it into a cherished keepsake for years to come.
but they also make it a cherished keepsake for years to come.
Enjoy the process of making it distinctly yours!
Care Instructions for Long-Lasting Quilts
To keep your quilt looking beautiful for years to come, it’s essential to follow proper care instructions.
Start with quilt washing. Always use cold water and a gentle detergent. Avoid bleach, as it can fade colors and weaken fibers.
For best results, wash your quilt on a delicate cycle or hand wash it if it’s particularly fragile.
When it comes to drying, air-drying is the safest option. If you choose to use a dryer, opt for low heat to prevent shrinkage.
Storage tips are also vital. Keep your quilt in a cool, dry place, away from direct sunlight, which can cause fading.
Use breathable storage bags to protect it from dust and moisture.
Remember, regular care not only preserves your quilt’s beauty but also its sentimental value.
With these simple steps, your quilt will remain a cherished piece for generations.
Frequently Asked Questions
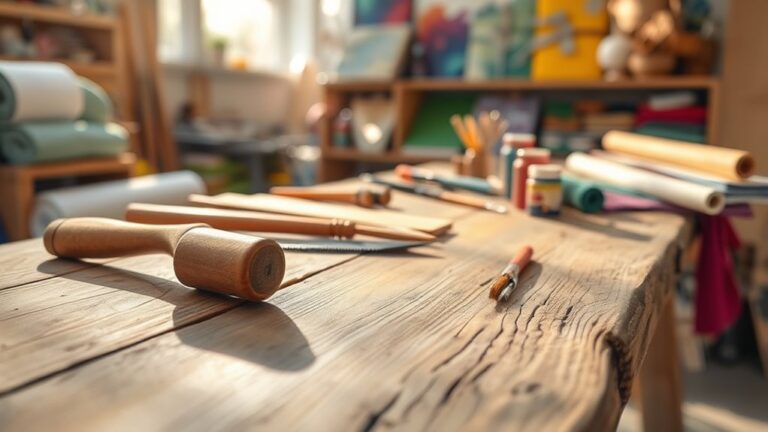
What Tools Are Essential for Finishing a Quilt Effectively?
To finish your quilt effectively, you’ll need a few essential tools. Start with a quilting ruler for precise measurements, ensuring your edges are straight.
A rotary cutter makes cutting fabric quick and easy. Binding clips help secure your binding without the fuss of pins.
Don’t forget a seam ripper. Mistakes happen, and it’s vital for fixing any errors.
With these tools, you’ll achieve a polished finish for your quilt.
How Do I Fix Mistakes in My Quilt Binding?
To fix mistakes in your quilt binding, start by evaluating the problem.
If you’ve got uneven edges, make binding adjustments by trimming those areas for a smoother finish.
For seam repair, carefully unpick the faulty stitches and re-sew them, ensuring everything lines up perfectly.
It’s all about patience. Don’t rush, and you’ll achieve a polished look that highlights your hard work.
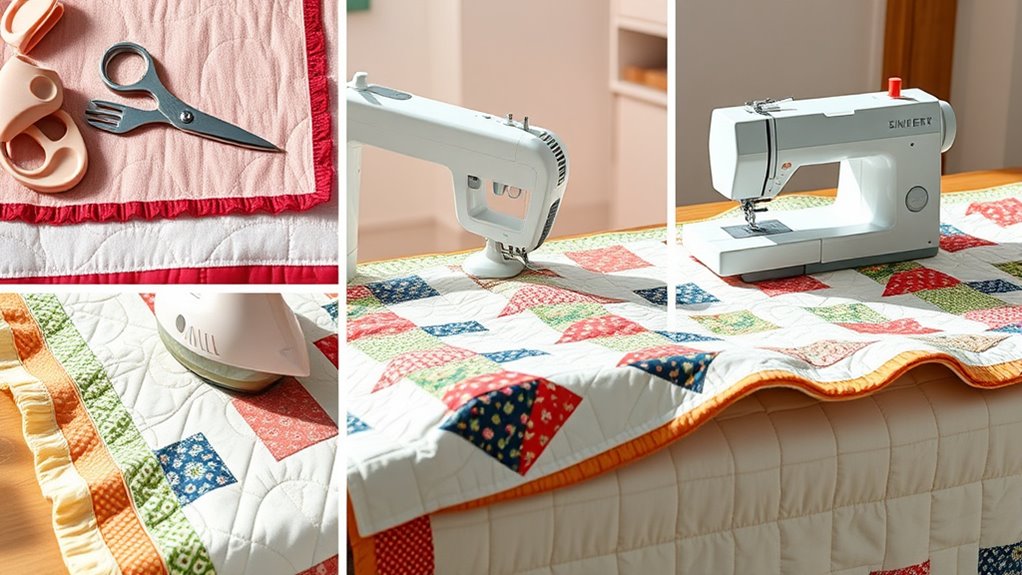
Can I Machine Sew My Quilt Binding Instead of Hand Sewing?
Yes, you can definitely machine sew your quilt binding! Many quilters prefer this binding technique for its speed and durability.
When using this method, make sure you use a straight stitch and adjust your stitch length for a neat finish.
A few sewing tips: press the binding well before attaching, and don’t forget to sew close to the edge for a secure hold.
Enjoy finishing your quilt faster while achieving a polished look!
What Types of Fabric Are Best for Quilt Labels?
Think of quilt labels as the signature on a masterpiece. For your labels, cotton fabric types work best, offering durability and ease of printing.
You can also use satin or canvas for a touch of elegance. If you’re looking for strong label materials, consider canvas or twill, which withstand wear and tear.
Whatever you choose, make sure your labels reflect the love woven into your quilt, adding a personal touch.
How Often Should I Wash My Quilt to Maintain Its Quality?
You should wash your quilt every few months to maintain its quality, especially if you use it frequently.
For quilt care, always check the fabric type and follow specific washing tips. Use a gentle cycle with cold water and mild detergent.
Avoid fabric softeners, as they can damage the fibers.
Air drying is best, but if you use a dryer, choose a low heat setting to prevent shrinkage.
Keep your quilt looking fresh and vibrant!
Conclusion
With these five steps, you can transform your quilt into a masterpiece that tells a story.
Imagine gifting a quilt to your grandmother, each stitch whispering memories of family gatherings and love.
By choosing the right binding, mastering final stitches, and adding personal touches, you create something truly special.
Don’t forget care instructions. Your quilt deserves to be cherished for generations.
Embrace the journey. With these five steps to finish your quilt perfectly, watch your creation bring warmth and joy to those you love.