How Many Yards of Fabric for a Queen-Size Quilt?
If you’ve ever stood in the fabric store, staring at bolts and wondering how many yards you’ll actually need for your next quilt, you’re not alone. Many quilters—beginners and seasoned stitchers alike—struggle with figuring out the right amount, especially when it comes to making a queen-size quilt.
It can feel overwhelming, but we’re here to make it simple.
To create a queen-size quilt, you’ll typically need about 8 to 10 yards of fabric. This amount can vary based on your design complexity and any added features like borders or sashing.
It’s smart to plan for 1/3 of this total for your main fabric, with the rest for accent colors.
Don’t forget to account for seam allowances and potential shrinkage.
If you’re curious about fabric types and shopping tips, there’s more to investigate!
Key Takeaways
- A queen-size quilt typically requires 8-10 yards of fabric. The exact amount depends on your design’s complexity and any extra features, like borders or sashing.
- It’s a good idea to allocate about one-third of the total yardage for your main fabric. The rest can go toward accent fabrics.
- Consider prewashing your fabrics. This helps account for shrinkage and can prevent fading before you start cutting and sewing.
- Remember to include a bit of extra fabric for mistakes or adjustments that might come up as you work on your quilt.
- Check both online and local stores to find the best fabric options and prices. This way, you can suit your project needs and preferences.
Understanding Queen-Size Quilt Dimensions
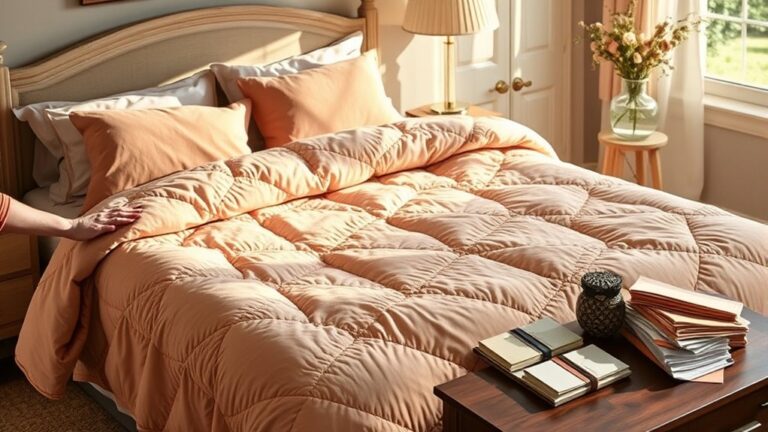
When you’re planning a quilt for a queen-size bed, it’s essential to know the dimensions involved. A standard queen-size quilt typically measures about 90 inches by 90 inches, but you might want to adjust depending on your bed’s height or desired drape.
Understanding the quilt size helps you choose the right fabric types and amounts. You’ll often find fabrics like cotton, flannel, or polyester suitable for quilting.
Cotton’s a favorite because it’s durable and easy to work with. When selecting fabric types, consider how they’ll complement your design and the overall feel of your quilt.
Once you grasp the dimensions and fabric options, you’ll be better equipped to create a beautiful, functional piece that fits your queen-size bed perfectly. With the right quilt size and fabric types in mind, you’re one step closer to crafting that cozy masterpiece.
How to Calculate Fabric for Your Quilt Pattern
When you’re figuring out how much fabric you’ll need for your quilt pattern, it’s best to start by deciding what size you want your finished quilt to be. Once you know the dimensions, take a look at your block design—different shapes, sizes, and layouts can really change how much fabric you’ll end up using. By thinking through these details ahead of time, you’ll make sure you have just the right amount of material before you start your project.
Determine Quilt Size
How do you determine the right size for your quilt? Start by considering your quilt layout and the intended use.
For a queen-size quilt, you’ll typically aim for dimensions around 90″ x 100″. Here are a few key points to keep in mind:
- Decide on the quilt’s purpose: Will it be decorative or functional?
- Choose your fabric color: This can influence how the size feels visually.
- Account for any borders or sashing: These will add extra inches to your quilt.
Once you’ve nailed down these elements, you can calculate how much fabric you’ll need.
Factor In Block Design
Understanding your block design is essential for accurately calculating fabric for your quilt pattern. Each block design variation affects how much fabric you’ll need, so take some time to examine your chosen pattern.
For example, if you’re using intricate shapes or a combination of colors, you’ll require more fabric to accommodate those details.
Consider color placement as well. If you’re planning to use multiple colors within each block, you’ll need extra yardage to guarantee you have enough for every piece.
Don’t forget to account for cutting mistakes or fabric shrinkage, which can impact your overall fabric requirements.
Choosing the Right Fabric Types for Your Quilt
Selecting the right fabric types for your quilt can make all the difference in its overall look and feel. By choosing the right combinations of fabric textures and colors, you’ll create a stunning piece that truly reflects your style.
Here’s what to examine:
- Cotton: A popular choice due to its breathability and ease of use. It comes in various prints and solid colors, making it versatile.
- Flannel: Perfect for cozy quilts, especially in colder months. The soft texture adds warmth and comfort.
- Batiks: Known for their vibrant colors and intricate patterns, batiks can boost any quilt’s visual appeal.
Mixing different fabric types can improve the overall design. Careful attention to color combinations will help tie everything together beautifully.
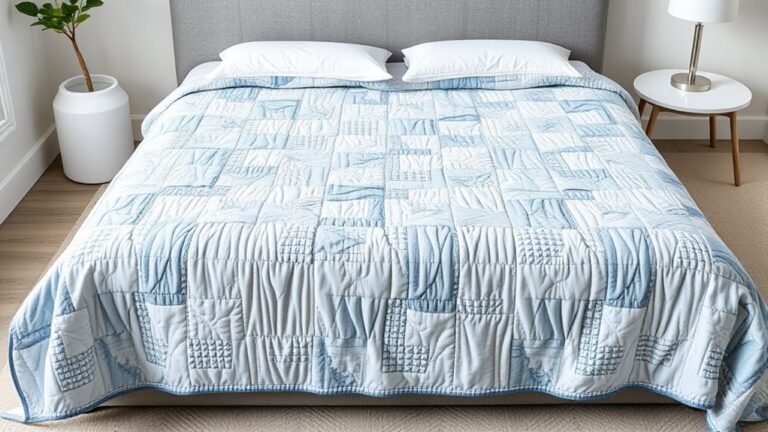
Estimating Yardage for Patchwork Quilts
Estimating yardage for patchwork quilts can seem challenging, but it’s easier than you might think.
Start by deciding on your quilt styles and how you want to arrange the fabric color. The most common approach is to calculate based on the size of your quilt blocks.
For a queen-size quilt, you’ll typically need around 8-10 yards of fabric, depending on the complexity of your design.
Consider using a variety of colors to create visual interest, but make sure to balance them well. If you’re using large blocks, you may require less fabric than if you’re opting for intricate piecing.
A good rule of thumb is to plan for 1/3 of your yardage in your main fabric and the rest spread across your accent colors.
Always round up your estimates to avoid running short.
With a little planning, you’ll be ready to plunge into your patchwork project!
Fabric Requirements for Appliqué and Specialty Quilts
When you immerse yourself in appliqué and specialty quilts, knowing your fabric requirements is essential for a successful project.
These quilts often use unique techniques and materials, so careful planning is key.
Here’s what to contemplate:
– Appliqué techniques: Different methods will impact how much fabric you need.
Some require extra for overlapping seams.
- Specialty fabrics: If you’re using silk or other delicate materials, account for potential shrinkage and fraying.
- Color selection: Plan your palette wisely.
You might need more fabric to achieve the desired contrast or blending effects.
Understanding Backing and Batting Needs for Quilts?
Understanding your backing and batting needs is essential for creating a well-balanced quilt. The right choices can improve quilt durability and maintain its beauty over time.
Start with the backing fabric. Popular options include cotton, flannel, and polyester blends. Each offers a different quilt weight and feel, so consider what works best for your project.
Next, think about batting types. Cotton, polyester, and wool each have unique characteristics, including varying batting thickness. This affects how your quilt layers together and impacts maintenance.
Prewashing your fabric helps minimize fabric fading and shrinkage. That way, your quilt stays vibrant for years.
Here’s a quick reference table for backing and batting choices:
| Backing Options | Batting Types |
|---|---|
| Cotton | Cotton |
| Flannel | Polyester |
| Polyester Blend | Wool |
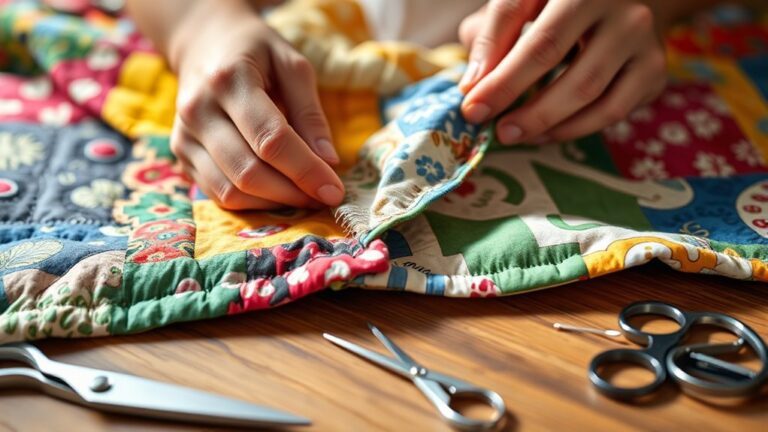
Don’t Forget Seam Allowances and Shrinkage
As you plan your quilt, don’t overlook the importance of seam allowances and shrinkage. These factors can really affect how much fabric you actually need, so it’s good to keep them in mind from the start.
- Seam Allowance: Typically, a seam allowance of ¼ to ½ inch is standard. Make sure you account for this when calculating your fabric needs, because it can add up across your whole quilt.
- Fabric Shrinkage: Pre-wash your fabric to see how much it shrinks. Most cotton fabrics can shrink up to 5%, so it’s smart to buy a bit extra just in case.
- Total Yardage: Always add a little extra to your total yardage to cover any mistakes or adjustments. It’s better to have a little more fabric than not enough.
Best Places to Buy Fabric
When you’re ready to buy fabric for your quilt, there are a lot of great places you can check out. If convenience is what you’re after, online fabric retailers are super easy to browse from home. Sometimes, though, there’s nothing like visiting a local quilt shop—you get to actually touch the fabric, see the colors in person, and maybe even get a little advice from the staff.
And if you’re looking for something really unique, don’t forget about fabric swaps and sales. These can be a fun way to find one-of-a-kind pieces you might not spot anywhere else. Each option has its own perks, so think about what matters most for your project and go from there.
Online Fabric Retailers
If you’re ready to immerse yourself in quilting, finding the right fabric is essential. Online retailers offer a wealth of options that make the process easy and fun.
With just a few clicks, you can investigate a vast range of materials for your next project. Online shopping simplifies fabric sourcing, letting you compare prices and styles effortlessly.
- Access exclusive patterns and colors
- Read customer reviews to guarantee quality
- Enjoy convenient home delivery
Local Quilt Shops
Local quilt shops are often the best places to buy fabric for your quilting projects. Not only do they offer a curated selection of unique fabrics, but they also provide valuable resources for fabric sourcing.
You can find quality materials that you might not see online, allowing you to feel the texture and see the colors in person. Plus, many local shops host events, like workshops and quilting bees, where you can connect with fellow quilters.
These gatherings can inspire new ideas and help you uncover local talent. Supporting these shops not only enriches your quilting experience but also strengthens your community.
Fabric Swaps and Sales
Fabric swaps and sales are fantastic opportunities to score fabrics at a fraction of the retail price. You can find everything from fabric bundles to vintage finds, making your quilting projects even more exciting.
Check out various options:
- Fabric exchanges: Join local community swaps or online groups where you can trade fabrics with fellow enthusiasts.
- Seasonal sales: Keep an eye on store promotions during holidays or special events for great discounts.
- Local markets: Visit farmers’ markets or craft fairs where vendors often sell unique fabrics.
Common Mistakes When Estimating Fabric Requirements
Estimating fabric requirements for a quilt can be tricky, and many beginners make common mistakes that lead to frustration.
One common yardage pitfall is not accounting for shrinkage. Pre-washing your fabric can save you headaches later.
Another mistake is underestimating the amount of fabric needed for backing and binding. This often results in last-minute scrambles.
Additionally, fabric estimation errors can occur if you focus solely on the quilt top without factoring in the batting and backing. It’s essential to plan for each component of your quilt.
Misjudging panel sizes or motifs can also lead to wasted fabric, so keep an eye on these details as you plan.
To avoid these pitfalls, always double-check your measurements and consider using a reliable quilt calculator.
Taking the time to plan carefully will help guarantee you have enough fabric without excess waste, making your quilting experience smoother and more enjoyable.
Planning for Your Next Quilt Project
When you’re getting ready to start your next quilt project, the first thing to think about is the fabric. Pick fabric types that really match your style and the purpose of your quilt—whether it’s something cozy for the couch or a decorative piece for the wall. After you’ve decided on your fabrics, the next step is figuring out how much you’ll need. This is super important because running out of fabric midway can really slow you down. So, let’s talk about how you can make these choices without any stress.
Choosing Fabric Types
As you commence your quilt project, choosing the right fabric types can make all the difference in both the aesthetic and durability of your creation.
Consider the following aspects to guarantee a successful outcome:
- Fabric weight: Heavier fabrics provide durability, while lighter ones are great for intricate designs.
- Color palette: Align your colors with seasonal themes to improve the visual appeal.
- Texture contrast: Mixing fabrics of different textures adds depth and interest to your quilt.
Keep your project budget in mind while sourcing fabric. High-quality materials can greatly impact both the longevity and look of your quilt.
Pay attention to pattern scale, too. It should harmonize with your chosen fabrics for a cohesive design.
Calculating Yardage Needed
Calculating the right yardage for your quilt can seem challenging, but it doesn’t have to be. Start by determining the dimensions of your queen-size quilt, typically around 90″ x 108″.
Next, consider the fabric width, which usually ranges from 42″ to 45″ or 108″. If you’re using standard width fabric, you’ll need about 9 to 10 yards for the quilt top alone.
Don’t forget quilt borders. They can require an additional 1 to 2 yards, depending on how wide and intricate you want them.
Always double-check your calculations, and consider any extra for mistakes or pattern matching. With a little planning, you’ll have the right yardage to bring your quilt vision to life!
Frequently Asked Questions
Can I Use Leftover Fabric From Previous Projects for My Quilt?
Absolutely, you can use leftover fabric from previous projects for your quilt! It’s a great way to improve fabric organization and reduce waste.
Just make sure to manage your project effectively by selecting pieces that complement each other in color and texture.
Mixing different fabrics can add a unique touch to your quilt, making it truly one-of-a-kind. Plus, it’s a fun way to incorporate memories from past creations!
How Do I Choose Colors for a Queen-Size Quilt?
Choosing colors for your queen-size quilt can be intimidating, but it doesn’t have to be! Start by exploring color theory to understand how different shades interact.
Think about your space and select fabric combinations that create harmony or contrast, depending on your desired vibe. Don’t shy away from mixing prints and solids; it adds depth and interest.
Trust your instincts, and you’ll create a quilt that reflects your unique style!
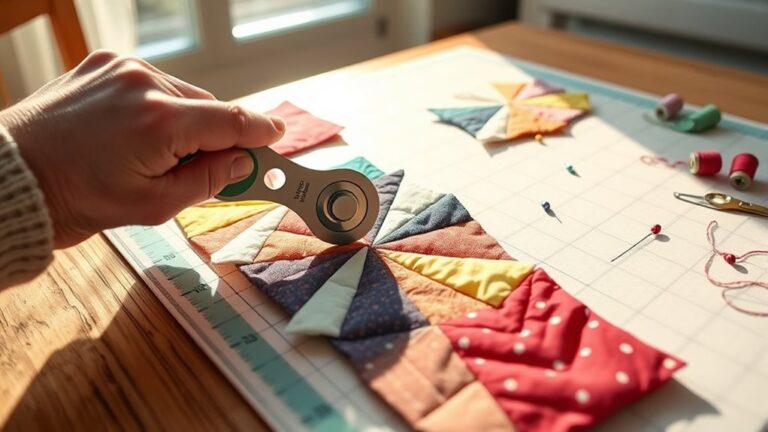
What Tools Do I Need to Start Quilting?
To start quilting, you’ll need some essential quilting tools. Grab a rotary cutter, cutting mat, and a ruler for precise measurements.
You’ll also want quality fabric types, like cotton, which are perfect for quilts. Don’t forget pins, a sewing machine, and thread to match your fabric.
A seam ripper is handy for mistakes too. With these basics, you’re all set to plunge into your quilting project!
How Long Does It Take to Complete a Queen-Size Quilt?
It typically takes you anywhere from a few weeks to a couple of months to complete a queen-size quilt, depending on your quilting techniques and the fabric types you choose.
If you’re using simple patterns and pre-cut fabric, you might finish quicker. However, intricate designs or hand quilting can extend the timeline.
Can Beginners Successfully Make a Queen-Size Quilt?
Yes, you can definitely make a queen-size quilt as a beginner! Start by selecting fabrics that inspire you and fit your style.
Choose a simple pattern to keep things manageable. As you learn basic quilting techniques, like piecing and quilting the layers together, you’ll gain confidence.
Don’t hesitate to seek out tutorials or local classes. They can really help you along the way.
Enjoy the process, and remember, practice makes perfect!
Conclusion
In the end, estimating fabric for a queen-size quilt might seem intimidating, but it’s all about understanding dimensions and your chosen pattern.
Don’t worry if you think you’ll waste fabric. Buying a little extra guarantees you’ve got enough for any mistakes or adjustments.
Plus, it allows for creativity! So grab your fabric and get started.
Your beautiful quilt is just a few yards away from coming to life, and knowing how many yards of fabric for a queen-size quilt you need will make the process much smoother.
Happy quilting!