Step-by-Step Guide to Crafting an Item Frame
Crafting an item frame can feel daunting. You’re not alone if you’ve ever struggled to display your favorite memorabilia beautifully. Many people desire creative ways to showcase cherished items but often don’t know where to start.
This guide will help you master the art of crafting an item frame that complements your style and preserves your treasures.
To craft an item frame, gather your tools like a saw and hammer. Choose materials that fit your style. Cut the base to size, sand the edges, and secure glass or acrylic over it.
Insert your item, ensuring everything’s level before hanging. Consider display placement for maximum effect.
Maintain your frame by dusting regularly and checking for damage. If you’re keen to master the details and improve your project, there’s plenty more to investigate!
Key Takeaways
- Gather essential tools like a saw, hammer, nails, and measuring tape for a smooth crafting process.
- Choose suitable materials, ensuring proper dimensions and aesthetic appeal for your item frame.
- Cut and sand the frame base accurately to achieve a polished finish.
- Secure glass or a cover to protect the displayed item and enhance the frame’s appearance.
- Regularly inspect and maintain the frame to ensure longevity and aesthetic quality.
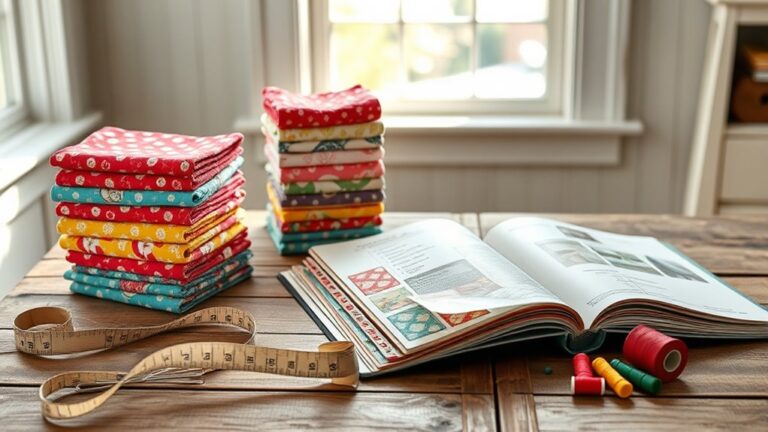
What You Need to Get Started
To craft an item frame, you’ll need a few essential materials. First, gather your tools, including a saw, hammer, nails, and measuring tape. These will help you cut and assemble the frame accurately.
Next, make sure your workspace is clear and organized. A clean, flat surface will make your project smoother and safer.
You might also want to have sandpaper on hand for smoothing edges and a level to confirm your frame hangs straight. If you’re using paint or varnish for finishing touches, grab brushes or rags as well.
Having everything ready before you start will save you time and frustration. By preparing your tools and workspace, you’re setting yourself up for success in creating a beautiful item frame that showcases your creativity.
Choosing the Right Materials for Your Item Frame
With your tools and workspace ready, it’s time to focus on the materials for your item frame.
Choosing the right material types is essential for achieving the look and durability you want. Common options include wood, metal, and plastic. Each material offers a unique aesthetic and level of sturdiness. For a rustic feel, consider reclaimed wood; for a modern touch, metal might be your best bet.
Next, think about frame sizes. The dimensions of your item frame depend on what you plan to display. Measure your item carefully, allowing for a bit of extra space if you want a border.
If you’re working with multiple items, consider using uniform frame sizes for a cohesive look. Finally, don’t forget about the backing material, which should provide support without detracting from your display.
Choosing wisely will set the foundation for a stunning final product.
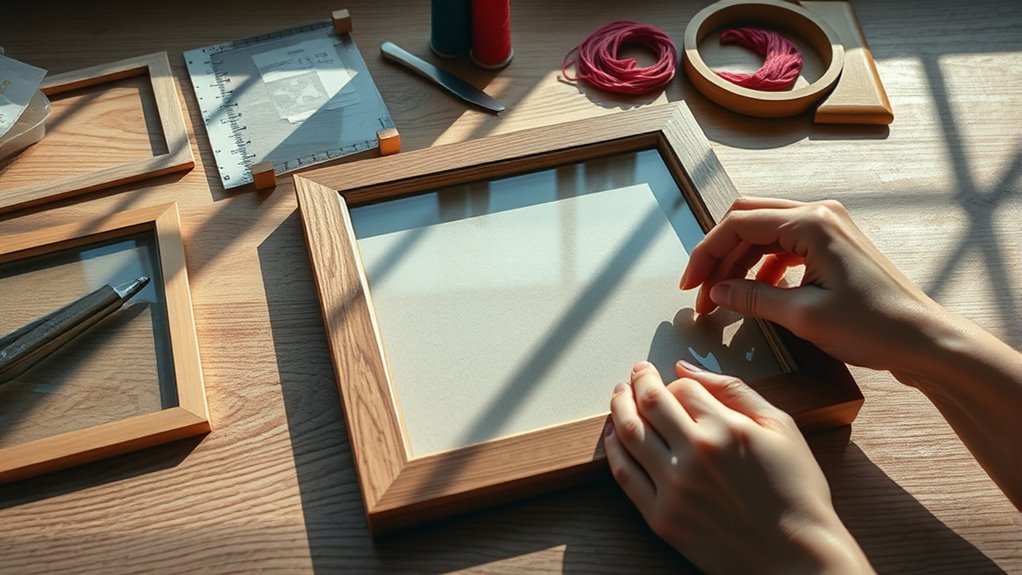
Step 1: Crafting Your Item Frame Base
Begin by cutting your chosen material to the desired dimensions for your item frame base. Whether you’re using wood, metal, or cardboard, make certain it suits your frame aesthetics.
Precision is vital here, as a well-cut base guarantees a polished final product.
You’ll want to evaluate various factors as you craft:
Material choice: Different materials offer unique aesthetics.
Dimensions: Measure twice to confirm accuracy.
Finishing touches: Sand down rough edges for a clean look.
Mounting options: Think about how you’ll display your frame.
Design elements: Add any decorative touches before assembly.
Once you’ve crafted your base, you’ll have a sturdy foundation for your item frame. This step sets the tone for the entire project, so take your time to get it just right!
Step 2: Adding the Glass or Cover
Now that you have a sturdy base for your item frame, it’s time to add the glass or cover. Choosing the right glass type is essential for both protection and aesthetics.
You can opt for clear glass, which offers a classic look, or acrylic, which is lighter and shatter-resistant. Consider your frame designs; a sleek modern frame might pair well with acrylic, while a rustic wood frame could benefit from traditional glass.
To attach the glass, carefully position it over the frame, ensuring it fits snugly. Use small clips or points to secure it, keeping the glass from shifting.
If you’re using a cover instead, make sure it complements the overall style of your frame. This step not only improves the appearance but also protects your items from dust and damage.
Once you’ve secured your glass or cover, you’re one step closer to completing your masterpiece!
Step 3: Inserting Your Item
It’s time to insert your item into the frame, bringing your creation to life. This step is essential for showcasing your chosen piece effectively.
Here are some item selection tips and display techniques to contemplate:
Here are essential tips for selecting and displaying your item to create an eye-catching presentation.
Choose a focal point: Pick an item that stands out and draws attention.
Consider size: Confirm your item fits well within the frame without overcrowding.
Think about color: Select colors that complement the frame and improve the overall aesthetic.
Experiment with angles: Position your item at a slight angle to create visual interest.
Use backing: A contrasting background can make your item pop even more.
Take your time to arrange everything just right. Once you’ve inserted your item, you’ll see your frame transforming into a unique work of art.
Enjoy the process and let your creativity shine!
Step 4: Securing Your Item Frame
Once you’ve placed your item in the frame, securing it properly is essential to prevent any shifting or damage.
Start by choosing the right hanging techniques based on your frame materials. For lighter frames, adhesive strips can work wonders, providing a damage-free option for walls.
If you’re dealing with heavier materials, consider using wall anchors and screws for a more secure hold.
Make certain the frame is level before finalizing your installation. You can use a level tool to check this.
If your frame has a backing, confirm it’s tightly fitted. This will help keep your item stable.
For added security, consider using clips or brackets that suit your frame materials. This extra layer of protection not only prevents movement but also improves the overall aesthetics of your display.
With everything securely in place, you’re one step closer to showcasing your unique creation!
How to Display Your Item Frame
To effectively display your item frame, consider the surrounding environment and the message you want to convey. The right display techniques can enhance your frame, making it a focal point in your space. Here are some aesthetic choices to keep in mind:
Consider your environment and intended message to make your item frame a captivating focal point.
Lighting: Use natural or accent lighting to highlight the frame.
Placement: Hang it at eye level for maximum impact.
Background: Choose a contrasting wall color to make the frame pop.
Grouping: Pair it with other art pieces for a curated look.
Orientation: Consider whether it looks better horizontally or vertically.
Creative Ways to Showcase Your Item Frame
Building on your display choices, showcasing your item frame in creative ways can improve its impact even further.
Consider grouping multiple frames to create a gallery wall that celebrates a unique theme, like travel or family memories. Use varying frame sizes and colors to add visual interest.
You could also incorporate lighting elements, such as LED strips, to highlight your frame and draw attention.
Another fun idea is to integrate your item frame into a larger display, like a themed shelf or table. Surround it with related items to create a cohesive look.
If you’re feeling adventurous, try hanging your frame in unexpected places, like a hallway or above a doorway, to surprise guests.
Don’t forget about seasonal themes! Switch out your items or frames to reflect different holidays or events.
With these creative displays, your item frame will truly shine!
What to Do If Things Go Wrong?
Hey there! So, you know how sometimes things just don’t go the way you expect when you’re working on your item frame? It happens to the best of us! You might run into some common hiccups that can really throw you off. But here’s the good news—there are plenty of troubleshooting tips to get you back on track.
If you make a few simple adjustments, you’d be surprised at how quickly you can turn things around. With a little patience and creativity, your project can still lead to something great. Let’s dive in and figure out how to fix those pesky issues together!
Common Mistakes Made
Crafting an item frame can be a rewarding project, but mistakes often happen along the way. Understanding common pitfalls can help you avoid frustration. Here are some mistakes you might encounter:
Choosing the wrong materials: Not all woods or glass work well together.
Incorrect measurements: Double-check your dimensions to guarantee a perfect fit.
Neglecting framing techniques: Skipping essential steps can weaken the structure.
Over-tightening screws: This can crack the frame or misalign the pieces.
Forgetting to seal: Not applying a protective finish can lead to damage over time.
Troubleshooting Tips Provided
Even with careful planning, things can go awry when crafting an item frame. If you’re facing issues, don’t worry! Here are some tips to troubleshoot common problems:
| Problem | Solution |
|---|---|
| Frame durability is low | Use stronger materials for support. |
| Items don’t display well | Adjust display techniques for better visibility. |
| Frame isn’t level | Use a level tool to guarantee it’s straight. |
| Glass is scratched | Replace with a new, protective cover. |
Adjustments for Success
Creating an item frame can be a rewarding experience, but when things go wrong, quick adjustments can save the day. Here are some effective adjustment techniques and success strategies to keep in mind:
Check Alignment: Verify everything lines up correctly. Misalignment can ruin your frame.
Reinforce Corners: If your frame feels loose, add extra glue or nails to secure the corners.
Adjust Sizing: If the frame’s too big or small, consider resizing or using a different material.
Clean Surfaces: Dust or debris can affect adhesion. Make certain surfaces are clean and dry.
Seek Help: Don’t hesitate to consult tutorials or ask an experienced friend for tips.
Caring for Your Item Frame
To keep your item frame looking its best, regular care is essential. Start with some frame maintenance tips.
Check for dust and grime buildup every few weeks. Gently wipe the frame with a soft, dry cloth to prevent scratches or damage. If you notice stubborn stains, use a slightly damp cloth with mild soap, but avoid soaking the frame.
Next, think about where you place your item frame. Keep it out of direct sunlight to prevent fading and warping. If your frame is made of wood, apply a suitable wood polish occasionally to maintain its shine and protect it from moisture.
Finally, inspect the frame for any loose parts or damage. Tighten screws and nails as needed to ensure everything stays secure.
Frequently Asked Questions
Can I Use Different Sizes for My Item Frame?
You can’t use different sizes for your item frame; they all come in a standard size. However, you can get creative with frame materials to improve your display techniques.
Mix and match woods, metals, or even glass to give your display a unique flair. Just remember, while the frames may be uniform, the items within can vary in size.
This creates an interesting visual contrast that draws attention to your collection.
How Long Does It Take to Craft an Item Frame?
Crafting an item frame usually takes just a few seconds once you’ve gathered the right frame materials. You’ll need sticks and leather, and with those in hand, you can quickly create your frame.
The actual crafting time is minimal, so you won’t have to wait long to display your favorite items. Just remember to place your materials in the crafting grid correctly, and you’ll have your item frame ready in no time!
Are Item Frames Durable for Outdoor Use?
Item frames aren’t exactly champions of the great outdoors. While they add delightful touches to your outdoor aesthetics, they lack true weather resistance.
You might find them fading or warping when exposed to the elements for too long. If you want your frames to last, consider placing them in sheltered spots or using protective coatings.
That way, they can keep displaying your treasures without falling victim to nature’s whims.
Can I Customize the Frame’s Color?
Yes, you can customize the frame’s color! Depending on the frame material, you can use various dyes or paints to achieve your desired color matching.
Just make sure the finish is suitable for the material you’re using. Experiment with different shades to find the perfect match for your decor.
Once you’ve painted it, let it dry thoroughly before displaying it. This will guarantee a vibrant, lasting color.
Enjoy your personalized item frame!
What Items Can Be Displayed in an Item Frame?
You can showcase a collection of items in an item frame! From tools and weapons to food and banners, the frame brings your favorite item types to life.
Whether you’re using wood, sticks, or leather for frame materials, each piece adds a unique touch to your display. Let your creativity shine as you curate a gallery that tells your story.
Turn your space into a vibrant reflection of your adventures!
Conclusion
To sum up, crafting an item frame isn’t just a delightful endeavor; it’s a way to immortalize cherished memories.
With the right materials and a bit of finesse, you’ll have a stunning display that rivals the finest galleries of yore.
Remember to care for your creation, ensuring it remains a visual feast for years to come.
So, gather your supplies, unleash your creativity, and watch as your item frame transforms into a true masterpiece!