How Do You Make a Crafting Table in Simple Steps?
Are you tired of struggling to find the right workspace for your crafting projects? You’re not alone! Many people face the challenge of creating a dedicated area that’s both functional and inspiring.
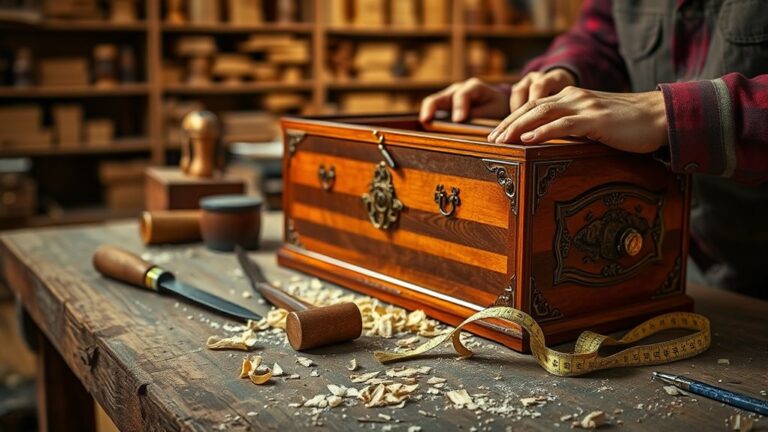
To make a crafting table, gather wooden planks from logs, cut them to size, and assemble the tabletop using adhesive or screws.
Securely attach the legs for stability. Sand the surface for a smooth finish.
Position your table in a well-lit area with enough space for movement. Consider personal style in your setup.
With this foundation, you can create various items and improve your crafting skills. There’s a lot more you can discover for enhancing your crafting experience!
Key Takeaways
- Gather materials: wood planks (preferably hardwoods) and tools like a saw, hammer, and screwdriver for preparation.
- Cut the wood planks to your desired dimensions based on your table design.
- Assemble the tabletop using strong adhesive or screws for secure bonding.
- Attach the legs firmly to ensure stability and durability of the table.
- Sand and finish the table to achieve a smooth and polished appearance.
What You Need to Craft a Table
To craft a table, you’ll need just a few essential items. First, gather your crafting materials, which typically include wood planks and possibly some nails or glue, depending on the table designs you’re considering.
Choose your wood type wisely; hardwoods like oak can create a durable finish, while softer woods like pine are easier to work with for beginners.
Next, think about the size and shape of your table. Do you want a small side table or a larger dining table? Sketching out your table designs can help you visualize the final product.
Finally, make sure you have the right tools on hand, like a saw, hammer, or screwdriver. Having everything prepared before you start will streamline the process and make it more enjoyable.
With the right materials and tools, you’re ready to bring your table vision to life!
Step-by-Step Process for Crafting a Table
Now that you have your materials and tools ready, it’s time to start crafting your table. Follow these simple steps to create a sturdy and functional crafting table.
| Step | Action | Note |
|---|---|---|
| 1 | Gather your wood planks | Use quality wood for best results. |
| 2 | Cut planks to desired size | Choose a design that fits your space. |
| 3 | Assemble the tabletop | Use strong adhesive or screws. |
| 4 | Attach legs securely | Guarantee stability for your crafting needs. |
Experiment with different crafting techniques to personalize your table designs. Once assembled, feel free to sand and finish your table for a polished look.
Enjoy the satisfaction of creating your own space to release your creativity!
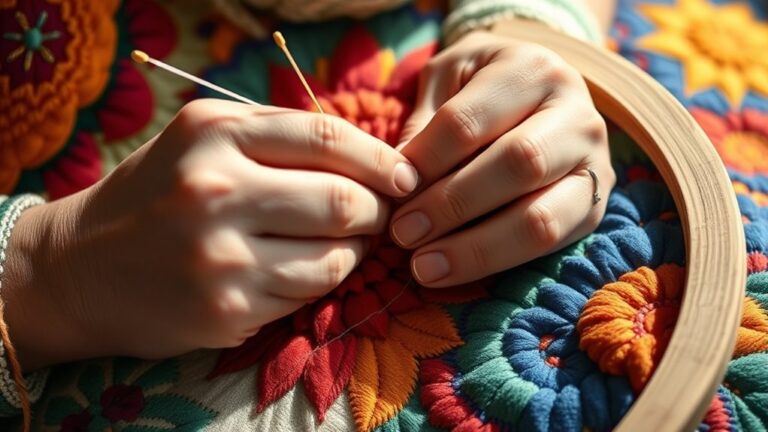
Choosing the Best Spot for Your Crafting Table
When you’re picking the perfect spot for your crafting table, think about where it’ll fit in your room. You want it to be super accessible, especially for those moments when inspiration hits!
But it’s not just about convenience; it should look good in your space, too. Finding that sweet spot where functionality meets style can really elevate your crafting experience. Plus, when your setup feels right, you’ll enjoy your creative time even more!
Optimal Room Placement
Choosing the right spot for your crafting table can improve your crafting experience considerably.
Think about the ideal layout of your workspace. You want to position your table where you have enough room to move around and access materials easily.
Try to place it near other essential crafting tools or storage for better workspace organization.
Good lighting is also vital; a well-lit area can boost your creativity and reduce eye strain.
If possible, choose a spot where you won’t be easily distracted. This allows you to focus on your projects.
Accessibility and Convenience
A well-placed crafting table makes all the difference in your creative process. Think about choosing a spot that offers mobile accessibility, allowing you to move around easily while you work.
Position your table near your main resources so you don’t waste time traveling back and forth. A user-friendly design should prioritize convenience, so make sure your crafting area is well-lit and spacious enough for your materials.
If you have limited space, consider a foldable or movable table that you can tuck away when not in use. This way, you maintain a clutter-free environment while still having your crafting essentials within reach.
Ultimately, the right location boosts your efficiency and enjoyment, making your crafting sessions more productive and fun.
Aesthetic Considerations
While finding the perfect spot for your crafting table, consider how the aesthetics of the space can boost your creativity. Choose a location that resonates with your personal style and complements the surrounding environment.
Think about your aesthetic styles and color palettes. These choices can inspire your projects.
| Aesthetic Style | Color Palette |
|---|---|
| Minimalist | Neutral tones |
| Rustic | Earthy colors |
| Bohemian | Vibrant hues |
| Industrial | Monochrome shades |
Positioning your table near natural light can improve both the aesthetic and functionality.
Don’t forget to accessorize with decor that reflects your taste. Creating an inviting atmosphere will fuel your crafting passion.
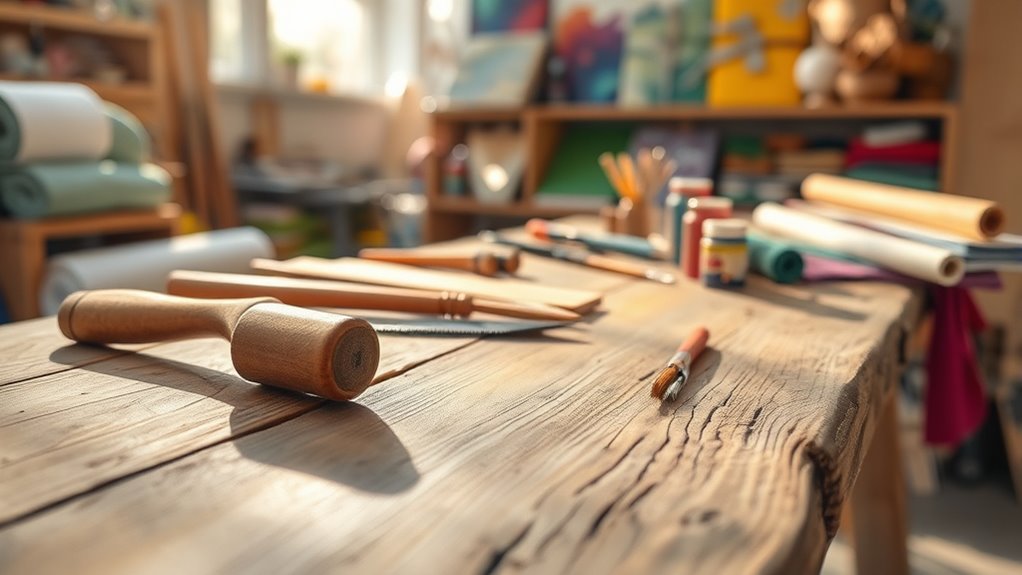
Materials for Crafting Tables
To craft a solid crafting table, you’ll need a few specific types of wood and some essential materials. It’s super important to gather the right resources before you dive into building. So, let’s take a closer look at what you’ll need to get your crafting table up and running!
First off, you’ll want to collect some wood. Different types can work, but oak is always a solid choice if you can find it. Don’t forget to gather a bit of stone too! You’ll need it for tools, which makes the whole process a lot smoother.
Once you have those materials, you’re almost there! Just make sure you have enough of each to get started. It’ll save you a lot of time in the long run. Ready to get crafting? Let’s go!
Required Wood Types
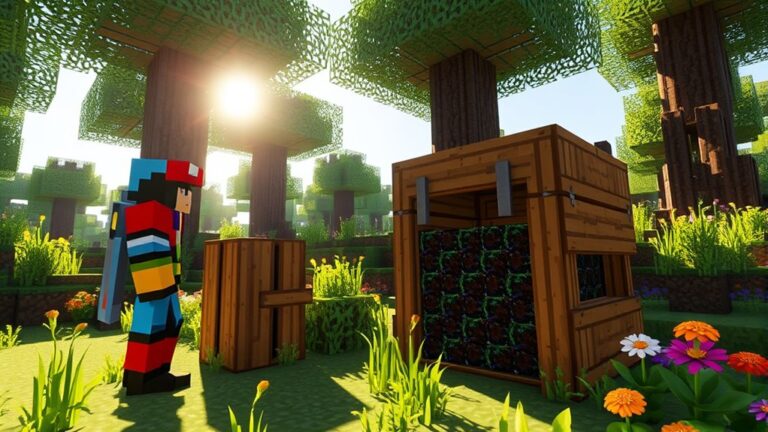
Crafting a table requires two specific wood types: wooden planks and logs. You can use any kind of wood, like oak, spruce, birch, jungle, acacia, or dark oak.
First, gather your logs by chopping down trees in your environment. Once you have enough logs, open your crafting interface to convert them into wooden planks. Each log will yield four planks, giving you a good amount of crafting materials for your table.
Crafting Table Essentials
After gathering your logs and converting them into wooden planks, you’re ready to gather the remaining materials needed for your crafting table.
The essential materials for crafting this table are straightforward. You’ll need four wooden planks, which you’ve already prepared from your logs.
Next, find a crafting area or a flat surface to work on. Once you have your planks, open your crafting menu and arrange them in a 2×2 grid.
This will create your crafting table. Remember, you can use any type of wooden plank, whether it’s oak, birch, or spruce.
With these essential materials, you’ll have a functional crafting table, ready to help you create even more tools and items in your adventure!
Efficient Resource Gathering Tips
While you’re preparing to build your crafting table, gathering resources efficiently can save you valuable time. Start by planning your resource management strategy.
Focus on collecting wood, stone, and coal first, as these are essential for crafting tools and your table. Use a stone axe to chop wood faster, maximizing tool efficiency.
Focus on gathering wood, stone, and coal initially, as they are crucial for crafting tools and your crafting table. Use a stone axe for efficiency.
When mining, prioritize the most abundant resources in your area. Look for clusters of stone and coal, and gather as much as you can in one trip to limit your back-and-forth.
Don’t forget to collect saplings when cutting down trees. Replanting guarantees a sustainable wood supply.
Always keep an eye out for nearby caves or cliffs. They can provide quick access to stone and coal.
How to Navigate the Crafting Interface
Maneuvering the crafting interface can feel overwhelming at first, but it becomes intuitive with practice. Here are some interface tips to help you navigate smoothly:
- Familiarize Yourself with the Grid: The 3×3 crafting grid is where the magic happens. Spend time understanding how items fit together.
- Utilize Crafting Shortcuts: Learn keyboard shortcuts for quicker access. For example, using `Shift` to move items can save you time.
- Experiment with Recipes: Don’t hesitate to mix and match items. The crafting interface lets you see combinations in real-time, making exploration fun.
Each time you craft, you’ll grow more comfortable. Soon, you’ll be whipping up tools and items without a second thought.
Make Your Crafting Table Even Better
To improve your crafting table, consider incorporating additional features that can streamline your crafting experience.
First, think about adding crafting upgrades like storage compartments. This keeps your materials organized and within reach, making it easier to focus on your projects.
Next, enhance the aesthetics of your workspace with decorative designs. A colorful tablecloth or themed decorations can inspire creativity and make your area more inviting.
You might also want to include tools or accessories, such as a dedicated space for scissors and glue. This optimizes your workflow and adds charm to your crafting table.
Lastly, consider modular designs that allow you to adjust your table’s size or configuration based on your needs. By combining functionality with decorative flair, you’ll create a crafting table that’s not just practical but also a joy to use.
Troubleshooting Crafting Issues
Crafting can sometimes come with its share of challenges. Knowing how to troubleshoot these issues can save you time and frustration. Here are three common problems you might face:
- Crafting Bugs: If your items aren’t crafting as expected, double-check the arrangement. A single misplaced block can ruin your plans.
- Missing Resources: Verify you have all the necessary materials. Even if you think you’ve gathered enough, it’s easy to overlook a vital element in your inventory.
- Crafting Table Issues: If your crafting table isn’t responding, try breaking and replacing it. This can reset any glitches and clear up minor bugs.
What Can I Create With a Crafting Table?
Once you’ve tackled any crafting issues, it’s time to explore what you can create with a crafting table. This tool opens up a world of crafting recipes that can enhance your gameplay.
Here are some popular items you can craft:
| Item | Required Materials | Purpose |
|---|---|---|
| Wooden Planks | 1 Log (any type) | Building materials |
| Crafting Tools | 2 Sticks, 1 Iron Ingot | Tool creation |
| Furniture | Various woods or stones | Home decor |
| Armor | 8 Iron Ingots | Protection |
| Weapons | 2 Sticks, 3 Iron Ingots | Combat tools |
These creative projects let you customize your experience and improve your efficiency. Immerse yourself in your crafting table and start experimenting with different combinations to uncover even more possibilities!
Building Advanced Crafting Skills
As you plunge deeper into the world of crafting, mastering advanced skills can greatly boost your gameplay. Developing these skills not only improves your efficiency but also opens up new creative possibilities.
Mastering advanced crafting skills enhances your gameplay, boosting efficiency and unlocking a world of creative possibilities.
Here are three advanced techniques to raise your crafting:
- Experiment with Recipes: Don’t just stick to the basics. Combine unexpected materials to uncover unique items that can give you an edge.
- Optimize Your Workflow: Set up your crafting area strategically. Place your crafting table near essential resources to save time and streamline your projects.
- Learn from the Community: Join forums or watch tutorials. Engaging with fellow crafters can inspire new techniques and provide valuable tips for skill development.
Frequently Asked Questions
Can I Craft Multiple Tables at Once?
No, you can’t craft multiple tables at once in Minecraft. Each crafting recipe, including the crafting table, requires you to place the materials in the grid individually.
After you craft one table, you need to repeat the process for each additional table you want. Just gather enough wood, then follow the recipe to create as many as you need.
Remember to plan your table placement wisely to maximize your workspace!
What Tools Do I Need to Gather Crafting Materials?
You don’t need fancy gear to gather crafting materials; just a few essential tools will do.
Grab a sturdy pickaxe to mine stone and ores, and an axe for chopping wood. A shovel’s handy for digging dirt and sand.
While you might think you need more, these basics are enough to get started on your crafting journey. With these tools, you’ll efficiently gather everything you need to create your crafting table.
How Do I Move My Crafting Table Once Placed?
To move your crafting table after placement, simply break it with your hand or a tool, and it’ll drop as an item.
Then, pick it up and place it wherever you’d like. Make sure the new spot enhances your crafting table aesthetics.
Consider how the crafting table placement fits into your overall space. You want it to be both functional and visually appealing.
Enjoy rearranging it to suit your creative needs!
Can Crafting Tables Be Used in Multiplayer Mode?
Yes, crafting tables can definitely be used in multiplayer mode. You and your friends can collaborate on crafting mechanics, sharing resources and ideas to optimize your gameplay.
Coordinate your multiplayer strategies to ensure everyone knows where the crafting table is and what materials are needed. This way, you can efficiently create tools, items, and structures together.
Enhancing your overall gaming experience makes teamwork even more rewarding. Happy crafting!
What’s the Difference Between Crafting Tables and Workbenches?
Crafting tables and workbenches both improve your crafting experience, but they serve different functions. A crafting table lets you combine materials to create items.
On the other hand, a workbench offers a wider range of crafting options and often includes storage. You’ll find crafting tables essential for basic recipes, while workbenches can handle more complex tasks.
Knowing their uses helps you optimize your gameplay and create the items you need efficiently.
Conclusion
Now that you’ve mastered crafting a table, imagine your cozy corner filled with the warm glow of a flickering torch. Surrounded by the scent of fresh wood, you can feel the thrill of endless possibilities.
Each crafted item tells a story, from sturdy tools to intricate decorations. As you gather resources, envision your kingdom expanding, with each creation bringing life and character to your world.
So grab those materials, unleash your creativity, and let your crafting adventures begin! Remember, making a crafting table is just the start of your journey.