10 Simple Steps to Perfectly Bind Quilt Corners
If you’ve ever tried binding quilt corners and ended up with bunching, uneven edges, or just a less-than-perfect finish, you’re not alone. Many quilters—beginners and experienced alike—struggle to achieve that crisp, professional look. It’s a common frustration, but the good news is there are simple steps you can follow to make those stubborn corners cooperate.
To perfectly bind quilt corners, start by understanding binding basics like bias and fabric weight.
Choose and prepare fabric that complements your quilt while cutting 2.5-inch strips accurately.
Attach the binding by aligning it with quilt edges, and create mitered corners for a polished finish.
Secure your binding with either hand or machine techniques, ensuring even edges.
Finally, check for any mistakes and fix them. There’s more to investigate to achieve that flawless look!
Key Takeaways
– Choose the right fabric weight and color to ensure cohesive
and durable quilt binding.
– Cut binding strips to 2.5 inches wide and join them diagonally
for smooth seams.
– Pin binding firmly, folding corners into triangles for precise
mitered corners.
– Opt for machine or hand stitching based on your preference
for speed or craftsmanship.
– Inspect finished binding for even edges, neat corners,
and consistent decorative stitches.
Understanding Quilt Binding Basics
When you plunge into quilt binding, it’s vital to grasp the basics first. Understanding quilt terminology and binding techniques will set you up for success.
Start by familiarizing yourself with terms like “bias,” which refers to the diagonal direction of the fabric. This is essential for a smooth finish.
You’ll also want to learn about “binding strips,” the fabric pieces you’ll use to encase the edges of your quilt.
Different binding techniques exist, such as single-fold and double-fold. Each offers unique benefits.
Single-fold is simpler and quicker. Double-fold provides extra durability and a polished look.
Before you begin, make sure you’ve chosen the right width for your binding strips, usually 2.5 inches for most quilts.
By mastering these basics, you’re laying a solid foundation for your quilt binding journey. This will help make those corners look crisp and professional.
Happy quilting!
Choosing the Best Fabric for Quilt Binding
When you’re picking out fabric for your quilt binding, it’s a good idea to think about the weight of the material. You want something that matches the feel of your quilt, so everything comes together nicely.
It’s also worth considering color coordination. Choosing a color that blends well with your quilt can help create a smooth, seamless look.
In the end, the right fabric choice can really make your quilt pop and give it that special finishing touch.
Fabric Weight Considerations
Selecting the right fabric weight for quilt binding is essential to achieving a polished finish.
Understanding the weight differences helps you choose a binding that complements your quilt’s fabric types and improves durability.
Here are key considerations:
- Fabric Thickness: Thicker fabrics provide sturdiness but may affect quilt drape.
- Fabric Stretch: Choose fabrics with minimal stretch for better binding longevity.
- Quilt Durability: Heavier fabrics can withstand wear and tear, ensuring your quilt lasts.
- Binding Aesthetics: Lighter fabrics may offer a softer look, while heavier options can create a bold contrast.
Color Coordination Tips
While you might have a favorite fabric in mind for your quilt binding, coordinating colors effectively is key to improving the overall design. Use the color wheel to identify hues that create fabric harmony.
Consider contrasting shades to make your quilt pop, or opt for tonal variations for a more subtle look. Seasonal palettes can inspire your choices, reflecting the mood you want to evoke.
Don’t shy away from pattern mixing. Just make sure you maintain visual balance as you experiment.
Remember, color psychology plays an essential role. Warm colors can energize, while cool tones soothe.
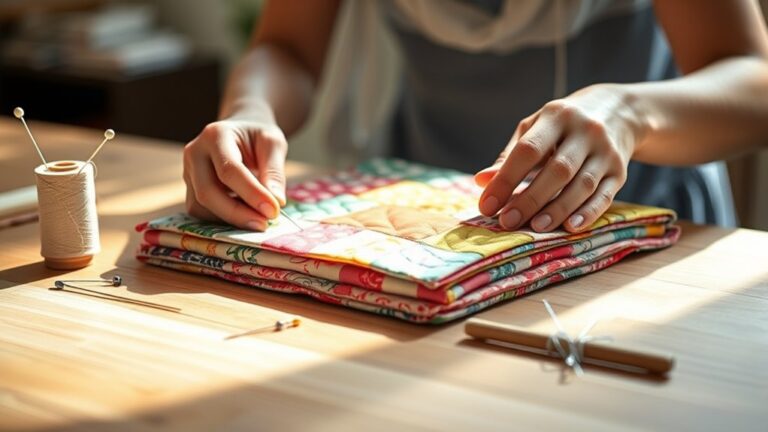
Preparing Your Quilt for Binding
Before diving into the binding process, you need to prepare your quilt properly.
This quilt preparation step guarantees a smooth binding experience and a polished final product.
Here’s what you should do:
- Trim any excess fabric around the edges to guarantee uniformity.
- Press your quilt to remove any wrinkles, making the edges easier to work with.
- Inspect for any loose threads that might get caught in the binding, and trim them away.
- Gather your binding tools, such as scissors, pins, and a rotary cutter, to keep everything organized.
Taking these steps will not only save you time but also improve the overall appearance of your quilt.
Once your quilt is prepped, you’ll find the binding process much more enjoyable and straightforward.
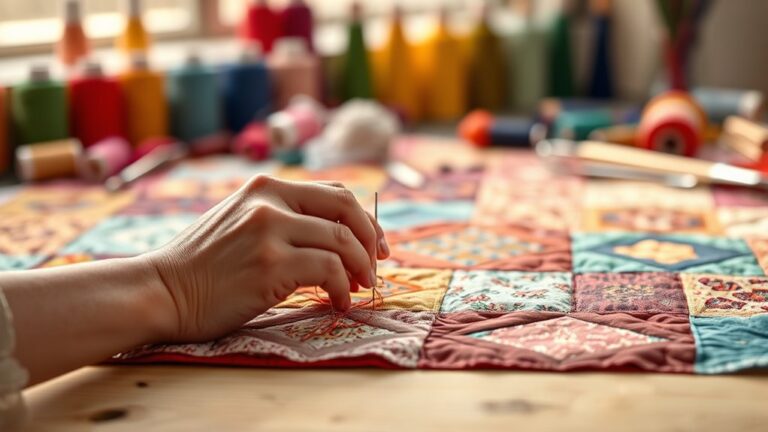
Cutting and Preparing Your Binding Strips
With your quilt prepped and ready, it’s time to cut and prepare your binding strips. First, choose your fabric. Ideally, it should complement your quilt’s design.
Use cutting tools like a rotary cutter, mat, and ruler for precise measurements. Measure and cut strips that are 2.5 inches wide; this width works best for most quilts.
Next, employ binding strip techniques to join your strips. Lay them right sides together, matching the edges, and sew at a diagonal to create smooth seams.
Trim any excess fabric to avoid bulk. Press your seams open to guarantee they lie flat.
Finally, fold the strips in half lengthwise and press. This prepares them for easy attachment to your quilt edges.
Attaching Binding to Your Quilt Edges
When it comes to attaching binding to your quilt edges, picking the right fabric really matters—not just for how your quilt looks, but also for how well it holds up over time. You also want to make sure your quilt edges are prepped properly so you end up with a nice, clean finish. Let’s take a closer look at how you can make these choices and get the best results for your quilt.
Choosing Binding Fabric
How do you choose the perfect binding fabric for your quilt edges?
Selecting the right binding fabric can enhance your quilt’s overall look.
Here are some tips to guide your decision:
- Binding Fabric Types: Consider cotton for durability, or try satin if you want a softer touch.
- Color Coordination: You can match or contrast with your quilt’s main colors to create visual interest.
- Fabric Pattern Options: Go with simple patterns for a classic look, or choose bold designs if you want to make a statement.
- Weight and Texture: Make sure the fabric complements your quilt’s weight, so it lays flat and smooth.
With these factors in mind, you’ll create a beautifully finished quilt
that really showcases your style and craftsmanship.
Enjoy the process of selecting the perfect binding!
Preparing Quilt Edges
Prepare your quilt edges by carefully attaching the binding, ensuring a polished finish.
Start by trimming any excess fabric along the edges for a clean look.
Use binding tools, like a rotary cutter and a straight edge, to make precise cuts.
Next, fold your binding strip in half lengthwise and press it, creating a crisp edge.
Align the raw edge of the binding with the quilt edge, leaving a tail of a few inches at the start.
Pin or clip it in place, making sure to maintain even tension as you sew.
As you reach each corner, remember to miter them for a neat finish.
This quilt edge preparation will set you up for beautifully bound corners.
How to Create Mitered Corners
Creating mitered corners can improve the look of your quilt,
giving it a polished finish.
To achieve this, follow these simple steps using mitered
techniques and corner folding.
Cut your binding strips:
Verify they’re the right length for your quilt edges.
Pin the binding:
Start attaching at the first corner, leaving a tail for folding.
Fold the corner:
Once you reach the corner, fold the binding up, then down
to create a triangle.
Sew the next side:
Continue sewing down the next edge, securing the mitered corner.
Aligning Your Quilt Corners for a Perfect Finish
If you want your quilt corners to look perfect, it all starts with how you place your fabric. Take a little extra time to line everything up just right—trust me, it makes a big difference! Once you’ve got your pieces positioned, grab your ruler and double-check those measurements. When you’re careful about both placement and measuring, your corners will come out clean, crisp, and super professional. That’s really all it takes to give your whole quilt a polished, finished look.
Proper Fabric Placement
While it’s easy to overlook the details, proper fabric placement is essential
for achieving perfectly aligned quilt corners.
To guarantee your quilt looks professional, consider the following aspects:
– Fabric Orientation: Make sure your fabrics are
oriented correctly to avoid twists.
– Color Placement: Choose colors that complement
each other, enhancing the overall design.
– Pattern Alignment: Align patterns across corners
for a seamless appearance.
– Texture Contrast: Use different textures to create
visual interest and depth.
Accurate Measuring Techniques
Accurate measuring is essential for achieving well-aligned quilt corners that improve your project. Start by gathering your measuring tools, like rulers and measuring tapes, to guarantee precision cutting.
Use measurement techniques that account for seam allowances. This helps maintain proper fabric alignment and makes sure your pieces fit together as they should.
Employ grid systems on your cutting mat to simplify your layout and keep everything straight. When pinning, make sure to use accurate pinning methods to avoid shifting during sewing.
Marking guides can also help you visualize where to cut and stitch. This assures that your corners are crisp and clean.
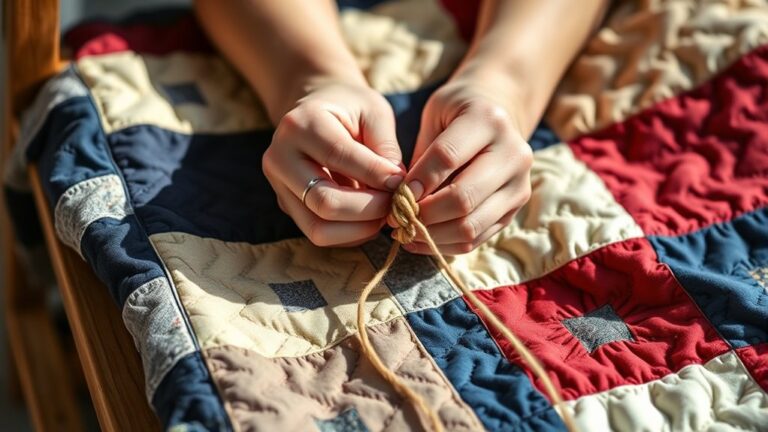
Securing Your Binding: Hand vs. Machine
Choosing between hand-sewing and machine-sewing your binding can greatly impact the final look of your quilt. Each method has its own strengths, so consider your binding preferences and personal style.
- Hand stitching offers a delicate finish quality, perfect for artistic quilts.
- Machine techniques provide time efficiency, allowing you to complete projects faster.
- Durability comparison shows that machine-sewn bindings are often sturdier. This makes them ideal for quilts that see heavy use.
- Ease of use comes into play. If you’re new to quilting, machine binding may feel more manageable.
Ultimately, the choice depends on what you value most. If you love the craftsmanship of hand stitching, go for it.
The choice is yours: embrace the artistry of hand stitching or opt for the efficiency of machine sewing.
If you need quicker results with reliable durability, machine-sewing is your best bet. Whichever you choose, make sure your binding improves your quilt’s beauty!
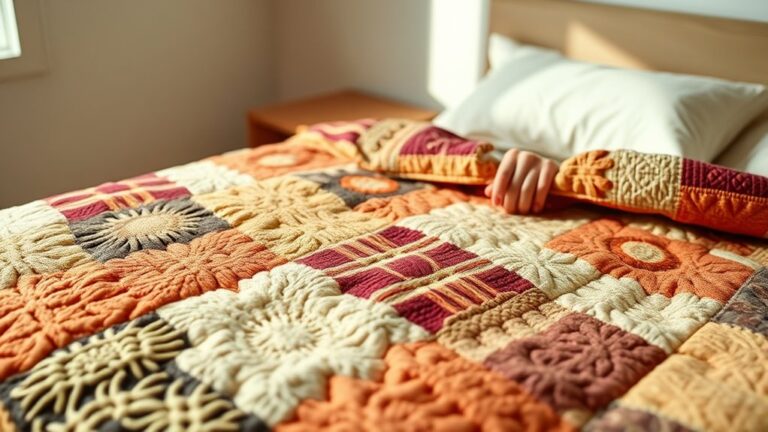
Final Inspection of Your Quilt
Before you display your quilt, it’s vital to conduct a final inspection to confirm everything is just right.
Start by checking the binding. Make sure your chosen binding techniques are executed flawlessly. Look for any uneven edges or loose threads that might detract from your hard work.
Next, inspect the corners. They should be crisp and neatly finished, showcasing your skills.
If you used decorative stitches, verify they’re consistent and secure.
Don’t forget to examine the quilt top and backing for any puckering or creases. A smooth finish improves the overall appearance.
Finally, give it a good shake to remove any lint or dust.
After these final touches, your quilt will be ready for display, reflecting your dedication and attention to detail.
Enjoy the satisfaction of seeing your masterpiece completed!
Fixing Common Binding Mistakes
While binding your quilt can be a rewarding process, mistakes can happen. Here are some common errors and troubleshooting tips to help you fix them and achieve a polished finish:
Binding your quilt can be fulfilling, but errors may arise. Discover tips for troubleshooting and achieving a polished finish.
- Fixing overlaps: If your binding overlaps, trim the excess fabric and re-sew it. This helps guarantee a clean edge.
- Avoiding puckering: If you notice puckering, check your seam allowances. Adjust the tension on your sewing machine for smoother stitching.
- Assuring symmetry: To keep your quilt looking balanced, measure your binding strips accurately. Make sure to align them correctly before sewing.
- Exploring binding alternatives: You might want to try different binding techniques, like bias binding or double-fold binding, to suit your quilt style.
Frequently Asked Questions
How Do I Choose the Right Thread Color for Binding?
To choose the right thread color for binding, start by considering color theory. If you want your binding to stand out, pick contrasting colors that pop against your quilt.
For a more subtle look, select a color that blends with your quilt’s predominant hues. Test a few thread options against your fabric to see how they interact.
Trust your instincts; the right choice will improve your quilt’s overall design beautifully.
Can I Use Bias Binding Instead of Straight Binding?
Absolutely, you can use bias binding instead of straight binding! Bias binding benefits include its beautiful ability to curve around corners smoothly.
When you employ bias binding techniques, you improve your quilt’s overall elegance. It stretches, allowing you to follow intricate shapes without puckering.
Just remember to cut your fabric on the bias for the best results. You’ll love how it transforms your project, giving it a polished, professional finish!
What Tools Are Essential for Binding Quilts?
To bind quilts effectively, you’ll need a few essential binding tools. Grab a rotary cutter for clean edges, a cutting mat for accuracy, and a ruler to measure your strips.
A sewing machine with a walking foot helps you manage multiple layers. Binding clips or pins keep everything in place and make the process smoother.
Familiarize yourself with different binding techniques, like single-fold and double-fold, to find what works best for your project.
Happy quilting!
How Can I Prevent Fraying on My Binding Edges?
To prevent fraying on your binding edges, use strong binding techniques like double-fold or bias binding. Choose high-quality fabric with a tight weave, as it resists fraying better than looser weaves.
Before cutting your binding strips, consider using a rotary cutter for clean edges. Ironing your fabric strips before assembly can also help.
Finally, finish edges with a zigzag stitch or serger to secure them and minimize fraying during use.
Is It Necessary to Pre-Wash Binding Fabric?
You might think of pre-washing your binding fabric as a little insurance policy.
It’s not strictly necessary, but it sure has its perks!
Pre-washing helps you avoid surprises like fabric shrinkage later on.
Plus, it can prevent any dye bleeding that could spoil your masterpiece.
Conclusion
As you admire your quilt, with its corners perfectly bound like a cozy hug, you’ll feel a sense of accomplishment wash over you. Each stitch tells a story, and those neat, crisp edges invite touch.
Remember, practice makes perfect, so don’t shy away from experimenting. Your next quilt will be an even brighter canvas of creativity.
Keep sewing, keep dreaming, and let every binding adventure bring warmth to your heart and home. By following these simple steps to bind quilt corners, you’re well on your way to making every project a special masterpiece.