A Step-by-Step Guide to Hand Binding Your Quilt
If you’ve ever spent hours piecing together a beautiful quilt, only to feel unsure about how to finish it off, you’re not alone. Many quilters find the final step—hand binding—a bit daunting.
Whether you want a flawless, professional look or worry about making your edges neat, it’s a common challenge for both beginners and seasoned crafters. The good news? There are plenty of hand binding quilt solutions and tools out there to help you get that perfect finish without the frustration.
Hand binding your quilt adds a polished finish that showcases your creativity.
Start by choosing the right fabric that complements your quilt’s design.
Trim your quilt’s edges evenly and measure for accurate binding strips.
Attach the binding with a consistent seam allowance, and use pressing techniques for neat folds.
Pay attention to stitching for a professional look.
Encounter issues? Don’t worry; there are solutions.
Keep exploring to uncover more tips and tricks for a stunning quilt finish!
Key Takeaways
- Choose binding fabric that complements your quilt’s colors. Make sure it adds visual interest without overwhelming the design.
- Trim quilt edges evenly and lay it flat. This helps you get precise measurements before cutting binding strips.
- Cut binding strips 2.5 to 3 inches wide. Add 10 inches to the quilt’s perimeter to ensure you have enough material.
- Pre-press your binding strips and pin them to the quilt. This makes for a neat attachment and helps keep your stitching consistent.
- If you notice common issues like misaligned edges or puckering, address them right away. This will help you achieve a polished final look.
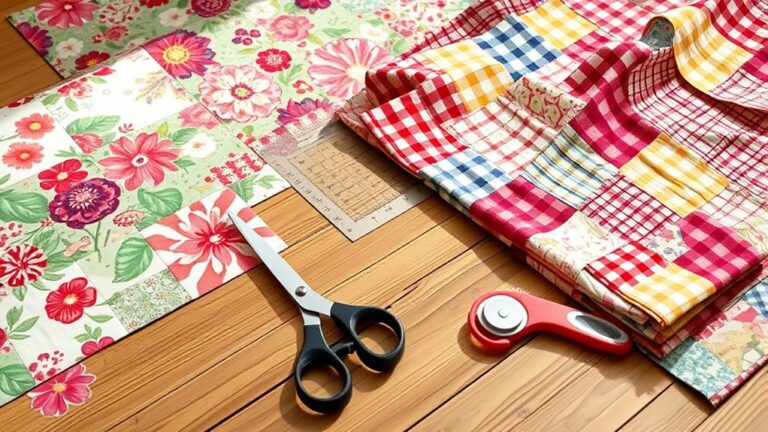
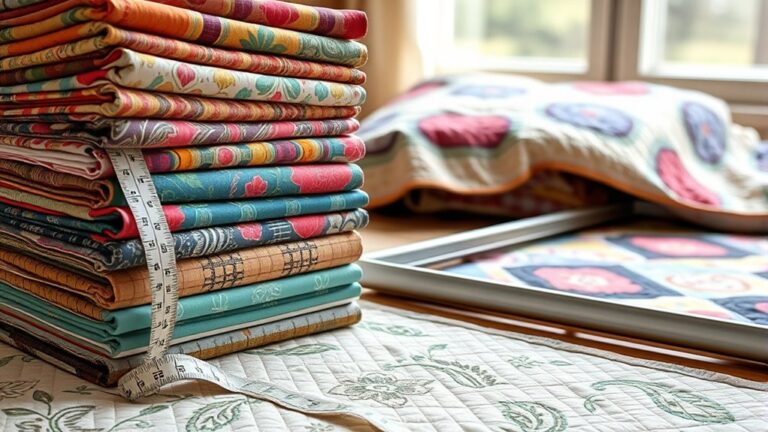
Choosing the Right Fabric for Your Quilt Binding
When you’re choosing the right fabric for your quilt binding, consider how it complements the overall design. Think about fabric colors that improve the quilt’s palette without overpowering it.
You want the binding to frame your quilt beautifully, so opt for shades that either contrast or harmonize with the main fabrics.
Texture considerations are just as significant. A smooth binding can offer a clean finish, while a textured fabric can add interest and depth.
If your quilt has a lot of intricate patterns, a solid binding might be the best choice to avoid visual chaos.
Feel free to mix and match, but keep the overall aesthetic in mind. Remember, the binding isn’t just functional; it’s an essential element of your quilt’s visual appeal.
Select wisely, and your quilt will not only be well-constructed but also stunning in its presentation.
Preparing Your Quilt for Binding
Before you jump into binding, take a moment to trim your quilt edges so they’re nice and even—this really helps your finished quilt look polished. Now, let’s talk fabric. Picking the right binding fabric matters more than you might think; the right choice will complement your quilt, while the wrong one could distract from all your hard work. So, let’s walk through these must-do steps together to make sure your quilt is all set for a beautiful, professional-looking finish.
Trim Quilt Edges Evenly
Trim your quilt edges evenly to create a polished look and guarantee a smooth binding process. Start by laying your quilt on a flat, clean surface.
Use a rotary cutter and mat for precise trimming, employing straight edges as your guide. Check for any uneven seams or fabric bunching before you begin; this is essential for effective edge preparation.
Utilize various trimming techniques, like squaring up each corner and cutting excess fabric away from the borders. Measure twice and cut once to secure accuracy.
Once you’ve trimmed, inspect your quilt for uniformity. This careful attention to detail will not only improve your quilt’s appearance but also make the binding process much easier and more enjoyable.
Choose Binding Fabric Wisely
Choosing the right binding fabric is essential, as it can elevate the overall look of your quilt while ensuring durability.
When selecting your fabric, think about binding color combinations that complement your quilt’s palette. You want your binding to improve rather than overpower the design.
Furthermore, consider fabric texture considerations. A smooth texture can provide a polished finish, while a textured fabric adds dimension.
Here’s a quick reference table to help you decide:
| Color Combination | Recommended Textures | Effect on Quilt |
|---|---|---|
| Contrasting Brights | Cotton, Linen | Bold and eye-catching |
| Monochromatic Shades | Cotton, Flannel | Subtle and cohesive |
| Pastel Accents | Cotton, Sateen | Soft and gentle |
| Dark Tones | Canvas, Denim | Strong and dramatic |
Choose wisely!
Key Dimensions for Cutting Binding Strips
When you’re getting ready to cut binding strips, it’s important to think about both the size of your quilt and the standard widths that people usually use for binding. These measurements really make a difference—they help make sure your binding lies flat and gives your quilt that polished, professional finish.
Determining Quilt Size
How do you guarantee your quilt binding fits perfectly?
Start by accurately measuring your quilt dimensions.
Lay your quilt flat, measuring the length and width.
Don’t forget to take into account any additional fabric allowances for seams and corners.
Typically, adding about 10 inches to the total perimeter of your quilt assures you have enough binding to work with.
To calculate the total perimeter, use this formula: (length + width) x 2.
Then, add your fabric allowances to this measurement.
Once you have the total, you can confidently cut your binding strips to the right length.
This way, your quilt binding won’t fall short, and you’ll achieve a polished finish that improves your beautiful quilt.
Standard Binding Widths
To guarantee your quilt binding looks professional, it’s essential to choose the right width for your binding strips. Most quilters use standard binding widths ranging from 2.5 to 3 inches.
A 2.5-inch strip is common for machine binding, while a 3-inch strip is often preferred for hand binding. This gives you extra fabric to wrap around the quilt edges securely.
When selecting your binding fabric options, consider how the color and pattern will complement your quilt design.
If you opt for standard binding techniques, verify the fabric is cut on the bias for added flexibility, especially around corners.
Cutting Techniques Explained
Choosing the right width for your binding strips is just the beginning. The cutting technique plays a significant role in achieving a clean finish.
To guarantee precise cuts, use a rotary cutter for smooth, straight edges. Start by aligning your fabric on a cutting mat, making sure it’s free of wrinkles.
Measure and mark the desired width with a quilting ruler. Then cut your strips at a 90-degree angle for standard binding.
For bias binding, adjust your cutting angles to 45 degrees. This allows for flexibility around curves.
Always double-check your measurements before cutting, since even small discrepancies can affect your final quilt’s appearance.
With these techniques, you’ll create binding strips that improve your quilt beautifully.
Attaching Quilt Binding to Your Quilt Top
Attaching quilt binding to your quilt top is an essential step that can improve your finished project.
Start by choosing your fabric carefully. Consider colors and patterns that complement your quilt design.
Once you’ve selected the right fabric, decide on your binding technique. You might prefer straight, bias, or continuous binding.
To begin, align the raw edge of the binding with the edge of your quilt top and pin it in place. Leave a tail of about 10 inches at the start so you can finish the binding neatly later.
As you sew, use a ¼-inch seam allowance and try to keep it consistent the whole way around.
Pay special attention to corners. You may want to miter them for a polished look.
Keep your stitches even but not too tight, so the binding lays flat.
Once you’ve sewn all around, you’re one step closer to completing your beautiful quilt!
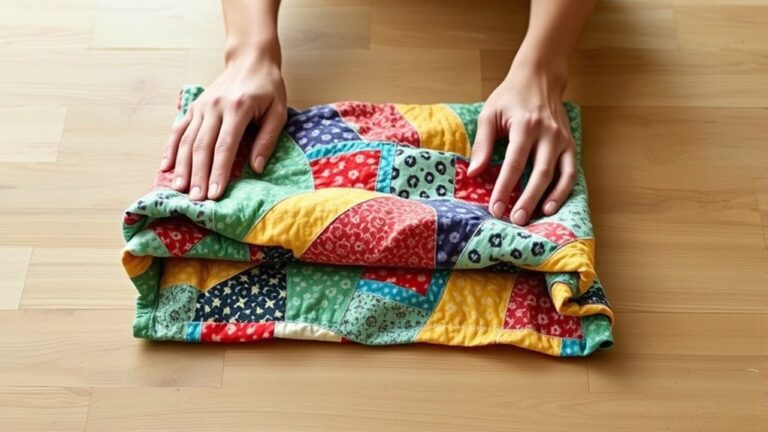
Get Neat Binding With Folding and Pressing Tricks
Achieving neat binding is all about mastering the right folding and pressing techniques.
When you use effective binding techniques, you’ll create a polished finish that improves your quilt’s appearance.
Here are some pressing methods to take into account:
- Pre-press the binding strips: Fold them in half lengthwise and press for a crisp edge.
- Use a clapper: After pressing, place a wooden clapper on the binding to hold the crease.
- Steam your seams: A quick burst of steam will help set your folds without distorting the fabric.
- Pin as you go: Secure the binding to your quilt with pins before final pressing to guarantee accuracy.
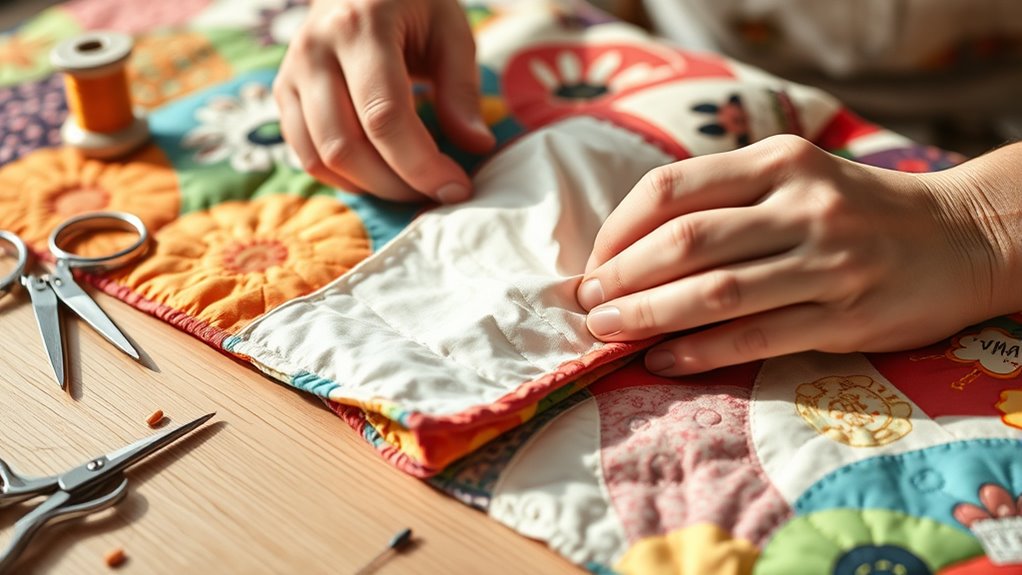
Master Hand-Stitching Techniques for a Perfect Finish
While hand-stitching might seem intimidating at first, mastering this technique can improve your quilt’s overall appearance. Start by choosing a high-quality needle that fits the fabric weight; this will make all the difference.
Use a single thread for a delicate finish, and remember to knot it securely at the end. For effective hand stitching, try the hidden stitch technique. This involves inserting the needle between the fabric layers, catching only a few threads to keep your stitches nearly invisible.
Another useful method is the slip stitch, which allows you to secure the binding while maintaining a clean look. Don’t rush and take your time to guarantee even tension.
Regularly check your stitching from the front to make sure it’s consistent. These hand stitching tips will help you achieve a polished finish that showcases your hard work and creativity.
Happy stitching!
How to Achieve Consistent Stitching in Quilt Binding
A polished finish relies heavily on consistent stitching when binding your quilt. To achieve this, focus on a few key techniques and choices that will improve your project.
- Choose the right binding thread selection: Opt for a thread that matches your fabric. This helps create a seamless look that blends well with your quilt.
- Practice your stitching techniques: Use a running stitch or a whip stitch, and keep your stitches even in both size and spacing. Consistency here really makes a difference.
- Maintain an even tension: Aim for a tension that’s not too tight or too loose. Keeping this balance helps your binding lay nice and flat.
- Use a quilting hoop or frame: Stabilizing your work with a hoop or frame can make it much easier to control your stitches and keep everything tidy.
Troubleshooting Common Binding Issues
Binding your quilt can sometimes present challenges, but identifying and fixing common issues can save you time and frustration. If you notice misaligned edges, check your binding tension; it may be too tight or too loose.
Uneven seams can stem from incorrect stitching speed or an unsuitable needle type. Make certain to use a sharp needle for clean results.
Fabric fraying can occur if you’re using a delicate fabric choice. In that case, consider a more durable option for binding.
Pay attention to binding thickness, since thicker bindings may require different handling techniques. Color matching is essential, too; if your binding clashes with your quilt, it can detract from your hard work.
Finally, verify your corner folds are crisp and properly tucked to maintain a neat finish. By addressing these common issues, you’ll improve your quilting experience and create a beautifully bound quilt.
What to Do When Binding Goes Wrong?
Even with careful planning, issues can still arise when binding your quilt.
Even the best-laid plans can lead to challenges when binding your quilt. Stay calm and tackle each issue with confidence.
When you face binding mishaps, it’s important to stay calm and know how to tackle them.
Here are some common problems and ways to fix mistakes:
- Uneven edges: Trim any excess fabric for a clean finish.
- Puckering: Gently steam the area and re-stitch to smooth it out.
- Loose binding: Use a needle and thread to secure any loose spots.
- Wrong color seam: If you notice a mismatch, consider adding a decorative stitch to blend it in.
These quick fixes can save your quilt from looking less than perfect.
Remember, every quilter faces challenges, so welcome the learning experience.
With patience and practice, you’ll become adept at troubleshooting any binding issues that come your way.
Keep your tools handy, and don’t hesitate to make adjustments as needed!
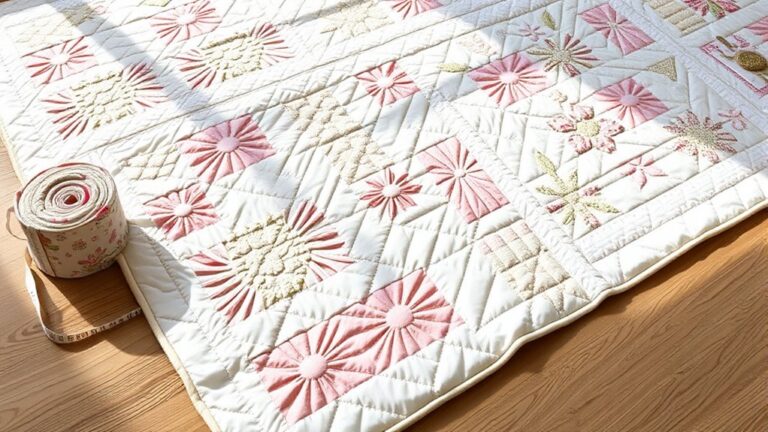
Add Creative Touches to Your Binding
Adding creative touches to your quilt binding can improve its overall look and reflect your personal style. Consider incorporating creative embellishments like decorative stitches or contrasting thread colors that make your binding pop.
You can also experiment with unique textures by using different fabrics, such as cotton, linen, or even velvet, to create a tactile experience.
Try adding piping or bias tape along the edges for an extra layer of detail. If you’re feeling adventurous, consider hand-embroidering small designs or motifs directly onto the binding.
Another option is to attach small charms or fabric tags that tell a story about your quilt. These little details not only uplift the aesthetic but also make your quilt truly one of a kind.
Frequently Asked Questions
Can I Use Leftover Fabric for Binding?
Absolutely, you can use leftover fabric for binding! It’s a great way to utilize scraps and add a personal touch to your quilt.
Look for binding fabric options that complement your quilt’s colors and patterns. Make sure the leftover fabric is sturdy enough to withstand wear.
Mixing different fabrics can create a unique look, so don’t hesitate to get creative with leftover fabric uses. Your quilt will be even more special with this thoughtful detail!
How Much Binding Fabric Do I Need?
They say, “Measure twice, cut once.” To determine how much binding fabric you need, start with your quilt’s perimeter and divide by the width of your fabric.
For standard 2.5-inch binding, you’ll typically need about 2.5 times the quilt’s perimeter. Keep fabric width considerations in mind; wider fabric means less yardage.
Always round up to guarantee you have enough for those tricky corners! Happy quilting!
What Tools Are Essential for Hand Binding?
To hand bind your quilt effectively, you’ll need a few essential tools. Grab a pair of sharp scissors for cutting fabric types, a ruler for measuring, and a marking tool for precise lines.
You’ll also want a needle and thread that match your binding techniques. A thimble can protect your fingers, and a good-quality iron helps press the binding for a neat finish.
Having these tools will make your binding process smoother!
How Do I Choose a Binding Color?
Choosing a binding color involves understanding binding color psychology and fabric pattern coordination.
Think about the mood you want to convey. Calm blues or vibrant reds can set different tones.
Look at your quilt’s patterns and select a binding color that complements or contrasts effectively.
You might pick a hue from the fabric to create harmony, or choose a bold color for a striking finish.
Trust your instincts, and have fun with it!
Can I Machine Stitch Instead of Hand Stitching?
Absolutely, you can machine stitch your quilt binding! Picture the smooth, rhythmic hum of your sewing machine as you glide the fabric under the presser foot.
Machine binding offers benefits like speed and durability, making it perfect for larger projects. While you might miss the cozy charm of hand stitching techniques, the crisp, clean finish from your machine will leave your quilt looking polished and ready for display.
Go ahead, give it a try!
Conclusion
Now that you’ve mastered the art of hand binding your quilt, you can transform your fabric masterpiece into a true work of art.
Like the final brushstroke on a canvas, your binding adds the finishing touch, framing your creation with love and care.
As you stitch, envision each thread weaving together memories and warmth, just like the stories shared around a cozy fire.
So grab your needle, and let your quilt tell its tale—celebrating the beauty of hand binding your quilt in every finished edge.