Mastering Mitered Borders in Quilts: A Step-by-Step Guide
Have you ever felt frustrated when your quilt borders just won’t line up, no matter how carefully you measure? You’re not alone—many quilters struggle to achieve those clean, professional-looking corners.
Mitered borders can seem intimidating, but mastering them is a top desire for anyone looking to take their quilts to the next level.
Mastering mitered borders in quilts brings a polished finish to your projects. Start by choosing compatible fabrics and pre-washing to avoid shrinkage.
Cut strips precisely and guarantee consistent widths. Next, learn to create perfect mitered corners by sewing at a 45-degree angle.
After attaching your borders, press seams flat for a crisp look. Don’t worry if you hit a snag; there are tips to help you overcome common challenges.
There’s so much more to investigate!
Key Takeaways
- Choose compatible fabrics for mitered borders. Focus on color coordination and texture to enhance the overall quilt design.
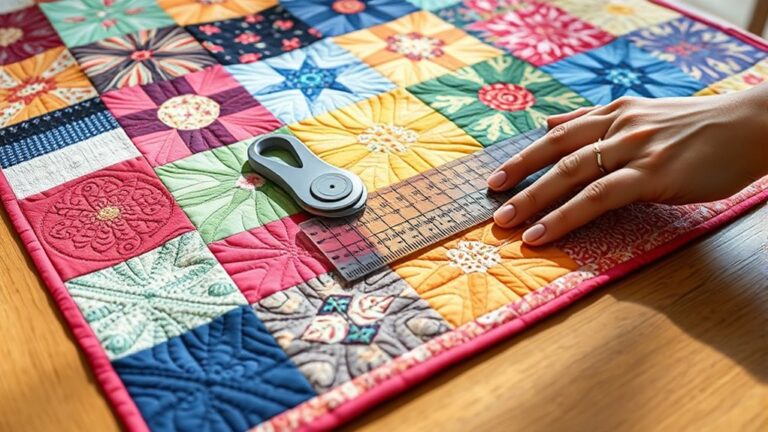
- Cut fabric strips precisely using a rotary cutter and a clear ruler. This ensures consistent widths and clean edges every time.
- Sew mitered corners at a 45-degree angle. Make sure your measurements are accurate and the alignment is sharp for professional-looking finishes.
- Press seams flat using an iron with adjustable steam. This helps avoid puckering and keeps your seam allowances uniform.
- Feel free to experiment with bold color combinations and textures. Dynamic mitered borders can really elevate your quilt’s design.
Choosing and Preparing Your Fabric for Mitered Borders
In regard to mitered borders, fabric choice can make or break your quilt’s design. Start with careful fabric selection.
Consider color coordination to create a cohesive look; your chosen colors should flow seamlessly throughout the quilt. Pay attention to texture considerations as different fabrics can affect the overall feel.
Ensure print compatibility, so bold patterns don’t clash. Choose appropriate fabric types that suit your project’s needs, and don’t forget to pre-wash fabrics to avoid shrinkage.
Focus on grain alignment, as misaligned fabrics can lead to distorted borders. Fabric weight matters, too; heavier fabrics can create a bulky appearance if the border width is too narrow.
Furthermore, think about pattern scale. Larger prints might overwhelm smaller sections, while small prints can add delicate detail.
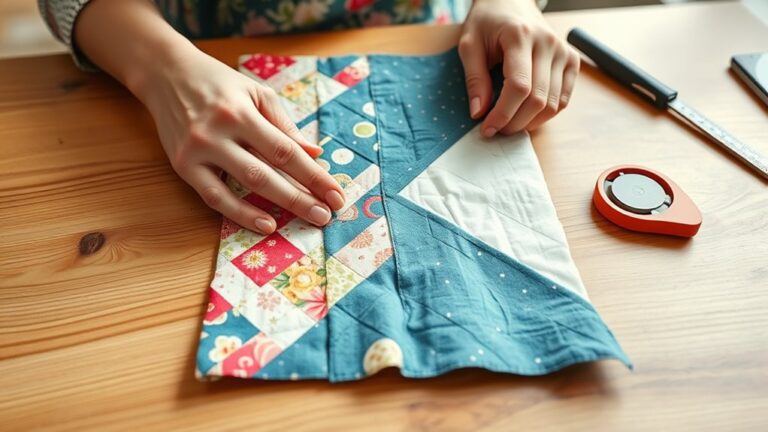
Cutting Fabric Strips With Precision
Cutting fabric strips with precision is essential for achieving flawless mitered borders.
Cutting fabric strips with precision is crucial for perfect mitered borders.
To start, you’ll want to pay attention to the fabric grain and the strip width.
Here’s how to guarantee your cuts are spot on:
- Choose your ruler: A clear, grid-lined ruler helps you see the fabric clearly.
- Align the fabric: Lay your fabric on a cutting mat, aligning it with the grid for accuracy.
- Measure carefully: Use the ruler to measure your desired strip width, making sure to double-check.
- Cut with a rotary cutter: This tool provides clean edges and prevents fraying.
- Check each strip: After cutting, verify that each strip is consistent in width for a professional finish.
Mastering Mitered Corners for Flawless Borders
After cutting your fabric strips with precision, it’s time to focus on mastering mitered corners for flawless borders.
Start by choosing the right border fabric. A solid color can improve the quilt’s design, while a patterned fabric can add interest.
Once you’ve selected your fabric, use mitered border techniques to create those sharp, professional corners.
Begin by measuring and marking your strips to guarantee they fit perfectly. When sewing, align the edges precisely, and don’t forget to press the seams flat for a crisp finish.
As you approach the corners, make sure to sew at a 45-degree angle. This will allow for that clean mitered look.
Attaching Mitered Borders
Now that you’ve mastered mitered corners, you’re ready to attach the borders! First things first—make sure your quilt edges are nice and straight, since that will help everything fit together smoothly. Then, go ahead and cut your mitered border strips accurately; this step makes a big difference in how your corners turn out.
Once your pieces are ready, it’s time to sew those corners together. Take your time here, lining everything up for a crisp, polished finish. With a little care and attention, your quilt is going to stand out beautifully!
Preparing Your Quilt Edges
To achieve a polished look for your quilt, it’s essential
to prepare the edges properly before attaching mitered borders.
Here are some steps to guarantee your quilt edges are ready:
– Choose appropriate border styles that complement
your quilt’s design aesthetics.
– Select fabrics that improve the overall color coordination
and harmonize with your quilt dimensions.
– Utilize precise cutting techniques to maintain uniformity
and avoid fraying.
– Employ effective pressing methods to keep your edges
crisp and flat, guaranteeing accurate seam allowances.
– Double-check your quilt dimensions before cutting borders
to ensure a perfect fit.
Cutting Mitered Border Strips
As you begin cutting mitered border strips, it’s crucial to measure accurately to guarantee a seamless fit.
Start by selecting your fabric, making sure it complements your quilt design.
Pay attention to the fabric grain because it affects how the strip aligns and impacts the overall look.
Decide on your border width and cut strips accordingly. Keep in mind the cutting angles for mitered corners.
Use quality cutting tools so you get clean, precise edges, especially when you’re dealing with bias edges.
| Measurement | Notes |
|---|---|
| Border Width | Choose based on design |
| Cutting Angles | Typically 45 degrees |
| Strip Length | Measure quilt sides |
| Fabric Selection | Match quilt colors |
| Measuring Strips | Double-check dimensions |
Sewing Mitered Corners Together
After cutting your mitered border strips, it’s time to attach them to your quilt.
Make certain you consider fabric compatibility to guarantee a seamless look.
Use these binding techniques to beautifully sew your mitered corners together:
- Align the strips at a 45-degree angle.
- Pin securely to avoid shifting.
- Sew with a consistent seam allowance.
- Press the seams open for a flat finish.
- Trim excess fabric for a clean edge.
As you work, take your time and double-check your angles.
This attention to detail will improve the overall appearance of your quilt.
With practice, you’ll master the art of sewing mitered corners,
creating stunning borders that raise your quilting projects.
Final Pressing Techniques for Perfect Mitered Borders
To get those perfect mitered borders, you’ll first want to pick an iron that feels comfortable and gives you good control. It really makes a difference! When you press your seams, try to use steady, even pressure—this goes a long way in preventing any annoying creases or stretched-out spots. By paying attention to these small details, you’ll notice your quilting projects start to look more polished and professional. Let’s see how these simple choices can help you take your work to the next level.
Choosing The Right Iron
How do you choose the right iron for achieving flawless mitered borders in your quilts? Selecting the perfect iron can make all the difference, especially when dealing with various fabric types.
Here are key features to take into account:
- Steam settings: Look for an iron with adjustable steam to control moisture for delicate fabrics.
- Soleplate material: Opt for a non-stick or stainless steel soleplate for smooth gliding.
- Weight: A heavier iron provides better pressure, ensuring crisp edges.
- Temperature control: Precise settings let you tailor heat for different fabric types.
- Cord length: A longer cord gives you more flexibility while pressing.
With the right iron, you’ll master those mitered borders like a pro!
Techniques For Even Pressure
Achieving perfect mitered borders requires applying even pressure during the final pressing stage. Start by confirming your fabric grain is aligned properly; this helps maintain fabric tension and edge stability.
As you press, focus on border alignment, gently guiding the corners to guarantee accuracy. Use a dry iron to avoid steam, which can distort the fabric and affect stitch consistency.
Pay attention to your seam allowance; it should be uniform for a polished look. While pressing, layer your quilt carefully to prevent shifting.
Maintain even pressure across the entire border, as this will improve corner accuracy and keep everything in place. With these techniques, your mitered borders will look crisp and professional!
How to Fix Common Mistakes in Mitered Borders?
Mitered borders can improve your quilt’s design, but mistakes can happen even to the best quilters. Identifying these mistakes early is key to ensuring a polished finish.
Here are some common issues and effective correction techniques:
Uneven Angles:
Re-measure and trim to achieve consistent angles.
Fabric Bunching:
Gently pull the fabric taut while sewing to avoid puckering.
Misaligned Seams:
Unpick the seam and realign for perfect corners.
Inconsistent Widths:
Adjust the borders by trimming excess fabric for uniformity.
Visible Stitches:
Use a matching thread color and take smaller stitches for a cleaner look.
Explore Creative Variations for Mitered Borders
Looking to improve your quilt’s design?
Exploring creative variations for mitered borders can truly boost your project.
Start by experimenting with bold color combinations.
Pair contrasting shades to create a striking visual impact, or blend harmonious hues for a more subtle look.
Next, consider different fabric textures.
Mixing cotton with linen or incorporating silky materials can add depth and interest.
You might also try using patterned fabrics alongside solids to create dynamic borders that catch the eye.
Don’t hesitate to play with the width of your mitered borders.
Wider borders can serve as a canvas for intricate designs, while narrower ones may provide a sleek finish.
Finally, think about incorporating additional elements, like piping or trims, to complete the look.
By combining these ideas, you’ll create mitered borders that not only frame your quilt but also showcase your unique style.
Happy quilting!
Essential Tools to Make Mitered Borders Easier
When tackling mitered borders, having the right tools can make the process smoother and more enjoyable.
Having the right tools for mitered borders ensures a smoother, more enjoyable quilting experience.
Here’s a list of essential tools to take into account:
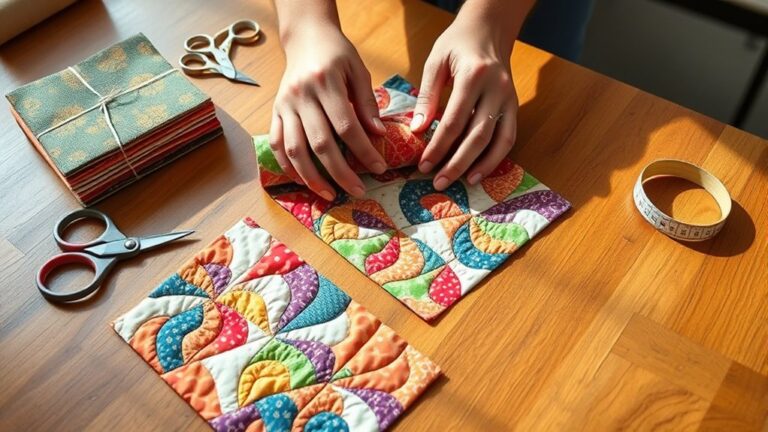
- Rotary cutter and mat: For precise cutting techniques, ensuring your fabric selection is accurate.
- Ruler: Helps with measuring fabric types and maintaining straight edges during border design.
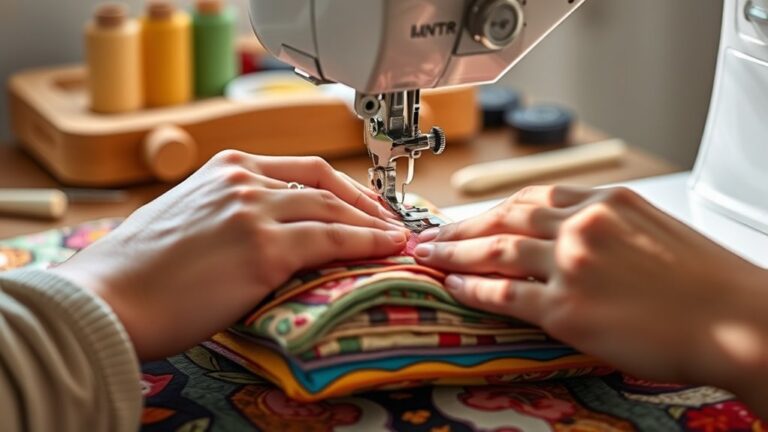
- Sewing machine: A reliable machine with a good walking foot makes sewing tools essential for even stitching.
- Pressing tools: An iron and pressing cloth are important for edge finishing, giving your borders a polished look.
- Color wheel: A handy tool for color coordination, helping you choose complementary border styles.
With these tools at your side, you’ll tackle mitered borders with confidence,
enhancing both your skills and the beauty of your quilt!
Tips for Practicing and Perfecting Mitered Borders
Practicing mitered borders can feel challenging, but with a few strategic tips, you’ll quickly gain confidence.
Start with small practice projects to hone your technique without the pressure of a larger quilt.
Experiment with border variations to see which styles resonate with you. Pay attention to fabric selection; choose materials that complement each other and are easy to work with.
Consider joining technique workshops or community challenges to stay motivated and learn from others. Engaging in feedback sessions can provide valuable insights, helping you refine your skills.
Don’t hesitate to utilize online tutorials if you’re a visual learner, as they’re a great resource.
Finally, regularly assess your skills to track your progress and identify areas for improvement.
Welcome these methods, and you’ll find that mastering mitered borders becomes an enjoyable journey rather than an intimidating task!
Finishing Touches: Pressing and Care for Mitered Borders
To achieve a polished finish on your mitered borders, pressing is essential, as it sets the seams and shapes the fabric.
Mastering the right pressing techniques guarantees your borders look crisp and neat.
Here’s how to care for your fabric while enhancing your quilt’s beauty:
- Use a steam iron for stubborn seams, allowing steam to penetrate.
- Press seams open to reduce bulk and create sharp corners.
- Avoid sliding the iron; instead, lift and press to prevent stretching.
- Use a pressing cloth for delicate fabrics to prevent scorching.
- Finish with a light final press, guaranteeing everything lays flat.
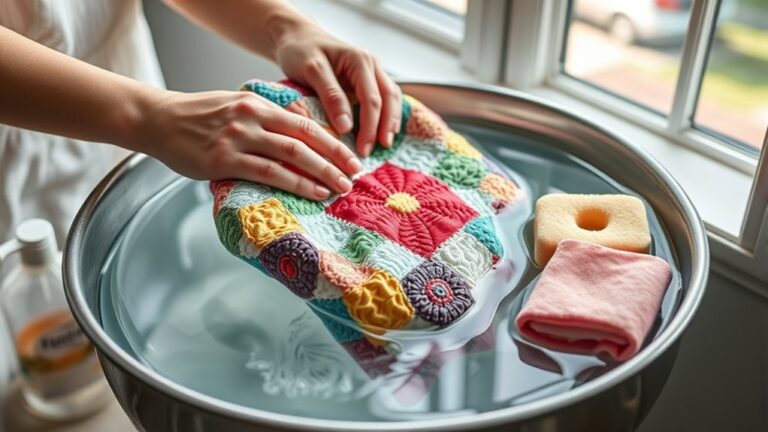
After pressing, always consider fabric care.
Wash your quilt gently according to the fabric type, and store it away from direct sunlight to maintain its vibrancy.
With these steps, your mitered borders will stand out beautifully, showcasing your hard work and craftsmanship.
Frequently Asked Questions
What Fabric Types Work Best for Mitered Borders?
When choosing fabric types for mitered borders, consider cotton and cotton blends as your best options. They’re durable and easy to work with, making them ideal for various mitered border styles.
You can also investigate quilted or lightweight fabrics for a unique look. Just verify your border fabric choices complement your quilt’s overall design.
Mixing textures can add depth, but keep it cohesive to maintain that polished, finished appearance.
How Do I Calculate Border Strip Lengths Accurately?
Calculating border strip lengths accurately? Oh, it’s a walk in the park if that park’s filled with confusing math!
Start by measuring your quilt’s sides for border measurements. Don’t forget to account for fabric widening; you’ll want enough fabric to cover those tricky mitered corners.
Add a couple of extra inches for good measure. After all, who doesn’t love a little wiggle room?
Now, go conquer those borders like the quilting pro you are!
Can I Use Pre-Cut Fabric for Mitered Borders?
Yes, you can definitely use pre-cut fabric for mitered borders! Pre-cut options like charm packs or jelly rolls can save you time and simplify your project.
Just make sure the pieces are long enough for your mitered techniques. You might need to join some strips to achieve the right length, but with a bit of planning, you’ll create beautiful borders with ease.
Enjoy experimenting with different fabrics and designs!
What Thread Weight Is Ideal for Mitered Borders?
When you’re sewing mitered borders, think of your thread as the glue holding everything together.
For best results, a weight of 40 to 50 is ideal. This weight strikes a balance between strength and flexibility, ensuring your seams lie flat.
Pay attention to thread tension, too; it can make or break your project. Use cotton or polyester thread types for durability and a smooth finish, giving your quilt a polished look.
How Do I Maintain My Mitered Borders After Quilting?
To maintain your mitered borders after quilting, focus on proper mitered border care. Use gentle washing techniques, like cold water and mild detergent, to preserve the fabric’s integrity.
Avoid wringing the quilt. Instead, lay it flat to dry so the borders don’t stretch or lose their shape.
When finishing, consider using binding techniques that secure the edges without pulling. This helps the mitered corners stay crisp.
Regularly check for loose threads or fraying, and make any necessary repairs to keep your quilt looking sharp and beautiful.
Conclusion
Mastering mitered borders is like crafting the perfect frame for a beautiful painting. It improves the overall beauty of your quilt.
With the right techniques and a bit of practice, you’ll find that these borders add a polished touch to your projects.
Welcome the journey, experiment with creative variations, and don’t be afraid to make mistakes along the way.
Each quilt you finish will bring you closer to becoming a mitered border pro. You’ll be creating art that tells your unique story—and truly mastering mitered borders.