Mastering Miter Corners in 7 Simple Steps for Quilters
If you’ve ever found yourself frustrated by bulky, uneven quilt corners, you’re definitely not alone. Many quilters struggle to get that crisp, professional finish they desire, turning what should be a proud moment into a source of stress.
But don’t worry—there are simple tips and tools out there that can help you master this tricky part of quilting for good.
Mastering miter corners can enhance your quilting projects by giving them sharp, polished edges.
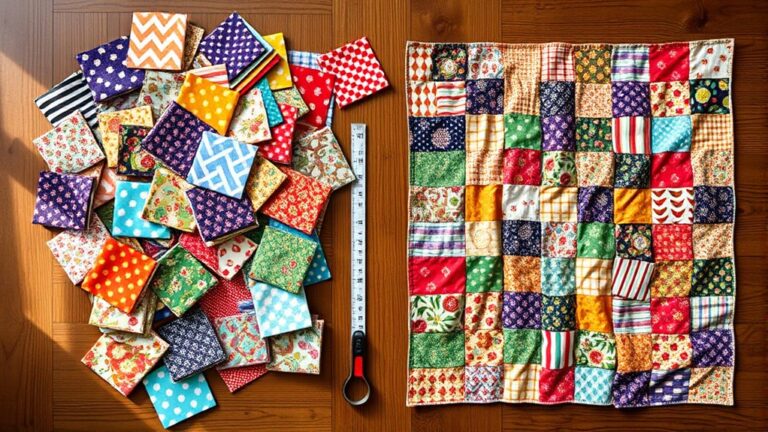
Start by gathering essential tools like a rotary cutter, cutting mat, and quality pins.
Cut your binding strips on the bias for flexibility, then attach the strips while leaving tails for mitering.
Fold the corners at a 45-degree angle, sew, and repeat.
Keep an eye out for common mistakes to avoid, and you’ll achieve professional-looking results.
There’s more to uncover about perfecting your technique!
Key Takeaways
Miter corners enhance quilt aesthetics. They provide clean edges that showcase your quilting skills and boost confidence.
Use sharp tools like a rotary cutter and ruler for precise cutting and measuring of binding strips.
Cut binding strips on the bias and fold at a 45-degree angle for optimal corner presentation.
Avoid common mistakes like inconsistent seam allowances and skipping pressing. This ensures your corners look polished.
Utilize expert tips, such as binding clips and zigzag stitches, to improve corner stability and prevent fraying.
Why Should You Care About Miter Corners?
Why should you care about miter corners?
If you’re aiming for that polished quilt aesthetic, mastering miter corners is essential.
They create clean, sharp edges that raise your projects from simple to stunning.
When you achieve corner precision, your quilts not only look professional but also stand the test of time, with less fraying and wear at the edges.
Think about the last quilt you admired. Chances are, those perfect mitered corners were a big part of its appeal.
Last quilt you loved? Those flawless mitered corners likely captured your admiration.
They draw the eye and showcase your skill, making your hard work truly shine.
Plus, learning how to do miter corners will improve your quilting techniques and give you the confidence to tackle more complex designs.
Gathering Your Tools for Miter Corners
To master miter corners effectively, you’ll need the right tools at your fingertips. Start with a sharp rotary cutter and a cutting mat. These will help you achieve precise cuts for your quilt design.
A ruler is essential, too, ensuring accuracy as you measure and cut your fabric selection.
Don’t forget about pins. Their role in keeping your fabric in place is crucial for neat corners.
Use a good quality iron and ironing board to press your seams flat. This will make a significant difference in the final look of your mitered corners.
Lastly, consider having a seam ripper handy for any adjustments. Mistakes happen, and it’s better to fix them than to live with imperfections.
With these tools gathered, you’ll be well-equipped to tackle the art of miter corners with confidence. Happy quilting!
How to Create Miter Corners in 7 Easy Steps
Creating miter corners can really elevate your quilting project—and honestly, it’s not as tricky as it sounds. First things first, you’ll want to gather the right tools. Having what you need on hand makes everything go much smoother.
Once you’re set up, just follow a few simple steps and you’ll be surprised at how crisp your corners can look. Along the way, I’ll share some handy tips that make the process even easier.
Ready to get started? Let’s walk through it together and make those corners look sharp!
Tools You’ll Need
When you’re ready to tackle miter corners, having the right tools makes all the difference. Start with a quality cutting mat to protect your surfaces and guarantee clean cuts.
A sharp rotary cutter is essential for precise edges, giving you the accuracy you need for those sharp corners. You’ll also want a ruler for measuring and marking your fabric accurately.
Double-check that your fabric scissors are sharp, as they’ll help you snip any threads or excess fabric with ease. Finally, a seam ripper can be a lifesaver if you need to make adjustments.
With these tools in hand, you’ll be well-equipped to create stunning miter corners in your quilting projects. Happy quilting!
Step-by-Step Instructions
Mastering miter corners can transform your quilting projects, and following these seven straightforward steps will make the process simple and enjoyable.
First, choose your fabric wisely, making sure it complements your quilt’s design.
Cut your binding strips, ideally on the bias for better flexibility.
Next, attach the binding to the quilt edges using your preferred binding technique, leaving tails for mitering.
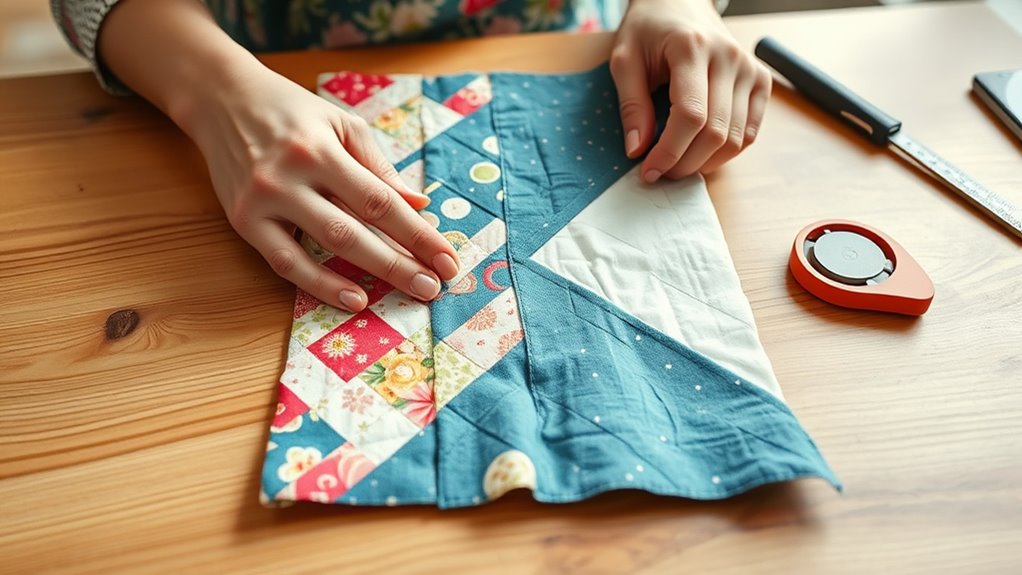
Fold the binding at a 45-degree angle at each corner, then bring the next side up, pinching the fold.
Sew along the edge to secure. Repeat for all corners.
Finally, trim any excess fabric and press the binding flat.
With practice, you’ll create beautiful, professional-looking miter corners that really enhance your quilting projects!
Tips for Success
Achieving perfect miter corners can improve your quilt’s overall look, boosting its visual appeal.
Start with careful fabric selection. Choose materials that complement each other and hold their shape well.
Before you cut your fabric, verify your pieces are accurately measured and cut to size.
When folding the corners, use precise pressing techniques to create sharp angles. A hot, dry iron works best for crisp folds.
Remember to pin your corners securely before sewing, as this prevents shifting.
After sewing, press the seams open to eliminate bulk.
Finally, take your time during the final trim to achieve clean edges.
What Are Common Mistakes to Avoid?
Even if you’ve quilted for years, it’s easy to overlook some common mistakes when tackling mitered corners.
One major pitfall is poor fabric selection.
Choosing fabrics that are too bulky or stiff can make it difficult to achieve a clean fold.
Opt for lighter fabrics that drape well and allow for precise mitering.
Another mistake is not paying attention to seam allowances.
If your seam allowances aren’t consistent, it can throw off the alignment and ruin your corners.
Always double-check your measurements before cutting.
Additionally, don’t skip pressing as you go.
Neglecting to press your seams can lead to bulky corners that won’t lie flat.
Finally, be mindful of your cutting technique.
Inaccurate cuts can lead to uneven corners.
Expert Tips for Miter Corners
To really get the hang of miter corners, you’ll want to start by gathering a few key tools. Don’t worry—you don’t need anything fancy, just the basics. Once you have everything ready, it’s all about following a straightforward process, one step at a time. With a little patience and the right moves, you’ll be making sharp, professional-looking corners in no time. Let’s break down exactly what you’ll need and walk through each part of the process together.
Essential Tools Needed
While mastering miter corners can seem challenging, having the right tools makes the process much smoother.
Start with a rotary cutter and a cutting mat; they’ll help you achieve precise cutting techniques.
A clear ruler is essential for accurate measurements, ensuring your corners align perfectly.
When it comes to fabric selection, opt for materials that hold their shape well, like cotton or cotton blends. This will make folding and pressing easier.
A good iron is also vital for crisp edges, so don’t skimp here.
Finally, consider using binding clips instead of pins; they’ll keep everything in place without distorting your fabric.
With these tools in hand, you’ll be well on your way to perfect miter corners!
Step-by-Step Technique
With your tools ready, it’s time to tackle the miter corners. Start by cutting your fabric at a 45-degree angle, ensuring you maintain clean edges for the best miter corner aesthetics.
Pin the fabric pieces together, aligning the edges carefully. As you sew, create a ¼-inch seam, and press the seams open to reduce bulk.
Next, fold the fabric at the corners, tucking the raw edges inside for a neat finish. Check your fabric selection; using contrasting colors can really improve the visual appeal of your miter corners.
Finally, press the corners flat to set them in place. With practice, you’ll master this technique, adding a polished touch to your quilts.
Miter Corner Variations
Miter corners come in various styles, each adding a unique touch to your quilting projects. You can investigate different miter corner types, like the traditional miter, which provides a clean, polished look.
Alternatively, consider the bias miter, perfect for curved edges and enhancing your design’s fluidity.
For miter corner applications, think about how these variations can uplift your quilts. A simple miter can transform a basic border into a stunning focal point.
A bias miter can seamlessly blend fabric patterns, giving your quilt a dynamic feel.
Don’t shy away from experimenting! Mixing and matching these styles can lead to creative outcomes.
As you practice, you’ll find the miter corner style that resonates with your artistic vision, making your quilts not just functional but also extraordinary.
Welcome the possibilities, and let your creativity shine through every corner!
Troubleshooting Miter Corners: Common Issues Solved
Creating perfect miter corners can sometimes feel like a puzzle, but don’t worry. Common issues can be easily resolved.
One frequent problem is miter alignment issues. If your corners don’t line up neatly, double-check your measurements before cutting.
Use a ruler to verify accuracy, and don’t hesitate to trim excess fabric if needed.
Another concern is fabric fraying. This can make your corners look messy and unprofessional.
To combat fraying, consider using a zigzag stitch or serger on the raw edges before folding them. A light application of fray check can also help keep your edges secure.
Lastly, if your corners appear bulky, it might be due to excessive fabric. Trim away any extra bulk to achieve a cleaner finish.
Frequently Asked Questions
Can Miter Corners Be Used in Other Crafts Besides Quilting?
Yes, miter corners can definitely be used in other crafts besides quilting! You’ll find miter corner applications in projects like frame making, home decor, and even card making.
Whether you’re creating a picture frame or a decorative pillow, these corners add a polished look. Investigate creative uses by incorporating miter corners into your sewing, woodworking, or paper crafts.
You’ll enhance your projects with a professional finish that stands out beautifully.
How Do I Choose Fabric for Mitered Corners?
To choose fabric for mitered corners, first consider fabric color and pattern contrast.
It’s a common misconception that any fabric will work; however, you’ll want to select fabrics that complement each other.
For a bold look, use contrasting colors.
If you prefer subtlety, choose shades within the same color family.
Make sure the patterns don’t clash; they should elevate the overall design.
Test swatches together to see how they interact before committing.
What Is the History of Miter Corners in Quilting?
Miter corners have a rich history in quilting, reflecting the evolution of textile arts. You’ll find that these techniques date back centuries, often used to improve the aesthetics of quilts.
Their historical significance lies in the way they transformed simple patterns into intricate designs, showcasing both craftsmanship and creativity. As quilting evolved, miter corners became a staple.
This allowed quilters like you to create visually striking pieces while honoring traditional methods.
Are There Special Techniques for Mitering Corners on Thicker Fabrics?
When you’re working with thicker fabrics, you’ll find that miter techniques can be a bit more demanding, but they’re certainly rewarding!
Start by using a sharper rotary cutter to guarantee clean edges. Press your seams firmly and consider adding a bit of interfacing for extra support.
Don’t hesitate to take your time. Precision is key.
With practice, you’ll uncover how these adjustments can improve your mitered corners beautifully!
How Do I Maintain Miter Corners After Finishing My Quilt?
To maintain miter corners after finishing your quilt, you’ll want to press them carefully. Use a hot iron and steam to set the corners in place, ensuring they lay flat.
If necessary, add a bit of fabric glue to secure them further. Regularly check your corner maintenance during washing to keep them crisp.
Finally, store your quilt flat or rolled, which helps preserve those beautiful mitered edges for years to come.
Conclusion
Mastering miter corners is like adding the perfect seasoning to your quilt. It transforms the whole dish!
With these steps and tips, you’ll turn those tricky corners into beautiful accents that enhance your work.
Don’t shy away from mistakes; they’re just stepping stones on your quilting journey.
Welcome the challenge, and soon your quilts will have those flawless mitered corners that make every stitch sing.
Jump in, let your creativity flourish, and remember: mastering miter corners is the key to giving your quilts a polished, professional finish.