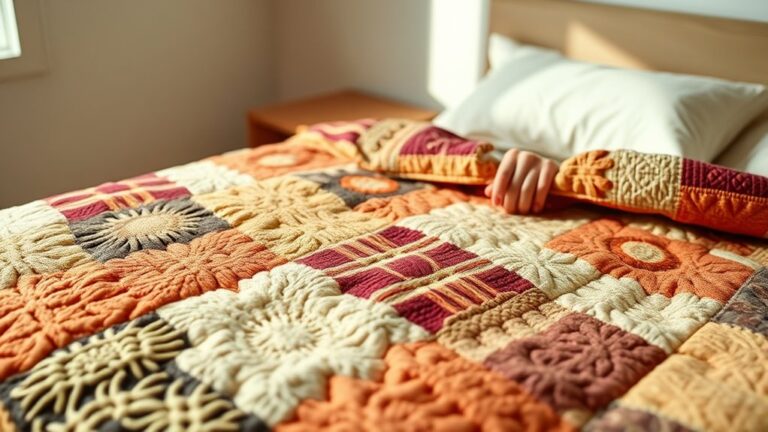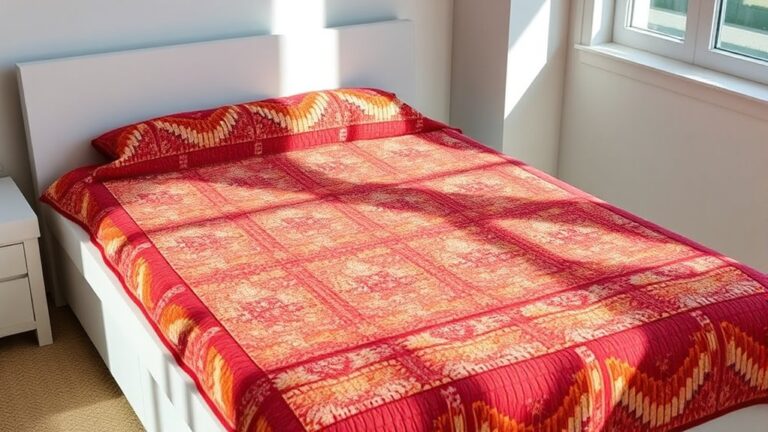
7 Simple Steps to Make Your First Quilt
If you’ve ever wanted to try quilting but felt overwhelmed by where to start, you’re not alone. Many people find the process confusing, from picking fabrics to piecing everything together.
The good news is, making your first quilt doesn’t have to be intimidating, and there are easy steps to guide you every step of the way.
Making your first quilt is fun and rewarding! Start by choosing the right fabric, considering colors and textures that inspire you.
Gather essential supplies like a sewing machine and rotary cutter. Cut your fabric pieces accurately, then assemble your quilt top in a design you love.
Don’t forget to select and add the right batting and backing for warmth.
Finally, investigate quilting techniques and finish with binding and a personalized label.
Keep going to reveal more tips for a successful project!
Key Takeaways
- Choose vibrant or calming fabrics, mixing prints and solids for visual interest. Make sure to pick durable cotton, especially if you’re a beginner.
- Cut your fabric pieces accurately using a rotary cutter, ruler, and mat. Double-check your measurements so everything fits together just right.
- Assemble the quilt top by laying out your fabric pieces and experimenting with different patterns. Sew them together in neat, even rows.
- Select batting and backing materials that complement your quilt top. It’s a good idea to pre-wash the backing to prevent shrinkage later.
- Finish your quilt using binding techniques for nice, clean edges. Add a label to share the story behind your quilt before presenting it.
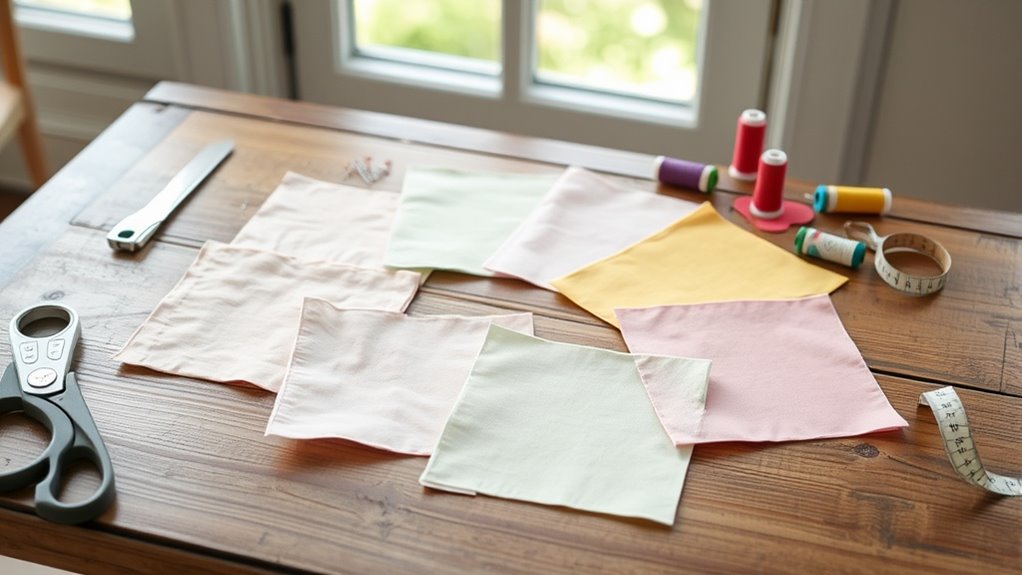
How to Choose the Right Fabric for Your First Quilt
Choosing the right fabric for your first quilt can make all the difference in your sewing experience. Start by examining fabric color combinations that resonate with you.
Think about the mood you want to create. Vibrant colors can energize a space, while soft hues can evoke calmness. Don’t hesitate to mix prints and solids for added interest.
Consider the mood you wish to evoke; vibrant colors energize, while soft hues bring tranquility. Mixing prints and solids adds delightful interest.
Next, consider fabric texture considerations. Cotton is a popular choice for beginners due to its ease of handling and durability.
However, you might also investigate blends or flannels for a unique touch. Just keep in mind that different textures can affect how your quilt layers come together.
Before you purchase, lay out your chosen fabrics to see how they work together. This step helps you visualize the overall design and guarantees that your selections harmonize beautifully.
With thoughtful choices, you’ll set the stage for a rewarding quilting journey!
Essential Supplies for Beginner Quilters
If you’re excited to start quilting, you’ll want to gather a few essential supplies first. Don’t worry—you don’t need a huge list of fancy tools to begin. With some basic sewing equipment and a little know-how about picking fabrics, you’ll be ready to dive in. Let’s take a closer look at what you actually need to make your very first quilt.
Basic Sewing Tools Needed
Starting your quilting journey requires just a few essential tools. Having the right sewing machine essentials is vital for creating your first quilt.
You’ll also want to choose the appropriate thread types to guarantee your stitches hold up. Here’s a quick list of basic tools you’ll need:
- Sewing Machine: Find one that suits your needs.
- Rotary Cutter: Perfect for precise fabric cutting.
- Cutting Mat: Protects your surfaces while providing a grid for accuracy.
- Quilting Ruler: Helps measure and cut fabric accurately.
- Pins and Clips: Keep layers together while sewing.
With these tools, you’ll be well-equipped to start your quilting adventure!
Fabric Selection Tips
Selecting the right fabric is essential for your first quilt and can greatly influence the final look and feel. Start with cotton, as it’s the most popular choice for beginners due to its durability and ease of handling.
Consider your color combinations carefully; they can set the mood of your quilt.
Here’s a quick guide to help you choose:
| Fabric Types | Color Combinations |
|---|---|
| Cotton | Complementary (opposites) |
| Cotton Blends | Analogous (next to each other) |
| Flannel | Monochromatic (shades of one color) |
Experiment with different textures and patterns to find what appeals to you.
Cutting Fabric Pieces for Quilting
Great, now that you’ve got all your supplies ready, let’s talk about cutting your fabric pieces. You’ll want to have the right tools on hand—think rotary cutter, ruler, and mat—so your pieces come out just right. Getting accurate measurements here is key; it really helps everything fit together smoothly later on.
Essential Cutting Tools Needed
When diving into the world of quilting, having the right cutting tools can make all the difference in your fabric preparation.
Mastering rotary cutter basics is essential, as it allows you to cut fabric quickly and accurately.
Here are some essential cutting tools you’ll need:
- Rotary cutter: Perfect for straight lines and curves.
- Cutting mat: Protects your surfaces and helps with accurate cuts.
- Quilting ruler: Guarantees precise measurements and straight edges.
- Scissors: Handy for trimming threads and small pieces.
- Fabric weights: Keep layers in place while you cut.
With these tools and some fabric cutting tips, you’ll be well on your way to creating beautiful quilt pieces.
Happy cutting!
Accurate Measurements Matter
Accurate measurements are essential for achieving a well-constructed quilt. Even a small error can lead to mismatched pieces and frustrating results.
To guarantee your fabric pieces fit together perfectly, invest in reliable measurement tools like a rotary cutter, cutting mat, and quilting ruler. These tools help you cut fabric precisely and really make a noticeable difference in the final product.
When it comes to measuring techniques, always double-check your measurements before cutting. Use a clear ruler and align it carefully with your fabric’s edge.
Don’t forget to account for seam allowances, as they can affect the size of your pieces. By focusing on accuracy now, you’ll save yourself time and headaches later.
Happy quilting!
Fabric Layout Techniques
Effective fabric layout techniques are essential for cutting fabric pieces that fit together seamlessly in your quilt.
Start by planning your fabric arrangement, and make sure you visualize how the colors and patterns will interact.
Here are some tips to guide you:
- Choose a focal fabric: This will set the tone for your quilt.
- Create layout patterns: Sketch your design first, so you can see how all the pieces will fit before you start cutting.
- Cut fabric efficiently: Try stacking fabrics so you can cut multiple layers at once.
- Use a rotary cutter: It gives you cleaner edges and helps you make quicker cuts.
- Label your pieces: This keeps everything organized and helps you avoid confusion later on.
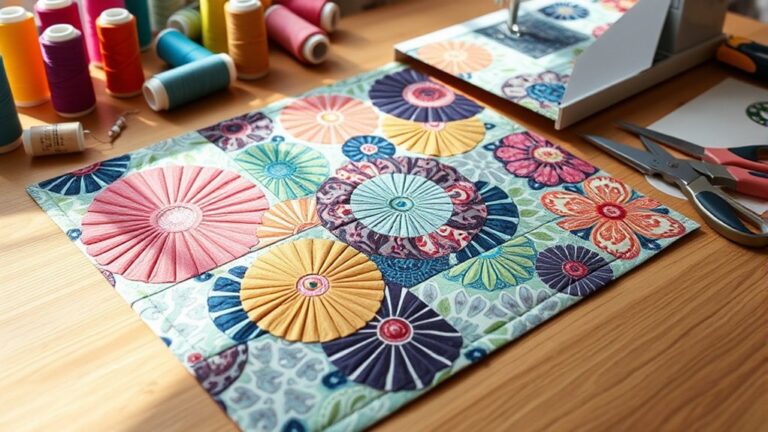
Assembling Your Quilt Top Design
Start by laying out your fabric pieces on a flat surface to visualize how they’ll come together in your quilt top design. Take your time to experiment with different color combinations, noticing how they interact.
You might find that certain shades pop against each other, while others create a soothing effect. As you arrange the fabrics, think about layout inspiration from quilts you admire or patterns you’ve seen.
Don’t hesitate to mix prints and solids to create depth and interest. Try different configurations until you find one that feels just right.
Pin or photograph your favorite layouts so you can reference them later. Once you’re satisfied, start sewing the pieces together in rows, ensuring each seam is neat.
This is where your vision starts to take shape, making the quilt truly yours. Enjoy the process and welcome the creativity of assembling your quilt top design!
How to Choose and Add Batting and Backing for Your Quilt
Choosing the right batting and backing for your quilt is essential to achieving the desired look and feel. The batting types you select can affect warmth, weight, and texture, while the backing materials contribute to the overall aesthetic.
Choosing the right batting and backing is crucial for your quilt’s warmth, weight, texture, and overall aesthetic.
Here’s what you should consider:
- Batting Types: Cotton, polyester, or wool each offer different warmth and drape.
- Loft: A higher loft adds more dimension, while a lower loft is flatter and easier to quilt.
- Backing Materials: Choose from cotton, flannel, or specialty fabrics to create varied textures.
- Color and Print: Make sure your backing complements your quilt top so you get a cohesive look.
- Pre-washing: Consider pre-washing your backing fabrics to help prevent shrinkage.
Techniques for Quilting Your Layers
Once you’ve selected your batting and backing, it’s time to focus on quilting those layers together.
Choosing the right quilting techniques can make all the difference in your quilt’s appearance and durability.
Here are some popular layering methods to contemplate:
| Technique | Description | Best For |
|---|---|---|
| Straight Line | Simple lines across the quilt | Beginners |
| Free Motion | Creative, flowing designs | Experienced quilters |
| Stippling | Dense, small stitches | Adding texture |
| Echo Quilting | Repeating shapes around a design | Highlighting focal points |
| Appliqué | Sewn-on shapes for decoration | Enhancing visual interest |
Experiment with these techniques to find what resonates with you.
As you quilt, remember to keep your layers taut but not stretched.
Enjoy the process.
It’s all about making your quilt distinctly yours!
How to Put the Finishing Touches on Your Quilt?
Putting the finishing touches on your quilt is where all your hard work truly shines.
This is the moment to verify your quilt looks polished and ready for display.
Start by choosing your binding techniques.
Whether you prefer a straight or bias binding, make certain it complements your quilt design.
Next, don’t forget to add a quilt label.
This personal touch tells the story behind your creation and gives it a special meaning.
Here are some essential steps to reflect on:
- Trim any excess fabric for a clean edge.
- Press your quilt to smooth out any wrinkles.
- Attach the binding securely, confirming it’s even all around.
- Hand-stitch or machine-stitch the binding for durability.
- Finally, add your quilt label, celebrating your achievement!
These final touches enhance your quilt, showcasing your dedication and creativity.
Enjoy your beautiful, finished piece!
Frequently Asked Questions
How Long Does It Typically Take to Finish a Quilt?
It typically takes you anywhere from a few days to several weeks to finish a quilt, depending on your experience and the complexity of the design.
If you’re new, fabric selection can take time as you decide on colors and patterns.
Once you’ve chosen, mastering quilting techniques will influence your speed.
With practice, you’ll find ways to streamline the process and enjoy creating beautiful quilts more efficiently.
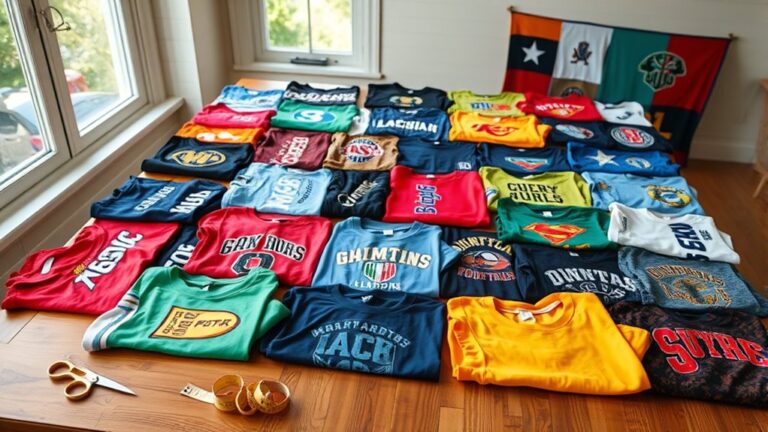
Can I Use Old Clothes to Make a Quilt?
Absolutely, you can use old clothes to make a quilt! Think of it as weaving memories into fabric.
Upcycling fabrics not only gives your quilt a unique flair, but it also adds sentimental value, turning cherished pieces into something beautiful.
As you cut and stitch, you’ll recall the stories behind each garment, creating a quilt that’s not just warm but rich in personal history.
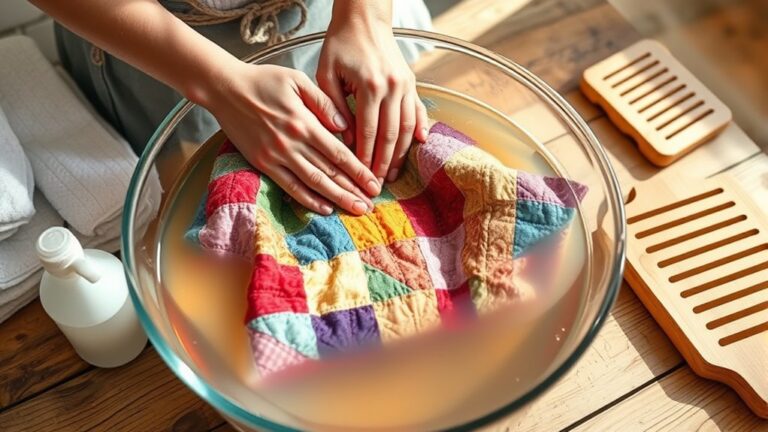
What Is the Best Way to Store My Quilt?
The best way to store your quilt is to fold it neatly and place it in a breathable cotton bag or a clean, dry container.
Avoid plastic, as it can trap moisture and harm the fabric.
For fabric preservation, keep it in a cool, dark place away from direct sunlight.
Check on it occasionally to guarantee it’s in good condition, and consider adding cedar blocks to deter pests.
How Do I Fix Mistakes While Quilting?
To fix mistakes while quilting, start by unraveling seams carefully if they’re crooked. For holes, patch them with fabric that matches your quilt.
If your stitches look uneven, don’t hesitate to redo them for a cleaner finish. If your tension’s off, adjust it on your machine before continuing.
Is Quilting an Expensive Hobby to Start?
Quilting can be as expensive or affordable as you make it.
If you choose budget-friendly fabric types like cotton blends or shop sales, you can keep costs down. Look for remnants and clearance items to save even more.
Don’t forget to check local thrift stores for tools and supplies. By planning your projects and sticking to a budget, you can enjoy quilting without breaking the bank!
Conclusion
Now that you’ve got the basics down, making your first quilt is like piecing together a beautiful puzzle. Each step brings you closer to a cozy creation you can be proud of.
Remember, practice makes perfect, so don’t worry if it’s not flawless; every stitch adds character. Just enjoy the process and see how your skills grow with each try.
Immerse yourself in this rewarding craft. Soon you’ll be wrapping yourself in the warmth of your own handiwork and celebrating your very first quilt.
Happy quilting!