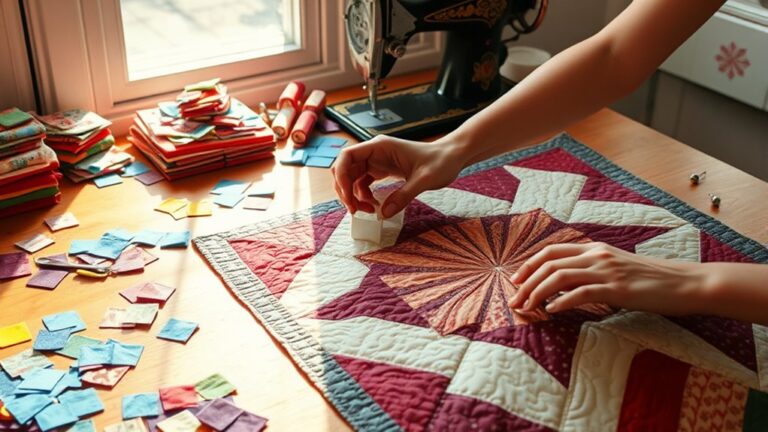
Step-by-Step Guide to Make a Puff Quilt
If you’ve ever dreamed of making a cozy, eye-catching quilt but felt overwhelmed by complicated techniques or inconsistent results, you’re not alone. Many people struggle to achieve that perfect, pillowy look in their puff quilts—especially when it comes to choosing fabrics, measuring, or keeping seams secure.
To make a puff quilt, start by mastering the technique, ensuring secure seams and accurate measurements. Choose soft, durable fabrics, mixing patterns and textures for visual appeal.
Cut your fabric carefully and assemble blocks, maintaining a consistent seam allowance. Flip and stuff each block for that signature puff.
Finally, finish with binding and pressing to polish your quilt. Follow these steps, and you’ll soon uncover more tips and tricks for a perfect puff quilt!
Key Takeaways
- Master the puff quilt technique by securing seams and keeping your measurements consistent. This ensures each section puffs up just right.
- Choose fabrics like cotton or flannel for comfort and durability. Make sure your fabric choices match your personal style and add visual appeal.
- Cut your fabric pieces carefully and label them. This helps you avoid confusion during assembly, and keeps your seam allowance consistent.
- Flip each block and stuff it evenly with lightweight materials. This is key to getting that perfect puffy look for your quilt.
- Finish your quilt using binding techniques, paying attention to mitered corners. Proper finishing and care will help your quilt look beautiful for years.
Mastering the Puff Quilt Technique: A Beginner’s Guide
When you’re ready to plunge into the world of puff quilts, understanding the basic techniques will set you up for success.
Puff quilts have a rich history, often celebrated for their unique texture and warmth. To create your own, start by mastering the assembly process.
One common mistake beginners make is not securing the seams properly, which can lead to unraveling and puffing issues later on.
Make sure you measure your squares accurately and use a consistent seam allowance. Another mistake is neglecting to fluff the quilt after sewing; this step improves that signature puffed look.
Remember, patience is key. As you practice, you’ll uncover your own rhythm and style.
Welcome the learning curve, and soon you’ll create stunning puff quilts that reflect your creativity and skill.
Choosing the Right Fabrics for Your Puff Quilt
When you’re picking out fabrics for your puff quilt, it’s important to think about the different types of fabric that match your personal style. Try to notice how the colors work together and how the textures feel next to each other—this really helps everything look and feel just right. If you take a little time to make thoughtful choices now, your quilt is sure to turn out beautifully and stand out in the best way.
Fabric Types Overview
Choosing the right fabrics for your puff quilt is essential, as it directly impacts both the quilt’s appearance and its comfort.
Start by considering fabric characteristics like softness, breathability, and durability.
Cotton is a popular choice due to its comfort and ease of care.
Flannel offers a cozy feel, making it great for warmth.
If you’re aiming for a lightweight quilt, look into cotton blends or even microfiber.
When it comes to pattern selection, think about how different designs will interact.
Bold patterns can create a lively quilt, while subtle prints may lend a calming effect.
Ultimately, choose fabrics that not only complement each other but also align with your personal style.
That way, your puff quilt will be both functional and visually appealing.
Color Coordination Tips
Selecting the right fabrics for your puff quilt goes hand in hand with color coordination.
To create a visually appealing quilt, consider these tips:
Use the color wheel to find complementary shades.
This helps you pair fabrics that naturally look good together.
Investigate seasonal palettes for a fresh, timely look.
Seasonal colors can bring a unique charm to your quilt.
Experiment with fabric combinations that incorporate both solids and patterns.
Mixing these can add interest and depth to your design.
Adopt print mixing, ensuring they share a common color theme for harmony.
This keeps the quilt looking cohesive, even with varied prints.
Think about mood setting; warm colors evoke energy, while cool colors promote calm.
Choosing the right mood can really influence the feel of your finished quilt.
Texture Considerations Explained
While you might focus on colors, texture plays an essential role in your puff quilt’s overall appeal. Choosing the right fabrics can create stunning texture variations that improve the quilt’s visual interest.
For a softer feel, opt for cotton or flannel. These materials provide a cozy touch and moderate puff density.
If you prefer a crisper look, consider using linen or canvas. These fabrics can give your quilt a more structured appearance.
Remember, the combination of different textures can add depth and dimension. Experiment with various fabric blends to achieve the desired puff density, ensuring your quilt feels inviting and luxurious.
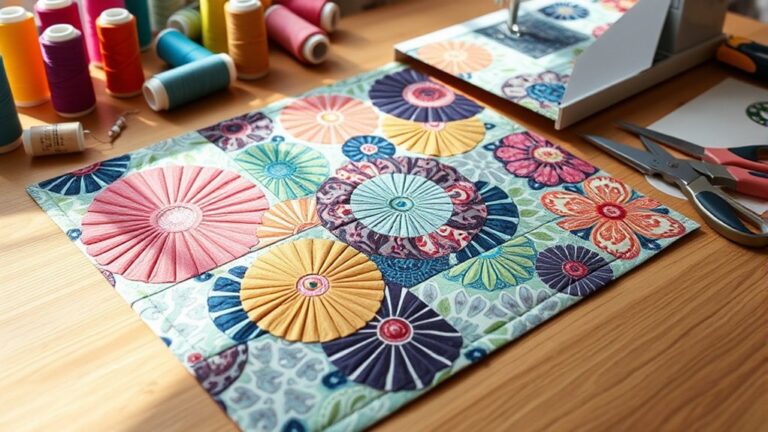
Must-Have Tools and Supplies for Puff Quilting
To create a stunning puff quilt, you’ll need a few fundamental tools and supplies.
Understanding the puff quilt history can inspire your design, but having the right materials is essential for success.
Exploring the rich history of puff quilts can ignite your creativity, but choosing the right materials is crucial for achieving success.
Here’s what you should gather:
- Fabric: Choose cotton or flannel for comfort and durability.
- Batting: Opt for lightweight batting to improve puffiness.
- Sewing Machine: A reliable machine with a walking foot makes quilting easier.
- Rotary Cutter and Mat: These help you cut fabric accurately and efficiently.
- Thread: Use high-quality thread that matches your fabric for durability.
With these fundamental materials in hand, you’ll be ready to explore the exciting world of puff quilting.
Each tool plays an important role in ensuring your quilt turns out beautifully, showcasing the charm and warmth that puff quilts are known for.
Happy quilting!
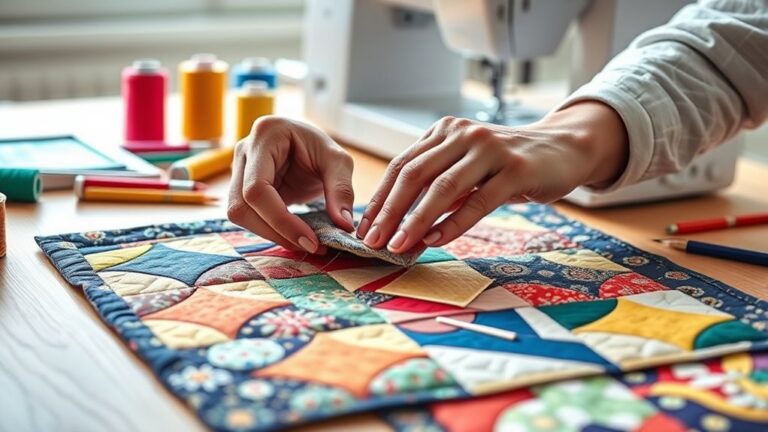
Preparing Your Fabric for Puff Quilt Assembly
Before you jump into putting your puff quilt together, you’ll want to get your fabric ready first. Picking out the right fabric is important, and giving it a good pre-wash will help prevent any surprises later on. Plus, cutting your pieces as accurately as you can really makes a difference in how everything fits together. Let’s walk through these prep steps so you’ll be starting off on the right foot.
Choosing the Right Fabric
Choosing the right fabric for your puff quilt is essential, as it can greatly affect both the look and feel of your finished project.
You’ll want to take into account various fabric weights and patterns to guarantee your quilt is both beautiful and functional. Here are some tips to help you choose:
- Lightweight cotton: Great for a soft, cozy feel.
- Medium-weight fabrics: Offer durability while maintaining comfort.
- Bold fabric patterns: Add visual interest and personality.
- Solid colors: Can balance out busy patterns and provide contrast.
- Pre-washed fabrics: Reduce shrinking later on.
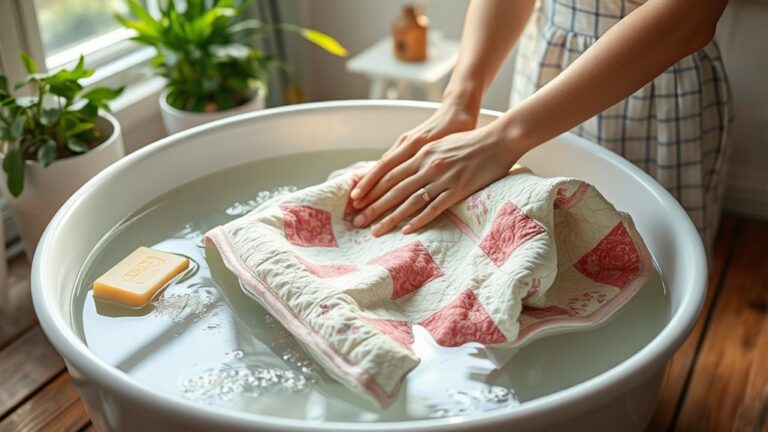
Pre-Washing Your Fabric
Pre-washing your fabric is a smart step that can save you headaches later on.
When you skip this essential step, you risk dealing with fabric shrinkage once your quilt is complete.
Pre-washing helps remove any chemicals or sizing from the fabric, ensuring it’s clean and ready for sewing.
Plus, it allows you to test for color bleeding, so your quilt stays vibrant.
The pre-wash benefits extend to improving the fabric’s softness, making your quilt more comfortable.
By taking the time to pre-wash, you’re setting yourself up for success and preventing potential issues down the road.
Cutting Fabric Pieces
Cutting your fabric pieces accurately is essential for a successful puff quilt assembly.
Proper fabric cutting guarantees that your quilt comes together smoothly and looks great.
Start by measuring and marking your fabric shapes carefully.
Here’s a quick checklist to follow:
- Use a rotary cutter for clean edges.
- Always cut on a flat, sturdy surface.
- Double-check your measurements before cutting.
- Keep your fabric layers aligned to avoid mistakes.
- Store cut pieces neatly to prevent fraying.
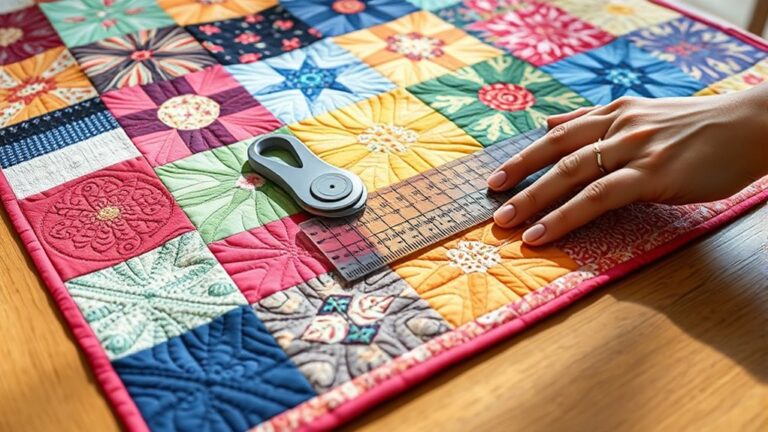
Cutting Your Fabric: Size and Shape Tips
Before you immerse yourself in creating your puff quilt, it’s essential to get your fabric pieces precisely sized and shaped.
Start by choosing your fabric dimensions carefully. For a typical puff quilt, you’ll want squares that are about 5-6 inches. This size allows for a nice puff as you assemble the blocks.
Choose your fabric dimensions wisely; 5-6 inch squares create the perfect puff for your quilt blocks.
Next, use cutting techniques that guarantee accuracy. A rotary cutter and mat can be your best friends here; they’ll help you achieve clean edges and consistent sizes.
Always measure twice before you cut. This simple step can save you from unnecessary fabric waste.
If you’re using multiple fabrics, cut each piece separately to avoid confusion. Label your pieces if needed, so you can keep track of your fabric dimensions.
Taking the time to cut carefully will set you up for success regarding assembling your quilt later on. Happy cutting!
Assembling Puff Quilt Blocks: Step-by-Step
Now that you’ve got your fabric cut, let’s talk about putting your puff quilt blocks together. First things first—choosing the right fabric really matters if you want your quilt to be soft and durable.
Once you’ve picked out your fabric, you’re ready to start cutting your squares. Don’t worry if this feels a little tedious; just take your time and make sure your pieces are all the same size. That’ll make assembling your blocks so much easier later on.
Now, let’s walk through how to put everything together, step by step.
Choosing Fabric Types
Choosing the right fabric types is essential for creating beautiful puff quilt blocks.
The fabrics you select will impact both the look and feel of your quilt.
Consider the following tips to make informed choices:
- Fabric Patterns: Mix and match patterns for visual interest, but make certain they complement each other.
- Fabric Weights: Choose a medium weight for durability while still keeping the puffiness you want.
- Texture: Try incorporating a variety of textures for added depth in your quilt blocks.
- Color Scheme: Stick to a cohesive color palette so your quilt feels harmonious throughout.
- Washability: Go for fabrics that are easy to wash, especially if you want to use the quilt frequently.
All of these choices will help you craft a stunning, functional puff quilt that you’ll absolutely love!
Cutting Fabric Squares
With your fabric types selected, it’s time to cut those beautiful squares for your puff quilt blocks. Start by determining the square sizes you’ll need; typically, 8-inch squares work well for puff quilts.
Lay your fabric flat on a cutting mat to guarantee even fabric cutting. Use a rotary cutter and a clear ruler for accuracy.
Measure and mark your squares, then cut along the edges. If you’re using multiple fabrics, stack them carefully to cut several squares at once, saving time.
Be mindful of fabric grain to maintain the quilt’s integrity. Once you’ve cut all your squares, you’ll be ready to move on to assembling the blocks, bringing your puff quilt to life!
Assembling The Blocks
Start by laying out your cut squares in the order you want to assemble them.
This step helps you visualize the block arrangement and guarantees you’re happy with the layout before sewing.
Once you’re satisfied, it’s time to sew the squares together.
Make sure to keep a consistent seam allowance of about ¼ inch.
Follow these steps for a smooth assembly:
- Pin squares together to prevent shifting.
- Sew along the edges, maintaining your seam allowance.
- Press the seams open or to one side for a neat finish.
- Repeat until you’ve assembled all blocks.
- Trim any excess threads for a tidy look.
With your blocks assembled, you’re one step closer to creating your puff quilt masterpiece!
Sewing Puff Quilt Blocks Together
As you prepare to sew your puff quilt blocks together, guarantee each block is neatly pressed and ready for assembly.
Start by laying out your blocks in the desired pattern, making sure the colors and designs complement each other. For effective puff block assembly, align the edges carefully, pinning them in place to prevent shifting as you sew.
Choose a sturdy sewing technique, like a straight stitch, to secure the blocks together. Sew along the edges, leaving a quarter-inch seam allowance. Don’t forget to backstitch at the beginning and end for added durability.
Once you’ve sewn the blocks, trim any excess fabric from the seams to reduce bulk. This helps maintain a smooth finish when you flip and stuff the blocks later.
Take your time during this step, as precise sewing lays the foundation for your stunning puff quilt.
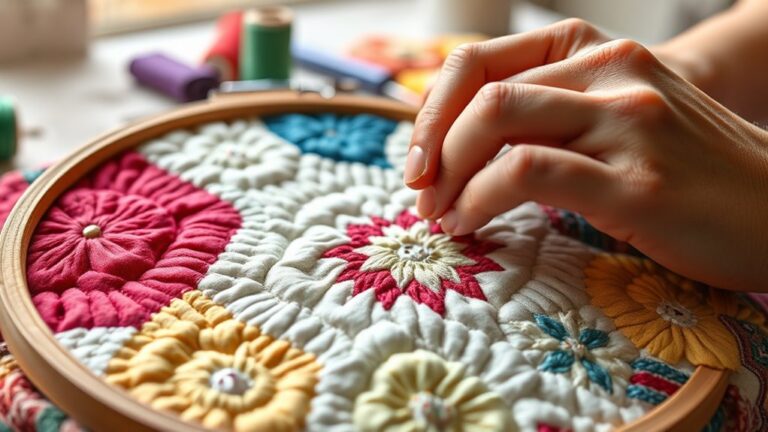
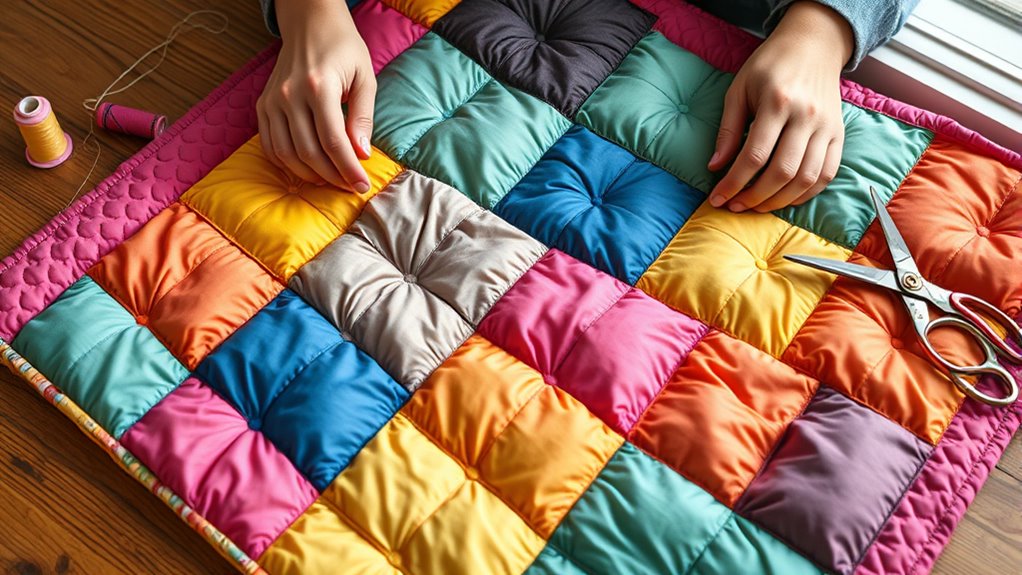
Flipping and Stuffing for the Puff Effect
To create that signature puff effect, you’ll need to carefully flip each block right side out. This flipping technique is essential for achieving the full puffiness of your quilt.
Once flipped, it’s time to add the puff quilt stuffing. Here’s how to do it effectively:
- Prepare your stuffing: Choose a lightweight, fluffy material for a cozy feel.
- Stuff each block: Use your fingers to gently fill each section without overstuffing.
- Check for even distribution: Verify the stuffing is evenly spread for uniform puffs.
- Close the openings: Securely stitch or tuck the openings to keep the stuffing in place.
- Repeat for all blocks: Work your way through each block until your quilt is fully puffy.
Best Quilting Techniques to Finish Your Puff Quilt
Finishing your puff quilt requires a few vital quilting techniques to guarantee it looks polished and professional.
First, consider your binding options. You can choose from single-fold or double-fold binding, depending on the look you want. For a more finished edge, double-fold binding is often preferred.
Next, use straight-line stitching or a decorative stitch along the edges to secure everything in place. This not only improves the quilt’s durability but also adds an aesthetic touch.
When you’re ready to attach the binding, make sure you miter the corners for a clean finish.
Lastly, don’t forget to press your quilt lightly after binding. This step is essential in showcasing your hard work.
Tips for Caring for Your Puff Quilt
Caring for your puff quilt is essential to keep it looking fresh and vibrant.
Proper puff quilt maintenance involves following a few key guidelines to guarantee longevity and beauty.
Here are some tips to help you out:
– Washing guidelines:
Always check the fabric care labels. Use a gentle cycle with cold water and mild detergent to preserve the puffiness.
– Drying:
Air dry your quilt or use a low-heat setting in the dryer. Avoid over-drying to maintain its fluff.
– Storage solutions:
Store your quilt in a cool, dry place. It’s best to use a breathable cotton bag, as this helps prevent moisture buildup.
– Repair techniques:
If you notice any loose seams or tears, mend them promptly. This will help you avoid further damage.
– Regular fluffing:
Give your quilt a good shake occasionally. Doing this helps redistribute the filling and keeps it looking puffy.
Frequently Asked Questions
How Long Does It Take to Complete a Puff Quilt?
Creating a puff quilt typically takes around 20 to 40 hours, depending on your skill level and the quilt’s size.
For beginners, it’s wise to break the project into manageable sections. That can help streamline your puff quilt timeline.
Don’t rush; enjoy the process! You might also want to gather your materials beforehand and familiarize yourself with basic techniques.
That’ll make your experience smoother and more enjoyable. Happy quilting!
Can I Use Recycled Fabrics for My Puff Quilt?
Absolutely, you can use recycled fabrics for your puff quilt! Think of your quilt as a patchwork garden, where each piece of fabric blooms with its own story.
By sourcing fabric this way, you not only give new life to materials but also improve your quilt’s durability. Just make sure the fabrics are sturdy enough to withstand the wear and tear.
Welcome creativity, and let your unique quilt reflect your values and style!
What Is the Best Batting for a Puff Quilt?
The best batting for a puff quilt is usually polyester or cotton blend batting. These batting types provide excellent loft and insulation, enhancing your quilt’s warmth.
Polyester is lightweight and resists shrinking, while cotton offers breathability. If you want a softer feel, consider using a high-loft polyester batting.
Whichever you choose, confirm it complements your fabric and design, giving you that cozy puff effect you’re aiming for!
How Do I Fix Mistakes in My Puff Quilt?
To fix mistakes in your puff quilt, start by identifying common mistakes like uneven seams or misplaced fabric.
For puff quilt repairs, gently unpick the stitches in the affected area, then realign and resew.
If you’ve got fabric puckering, you might need to adjust your tension or use a walking foot for smoother seams.
Don’t stress. Every quilter makes mistakes. Just take your time, and soon your quilt will look fantastic!
Can I Machine Wash My Finished Puff Quilt?
Yes, you can machine wash your finished puff quilt! For puff quilt care, use a gentle cycle with cold water and a mild detergent.
Avoid bleach, as it can damage the fabric. It’s a good idea to wash it with similar colors to prevent any bleeding.
When drying, choose a low heat setting or air dry to maintain its fluffiness.
Following these washing tips will help keep your quilt looking great!
Conclusion
You’ve now navigated the nuances of puff quilt creation! With careful choices and crafty techniques, you can craft a cozy, charming quilt that’s sure to enchant.
Welcome the joy of this unique project, and don’t hesitate to experiment with different fabrics and designs. Each stitch adds a special story to your puff quilt.
So, gather your gear, get creative, and let your puff quilt journey begin. Happy quilting—and enjoy every moment with your puff quilt!