Step-by-Step Guide to Tie a Quilt
If you’ve ever found yourself frustrated with shifting quilt layers or tangled threads, you’re not alone. Many people struggle to achieve a neat, secure finish when working on their quilts, especially when trying to tie a quilt for the first time.
Whether you want to add a personal touch or ensure your handmade quilt stays together for years, finding the right method is key.
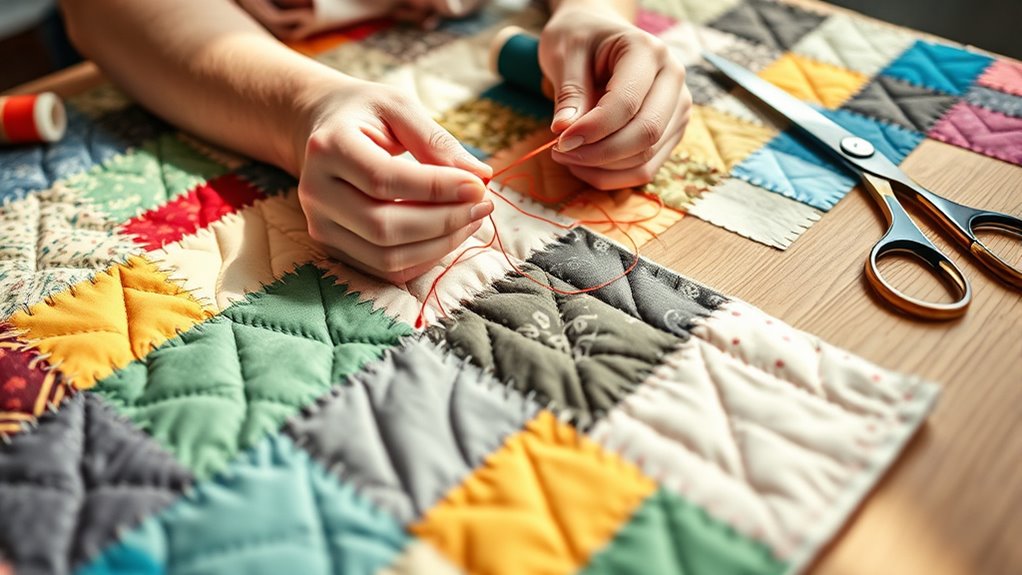
To tie a quilt, gather essential tools like scissors and heavy thread. Choose fabrics that match your style and compatible batting for warmth.
Layer your materials with the backing, batting, and quilt top aligned. Tie knots or decorative ties at regular intervals, trimming excess thread afterward.
Guarantee even spacing for a polished look and avoid common mistakes like loose ties or misaligned layers.
As you follow these steps, you’ll uncover more tips to perfect your quilt.
Key Takeaways
- Gather essential tools like scissors, rotary cutter, cutting mat, pins, needle, and heavy thread or yarn for quilt tying.
- Select appropriate fabric and batting. Think about the weight, texture, and how you plan to use the quilt.
- Layer your materials in the right order: place the backing down first, then the batting, and finally the quilt top. Make sure everything is smooth and free of wrinkles.
- Pick a tying method that works for you. Tie at intervals of 6 to 8 inches so your finish looks neat and consistent.
- To keep your quilt in great shape, store it properly. Spot-clean stains when needed, and always follow care instructions when washing.
Essential Tools and Supplies for Quilt Tying
To create a beautiful quilt, you’ll need some essential tools and supplies for tying it together. Start with a good pair of scissors for cutting threads and fabric.
A rotary cutter can also speed up your cutting process. You’ll want a sturdy cutting mat to protect your surfaces, along with pins to hold your layers in place while you work.
For quilt tying techniques, a needle and heavy thread or yarn are vital for securing your quilt layers. Consider using a thimble for added protection while pushing your needle through thick fabric.
Don’t forget about fabric storage solutions to keep your materials organized and easily accessible. Clear bins or shelves can help you sort your fabrics by color or type, ensuring you find what you need quickly.
With these tools and supplies, you’ll be well on your way to creating a stunning quilt that reflects your unique style.
Choose the Right Fabric for Your Quilt
Choosing the right fabric really sets the tone for your quilt and can make all the difference in how your project turns out. First, it’s a good idea to think about the different types of fabric available. Some work better for certain projects than others, so it’s worth exploring your options.
Once you’ve got a fabric type in mind, you can have some fun picking out colors and patterns that show off your personality. Don’t be afraid to mix and match—sometimes the most unexpected combinations can look amazing.
All in all, taking a little extra time with your fabric choices can totally transform your quilt and help you create something you’ll be proud of.
Fabric Types Overview
Fabric selection is essential for creating a beautiful and functional quilt. Start by understanding different fabric characteristics, such as weight, texture, and durability.
Cotton is a popular choice due to its softness and ease of care. It’s breathable and holds up well over time, making it perfect for quilts that get regular use.
Alternatively, consider flannel for a cozy feel or polyester blends for added durability. Always check fabric care instructions, since some fabrics may shrink or fade after washing.
Pre-washing your fabric can help prevent these issues. By choosing fabrics that suit your needs and lifestyle, you’ll guarantee your quilt not only looks great but also stands the test of time.
Color and Pattern Selection
Selecting the right colors and patterns can improve your quilt from ordinary to extraordinary. Start by exploring color theory. Understanding the color wheel helps you choose harmonious combinations.
Think about using complementary colors to create contrast. Or try analogous colors for a soothing effect.
Next, consider pattern mixing. Don’t shy away from combining different prints; just make sure they share a common color palette.
For instance, pair florals with stripes or polka dots for a playful vibe.
Select the Perfect Batting Material
How do you determine the best batting material for your quilt?
First, consider the different batting types available. Cotton batting offers breathability and warmth, while polyester batting provides durability and resists shrinking.
If you’re looking for a blend, a cotton-polyester mix combines the benefits of both.
Next, think about batting thickness. Thicker batting creates a puffier look and adds warmth, but can also make quilting more challenging.
Thinner batting lays flatter and is easier to work with, making it ideal for intricate designs.
You’ll also want to factor in the quilt’s intended use. For a cozy throw, a thicker batting might be perfect, while a lightweight quilt for summer would benefit from a thinner option.
Ultimately, choosing the right batting type and thickness will improve your quilt’s comfort and appearance.
Prepare Your Quilt Layers for Tying Techniques
Before you start tying your quilt, let’s talk about picking fabrics that work well together. Think about colors and textures that you love—it’ll make your finished quilt even more special.
Once you’ve chosen your fabrics, go ahead and cut the batting and backing. Make sure they’re the right size so everything lines up just right.
Now it’s time to layer your materials. Lay them out carefully, smoothing as you go. This little bit of attention will really set you up for a beautiful result when you start tying your quilt.
Select Your Fabric Choices
Choosing the right fabrics for your quilt is essential to achieving a beautiful finished piece. Start by exploring various fabric combinations that resonate with your vision.
Think about colors, patterns, and themes that speak to you. It’s important to create a texture balance; mixing smooth cottons with textured fabrics can add depth and interest to your quilt.
Consider how each fabric will interact with others, since some may dominate, while others should complement what you’ve chosen. Don’t forget to pay attention to the weight and drape of your chosen materials, as this will affect the overall look and feel.
Once you’ve selected your fabrics, you’ll be well on your way to crafting a stunning quilt that reflects your style and creativity.
Cut Batting and Backing
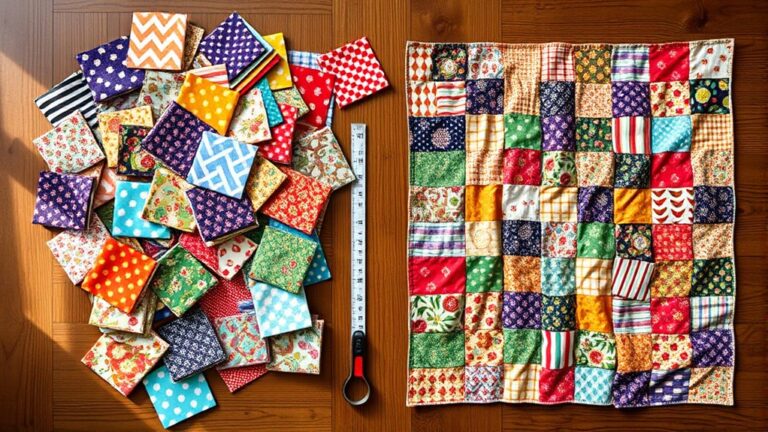
Before you start tying your quilt, you’ll need to cut the batting and backing to the right size. First, measure your quilt top and add a few extra inches for trimming.
Regarding batting dimensions, aim for a piece that’s about 2-4 inches larger than your quilt top to allow for shrinkage and ease of tying.
For the backing fabric, make sure it’s also a bit larger than your quilt top, typically by the same 2-4 inches. This extra fabric will help you handle the quilt layers more easily.
Once you’ve got your batting and backing cut to size, you’re ready to move on to layering those materials for a successful quilt tying experience!
Layering Techniques Explained
Layering your quilt properly is crucial for a successful tying experience.
Start with your backing fabric, right side down. Next, position the batting on top, followed by your quilt top, right side up.
This arrangement guarantees the layers are securely held together when you tie.
Here’s a quick reference table for effective layer positioning and layering methods:
| Layer | Positioning | Method |
|---|---|---|
| Backing | Right side down | Flat on surface |
| Batting | Centered on backing | Smooth out wrinkles |
| Quilt Top | Right side up | Align edges |
| Tying | Evenly spaced | Use quilt ties |
| Completion | Trim excess batting and backing | Finalize edges |
Follow these layering methods to create a sturdy quilt that’s ready for tying!
Follow These Steps to Tie Your Quilt
Tying your quilt can be a rewarding experience, and following a few simple steps will guarantee you achieve a beautiful finish.
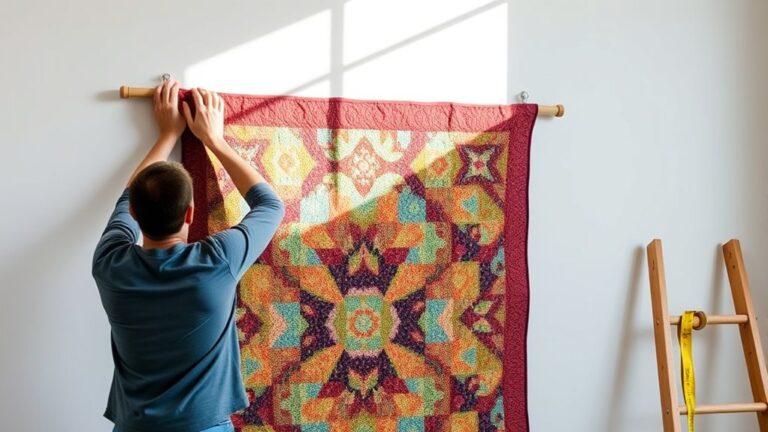
Start by choosing your binding techniques, which can greatly impact your quilt’s overall look. Lay your quilt flat, making sure all layers are smooth and aligned.
Next, select a tying method that suits your quilt variations. You might opt for knots or a more decorative approach.
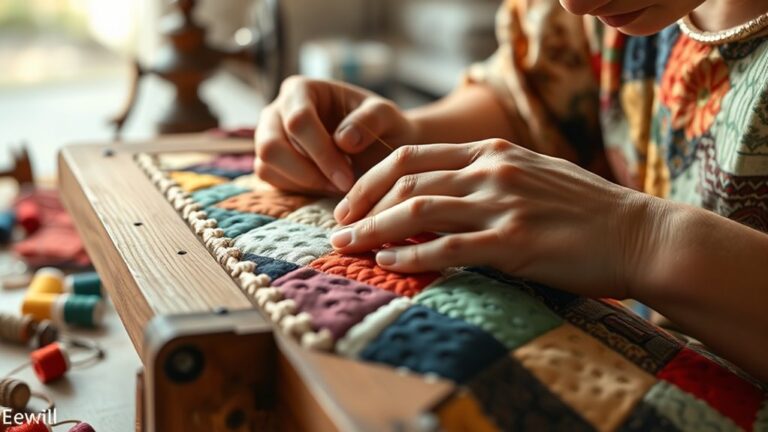
Using a long needle and thread, begin tying at regular intervals, typically every 6 to 8 inches, depending on your quilt’s thickness. Ensure the ties are snug but not overly tight, allowing for some movement.
As you work, periodically check the back to make sure everything’s even.
Once you’ve finished, trim any excess thread and admire your handiwork! With these steps, you’ll create a quilt that’s not only functional but also a stunning centerpiece in your home.
Popular Techniques for Tying Your Quilt
When it comes to tying your quilt, you’ve got a few choices that can really change up the look and feel of your finished piece. For starters, deciding between knots and ties isn’t just about keeping things together—it also affects the overall vibe of your quilt. And don’t forget about thread selection! Picking the right thread not only helps with durability but can also add a nice touch to your design. So, let’s chat about some popular techniques and see which ones might work best for your next quilting project.
Knots vs. Ties
How do you decide between knots and ties when finishing your quilt?
It really comes down to your style and the look you want.
If you prefer a classic feel, consider using different knot types, like the square knot or the double knot, for added security.
These can create a textured appearance that improves your quilt’s character.
On the other hand, tie variations offer a softer, more playful finish.
You might opt for simple bows or decorative ties to give your quilt a fun touch.
Both options have their pros and cons, so think about how each will impact your quilt’s overall aesthetic and durability.
Ultimately, it’s about what resonates with you and complements your design vision.
Thread Selection Tips
Choosing the right thread for tying your quilt can greatly impact both its appearance and durability.
Start by considering thread textures; a thicker thread can add a more prominent look, while a finer thread offers subtlety.
If your quilt features bold colors or patterns, opt for a contrasting thread to make the ties stand out. Conversely, if you prefer a more harmonious look, select a thread that matches or complements your fabric.
Color coordination is key here, so don’t be afraid to experiment with shades. You might find that a slightly different hue can bring your quilt to life.
Tips for Even Ties
Next, consider your tie style. Whether you choose a simple knot or a decorative bow, consistency is key.
Practice your chosen style until you can replicate it effortlessly.
Using a measuring tool can help guarantee that each tie is spaced evenly apart. This adds to the quilt’s overall appearance.
Finally, take breaks to step back and assess your work. This will help you spot any uneven ties before they become a bigger issue.
With these tips, you’ll create a beautiful quilt with ties that look as good as they function.
Common Mistakes in Quilt Tying
Even with the best intentions, mistakes in quilt tying can happen. One of the most common errors is using inconsistent tying techniques. If your ties are too loose or too tight, the quilt won’t lay flat, impacting its overall appearance.
Another frequent mistake is not spacing the ties evenly. Uneven spacing can lead to puckering and an unbalanced look.
Uneven spacing of ties can result in puckering, leaving your quilt with an unbalanced and unappealing appearance.
Additionally, failing to secure the knots properly can cause them to come undone over time, ruining your hard work. It’s also easy to overlook the importance of using the right thread; a weak or unsuitable thread can break under stress.
Finally, don’t forget to double-check your fabric layers before tying. Misaligned layers can create gaps or bunches.
Personalize Your Quilt With Decorative Elements
Adding decorative elements to your quilt can truly improve its charm and make it distinctly yours.
Start by exploring various embellishment techniques that suit your style.
Fabric appliqué is a fantastic way to introduce personalized motifs. You can cut shapes from different fabrics and sew them onto your quilt.
Experimenting with different stitching styles adds depth and character.
Consider using decorative trims along the edges or between quilt blocks to create a polished look.
You can also incorporate embroidery options to add intricate designs or meaningful words that resonate with you.
Don’t shy away from mixing textures and colors; this will make your quilt unique.
Whether you’re using simple stitches or more complex patterns, every detail contributes to the overall aesthetic.
Remember, the goal is to express yourself while creating something beautiful and functional.
Let your creativity shine!
Care and Maintenance for Your Finished Quilt
Once you’ve completed your quilt, caring for it properly guarantees it stays beautiful and functional for years to come.
Start with quilt storage. Always store your quilt in a cool, dry place. Avoid direct sunlight to prevent fading.
Proper quilt storage is essential: keep it in a cool, dry place, away from direct sunlight to prevent fading.
A cotton or muslin bag is ideal, as it allows the fabric to breathe while keeping dust at bay.
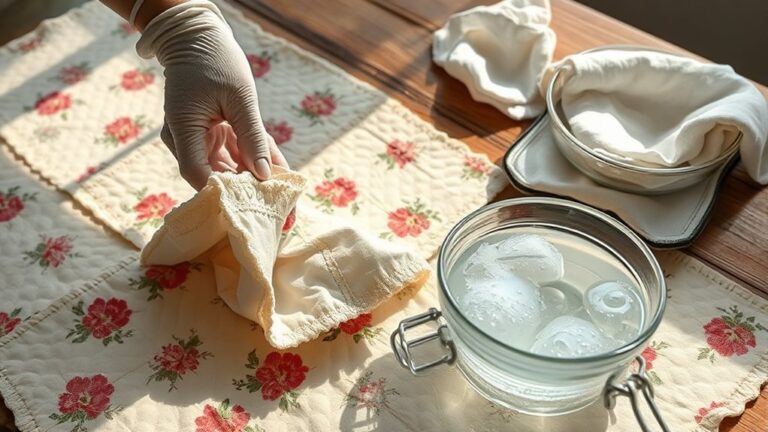
When it comes to cleaning methods, spot-clean any stains promptly using mild soap and water. If your quilt needs a deeper clean, check the care label, as some quilts can be machine washed on a gentle cycle.
Always air dry your quilt flat to maintain its shape. Avoid the dryer, which can cause shrinkage or damage.
Regularly inspect your quilt for wear and tear, and handle it with care. With these simple steps, you’ll make sure your quilt remains a cherished item for generations.
Frequently Asked Questions
How Long Does It Typically Take to Tie a Quilt?
It typically takes about 5 to 10 hours to tie a quilt, depending on various time factors.
If you’re working on a larger quilt or using intricate designs, it might take longer.
Your experience level also plays a role. Beginners may need extra time to get the hang of quilt tying techniques.
Can I Tie a Quilt Without a Sewing Machine?
Yes, you can definitely tie a quilt without a sewing machine! Hand tying is a great option, allowing you to use various quilt materials like cotton or fleece.
Simply gather your supplies, cut your ties, and secure the layers by knotting them together at intervals. This method not only adds a personal touch but also gives your quilt a cozy, inviting look.
Enjoy the process and let your creativity shine!
What Types of Knots Are Best for Quilt Tying?
For quilt tying, the best knot types include the square knot and the double knot. These knot techniques guarantee your quilt stays secure.
When tying, pay attention to knot tension; it should be firm but not too tight. This allows for some fabric movement and helps prevent puckering.
Knot durability is essential, so opt for strong threads that won’t break easily. Using these tips, you’ll create a beautifully tied quilt that lasts through years of use.
Is It Necessary to Pre-Wash Fabric Before Quilting?
Yes, it’s a good idea to pre-wash fabric before quilting. This helps prevent fabric shrinkage and color bleeding once your quilt is complete.
By washing the fabric first, you guarantee that any excess dye is removed, reducing the risk of unwanted stains on your finished quilt.
Plus, it gives you a chance to see how the fabric behaves after washing, helping you make better choices during the quilting process.
How Do I Store My Quilt When Not in Use?
When your quilt’s not wrapped around you like a warm hug, store it in a cool, dry place, away from sunlight.
Use breathable fabric bags or cotton sheets for quilt storage, ensuring it can breathe and avoid moisture. This way, you safeguard its beauty and maintain fabric preservation.
Avoid plastic containers, as they trap humidity, inviting unwelcome guests.
Treat your quilt like a treasured heirloom, and it’ll last for generations.
Conclusion
Tying a quilt is like weaving a tapestry of memories, where each knot binds together your creativity and love.
Now that you’ve mastered the essential steps, remember to enjoy the process and let your unique style shine through.
As you snuggle under your finished quilt, you’ll not only feel its warmth but also the joy of your hard work.
Cherish every tie, and watch your quilt transform into a cherished keepsake for years to come. In the end, tying a quilt is more than just a craft—it’s a way to create lasting comfort and memories.