Step-by-Step Guide to Craft a Repeater
Discovering the Best Repeaters for Enhanced Connectivity
Are you tired of weak signals interrupting your online activities? You’re not alone; many people struggle with connectivity issues at home or in the office.
Thankfully, crafting a repeater can help boost those weak signals, improving your overall experience. Let’s dive into how you can create the perfect repeater for better connectivity.
If you want to craft a repeater, start by understanding its importance in boosting weak signals for better connectivity.
You’ll need to choose the right equipment, including signal boosters and antennas, while ensuring compliance with local regulations.
Gather essential tools for assembly and follow step-by-step instructions to connect components effectively.
Once installed, regular maintenance is key for peak performance.
Keep exploring to uncover advanced features and troubleshooting tips that can improve your repeater’s capabilities.
Key Takeaways
- Understand the importance of a repeater to boost weak signals and improve connectivity in challenging environments.
- Gather essential equipment, including signal boosters, antennas, and installation kits tailored to your specific needs.
- Familiarize yourself with legal requirements and secure necessary licensing before assembly and installation.
- Follow a streamlined assembly process. Ensure secure connections and proper alignment of components for optimal performance.
- Regularly maintain the repeater by checking connections, monitoring performance, and applying firmware updates to ensure reliability.
Why You Need a Repeater: Understanding Its Functionality
In the world of communication technology, a repeater is your vital ally for overcoming distance barriers. It boosts weak signals, ensuring you stay connected over long distances. When you’re dealing with signal interference, a repeater amplifies the original signal, allowing it to travel farther without degradation.
Understanding propagation characteristics is important; these determine how signals travel through different environments. Factors like terrain, buildings, and weather can affect your signal’s strength and quality.
By deploying a repeater, you enhance overall connectivity in areas where the signal struggles due to obstacles. Whether you’re in a remote location or just facing a challenging environment, a repeater improves your communication experience.
Benefits of Building Your Own Repeater
Building your own repeater can actually save you a good chunk of money while offering a dependable communication solution. How cool is that? Plus, you’ll get to enjoy improved signal coverage, which means you can extend your reach to places that might have been out of range before.
With just a little bit of effort on your part, you can create a system that perfectly fits your specific needs. It’s really satisfying to know that you’ve customized something just for you!
Cost-Effective Communication Solution
Although commercial repeaters can be pricey, crafting your own offers a cost-effective communication solution that fits your specific needs.
By diving into DIY projects, you reveal a world of affordable options tailored just for you. You won’t just save money; you’ll gain valuable skills that empower you to troubleshoot and modify your setup as needed.
Plus, building your own repeater allows you to select components that best suit your environment, ensuring reliability and performance.
This flexibility means you won’t be stuck with a one-size-fits-all solution. Instead, you’ll create a system that works efficiently within your budget.
Making your own repeater is an intelligent investment for both short-term and long-term communication needs. Start your DIY journey today!
Enhanced Signal Coverage Area
When you craft your own repeater, you can greatly expand your signal coverage area. This ensures that even the most remote locations receive a strong connection.
With effective signal amplification, you’ll improve your ability to reach areas that previously suffered from weak signals. Whether you’re in a basement, a dense forest, or a large home, you can enjoy seamless communication.
Building your own repeater allows for tailored coverage optimization. You can adapt the device to your specific needs and environment.
You’ll have control over the components, ensuring maximum efficiency. Ultimately, this boosts both your productivity and connectivity.
Making your DIY repeater a valuable asset means you can stay connected wherever you are.
Choosing the Right Equipment for Your Repeater
When setting up your repeater, picking the right equipment is super important. You really want to consider a few essential components, frequency ranges, and antenna options to ensure everything runs smoothly. Let’s dive into these key factors together so you can make the best choices.
First off, think about the essential components you’ll need. This includes things like the repeater itself and any necessary accessories. It’s kind of like building a team—each piece plays a crucial role in making sure everything works seamlessly.
Next, there’s the frequency ranges. This part can get a bit technical, but don’t worry! You just want to make sure the frequencies you choose are compatible with your local regulations and the devices you plan to use. It’s all about finding that sweet spot for optimal performance.
Finally, let’s talk about antenna options. The right antenna can make a world of difference in the quality and reach of your signal. There are various types out there, so it’s worth doing some research to find one that fits your needs best.
Essential Components Overview
Choosing the right equipment for your repeater is essential to ensuring peak performance and reliability.
Start by evaluating the component types you need, such as signal boosters and amplifier options, to improve your signal strength.
Select appropriate power sources to keep everything running smoothly.
Consider enclosure materials that protect your setup from environmental elements, and choose antenna types that suit your coverage area.
Installation kits typically include necessary components, but pay attention to cable lengths for ideal connections.
Don’t overlook grounding techniques to prevent interference, and employ effective weatherproofing methods to safeguard your equipment.
Each choice impacts your repeater’s efficiency, so take the time to select the best components for your specific needs.
Frequency Range Considerations
Understanding frequency range considerations is vital for your repeater’s performance, as it directly affects signal clarity and coverage.
Start by selecting appropriate frequency bands, considering how they interact with environmental factors like terrain and buildings.
Assess signal interference in your area; certain bands may be noisier due to nearby transmissions.
Balance transmission power with antenna gain to guarantee ideal signal strength without overwhelming the receiver.
Prioritize receiver sensitivity to ensure it can pick up weak signals effectively.
Frequency stability is essential to maintain clear communication, while managing the noise floor helps minimize unwanted background noise.
Antenna Selection Tips
Selecting the right antenna is essential for maximizing your repeater’s performance. Consider these key factors:
- Antenna Types: Choose between directional antennas for focused signal amplification or omnidirectional antennas for broader coverage.
- Antenna Height: Raise your antenna to improve signal reach. Higher placement often leads to better line-of-sight.
- Material Selection: Opt for weather-resistant materials to ensure durability against environmental conditions.
- Installation Techniques: Use proper tuning methods and antenna orientation to optimize signal quality and minimize interference.
Legal Requirements for Building a Repeater
Before you start building a repeater, it’s vital to grasp the legal requirements involved.
First, familiarize yourself with FCC regulations. These govern your operation and guarantee you’re compliant.
Familiarizing yourself with FCC regulations is essential for ensuring compliance in your operations.
You’ll need to secure proper licensing requirements, which vary based on your intended use and frequency.
Don’t overlook site permits; you may need local authorization to install your equipment.
Adhering to safety standards is critical. This is important not just for compliance, but also for protecting yourself and others.
Be aware of potential interference issues with existing communications systems. You must avoid causing disruption.
This means understanding installation guidelines that dictate where and how you can set up your repeater.
Step-by-Step Guide to Assembling Your Repeater
Now that you’ve got a handle on the legal requirements, let’s move on to the fun part: gathering your tools and materials for assembling your repeater. It’s important to have the right items on hand to ensure everything goes smoothly. So, let’s take a look at what you’ll need.
Once you’ve gathered everything, don’t worry—I’ll guide you through the assembly instructions step by step. Ready? Let’s get started!
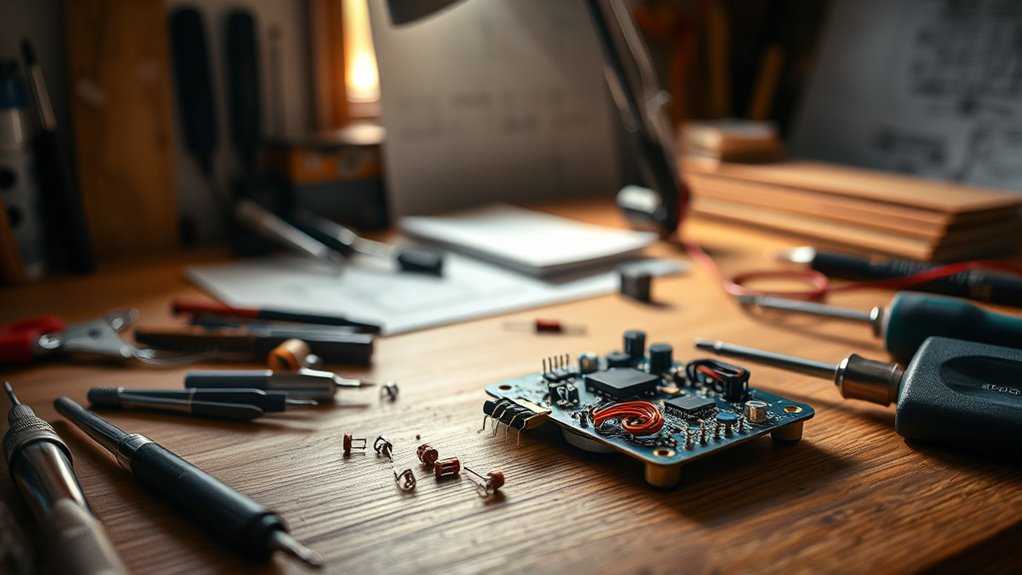
Necessary Tools And Materials
Assembling a repeater requires a few essential tools and materials to guarantee a smooth process and effective results. Depending on the repeater types you’re working with, you’ll need to gather the following:
- Screwdriver Set – For securing components together.
- Wire Strippers – To prepare your cables for connections.
- Soldering Iron – Essential for creating strong electrical joints.
- Multimeter – For testing connections and ensuring proper functionality.
Having these tools on hand streamlines your installation process. It also helps you follow best installation tips effectively. With the right equipment, you’ll be well-prepared to tackle your repeater project with confidence and precision.
Assembly Instructions Overview
Once you’ve gathered your tools and materials, it’s time to plunge into the assembly process of your repeater.
First, familiarize yourself with the different repeater types you’re working with. Each type may have unique assembly steps, so follow the specific instructions for yours.
Start by connecting the antenna to the main unit. Ensure it’s secure to minimize signal interference. Next, wire the power supply and check for any loose connections that could disrupt performance.
After that, install the amplifier, making sure it’s properly aligned. Finally, test your assembly to confirm everything functions correctly.
If you encounter issues, revisit each step to troubleshoot. With a solid assembly, your repeater will improve your signal seamlessly.
How to Configure Your Repeater for Optimal Performance
To guarantee your repeater delivers the best performance, you’ll want to start with proper configuration right from the get-go.
To ensure optimal performance from your repeater, begin with the right configuration from the start.
By focusing on performance optimization, you can minimize signal interference and maintain a strong connection throughout your space.
Here are four key steps to follow:
- Placement: Position your repeater halfway between your router and the area needing coverage. Avoid walls or large obstacles that might block the signal.
- Frequency Band: Use the 5GHz band for less interference, especially in crowded areas. Keep 2.4GHz for longer ranges.
- Channel Selection: Manually select a less congested channel in your router settings. This helps reduce signal overlap with nearby networks.
- Firmware Updates: Regularly check for and apply firmware updates. This can improve performance and fix potential issues.
How to Troubleshoot Your Repeater?
When your repeater isn’t performing as expected, it can be frustrating. But troubleshooting it doesn’t have to be an intimidating task.
Start by checking for common issues like signal interference. Move the repeater to a different location to see if that improves performance.
Use performance testing tools to measure the signal strength and identify weak spots.
Next, perform hardware checks. Verify all connections are secure and that the device is powered on.
If you notice any installation errors, review your setup to confirm everything’s configured correctly. Don’t forget to check for software updates, as outdated firmware can affect performance.
Lastly, address any connection problems by restarting the repeater and your router. These troubleshooting techniques can help you pinpoint the issue.
With a little patience, you can restore your network’s performance and ensure your repeater works efficiently.
Best Practices for Installing Your Repeater
While you might be keen to set up your repeater, taking the time to follow best practices guarantees peak performance. Proper repeater placement and reducing signal interference are essential for ideal functionality. Here are some best practices to take into account:
- Choose a Raised Location: Place your repeater high up to maximize coverage and minimize obstacles.
- Avoid Obstacles: Keep it away from walls, large furniture, and appliances that could block signals.
- Mind the Environment: Install your repeater in a temperature-controlled area to prevent overheating. This can affect performance.
- Test Signal Strength: Use a signal strength app to find the best spot before finalizing the installation.
Enhancing Your Repeater: Advanced Features to Consider
If you want to get the most out of your repeater, exploring advanced features can make a considerable difference.
Start by considering signal amplification capabilities. A repeater with improved amplification will extend your coverage and boost connectivity.
Consider the signal amplification capabilities of your repeater; enhanced amplification can significantly extend coverage and improve connectivity.
Next, look into digital integration options. This allows your repeater to work seamlessly with smart home devices and other technology, providing a more efficient network experience.
Don’t overlook the user interface. A well-designed interface can simplify setup and management, making it easier for you to monitor performance and make adjustments.
Some models even offer mobile app support, giving you control right from your smartphone.
Lastly, think about future-proofing your setup. Choose a repeater that supports the latest standards, ensuring it remains effective as your network needs evolve.
Maintaining and Upgrading Your Repeater
To keep your repeater running smoothly and efficiently, regular maintenance is essential. Neglecting this can lead to performance issues or even complete failure. Here are some key steps to guarantee your repeater remains in top shape:
- Inspect Connections: Regularly check all cables and connectors for wear or corrosion. Clean or replace them as needed.
- Monitor Performance: Use software tools to track signal strength and quality. Address any dips promptly to maintain optimal performance.
- Update Firmware: Keep your repeater’s firmware up to date. This improves functionality and security.
- Upgrade Components: Consider upgrading techniques like adding better antennas or boosting power supplies. These enhancements can significantly improve performance.
Frequently Asked Questions
What Is the Ideal Location for a Repeater Installation?
The ideal location for a repeater installation is somewhere high, ideally at least 10 to 30 feet off the ground. This height enhances signal strength and helps overcome obstacles like buildings or trees.
Make certain it’s centrally located within the area needing coverage to maximize effectiveness. Avoid placing it near metal objects or electronic devices that could interfere with the signal.
Proper positioning guarantees you get the best performance from your repeater.
How Much Does It Cost to Build a Repeater?
Building a repeater can cost you between $500 to $2,000, depending on your specific needs.
The cost breakdown typically includes equipment expenses like antennas, cables, and the repeater unit itself.
You’ll also want to factor in installation costs if you hire a professional.
By considering these elements, you can better budget for your repeater project.
This way, you can ensure you get the best performance for your investment without overspending.
Can I Use Recycled Materials for My Repeater?
Yes, you can definitely use recycled materials for your repeater!
By incorporating recycled components, you not only save money but also contribute to sustainability.
You can find old electronics, circuit boards, and cables that can be repurposed.
Using DIY techniques, you’ll improve your skills while creating something unique.
Just make certain the materials you choose are compatible and functional to guarantee your repeater works effectively.
Get creative and enjoy the process!
How Long Does It Take to Build a Repeater?
Building a repeater usually takes a few hours to a day, depending on your experience and the complexity.
As you work, focus on optimizing your signal strength; it’s key! Make sure you’ve got the right tools handy.
A few installation tips: double-check your connections and test the setup before finalizing.
With a bit of patience, you’ll have a solid repeater boosting your signal in no time. Enjoy the process!
What Safety Precautions Should I Consider While Building?
When building, you should prioritize electrical safety and tool handling. Always wear safety goggles and gloves to protect yourself from potential hazards.
Make certain your workspace is dry and well-lit. Double-check that all tools are in good condition.
Keep your hands dry when working with electrical components. Never work on live circuits.
Familiarize yourself with the tools you’re using to avoid accidents. This will ensure a smooth building process.
Conclusion
Building your own repeater is like crafting a bridge. It connects gaps in communication and enhances your network’s reach.
With the right equipment and knowledge, you can create a powerful tool that boosts signals and enriches your tech experience.
Remember to stay informed about legal requirements and best practices. This will help ensure smooth sailing.
So, roll up your sleeves and get ready to extend your connections. A repeater can truly transform how you communicate!