How to Sew a Rag Quilt – Step-by-Step Guide for Beginners
Have you ever wanted to make a cozy, handmade quilt but felt intimidated by complicated sewing patterns and techniques? You’re not alone—many beginners struggle with where to start and worry about making mistakes.
Finding an easy, forgiving project that still looks beautiful and feels rewarding is a common desire for new quilters.
To sew a rag quilt, start by choosing soft cotton flannel or prints for durability.
Gather your tools like a sewing machine with a walking foot and sharp scissors.
Cut fabric into 8 to 10-inch squares, layering them with batting.
Pin the layers before stitching, using straight or zigzag seams to avoid puckering.
After finishing, wash the quilt to fluff it up.
Want to add personal touches and tips for flawless sewing? There’s more to investigate!
If you’re searching for the best supplies or inspiration for your next rag quilt, we’ve got you covered with our top picks and expert advice.
Key Takeaways
- Choose durable cotton flannel or prints for softness. Mix different textures and vibrant colors to give your rag quilt a fun, visual appeal.
- Gather essential tools like a sewing machine with a walking foot, rotary cutter, cutting mat, and pins. These will help you assemble your quilt precisely.
- Cut fabric squares, usually 8 to 10 inches. Use a rotary cutter and measuring tools to ensure your pieces are accurate and prevent misalignment.
- Use straight or zigzag stitches to secure the seams. Try to keep a consistent seam allowance so you can avoid puckering and uneven edges.
- When your quilt is finished, wash it in cold water. Air dry or use low heat, and store it in a cool, dry place to keep it looking its best.
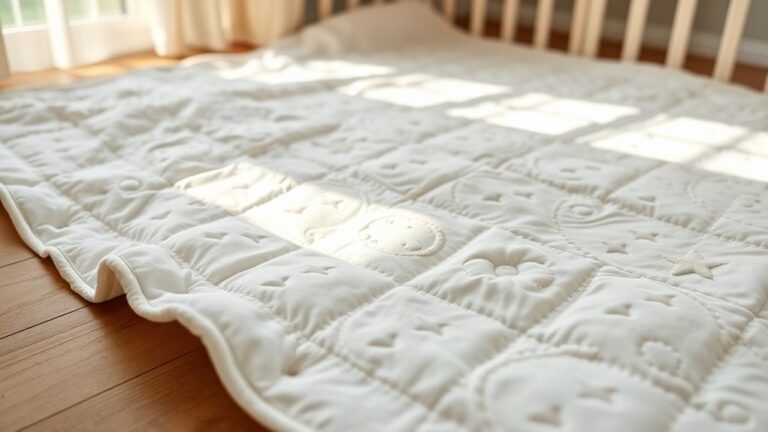
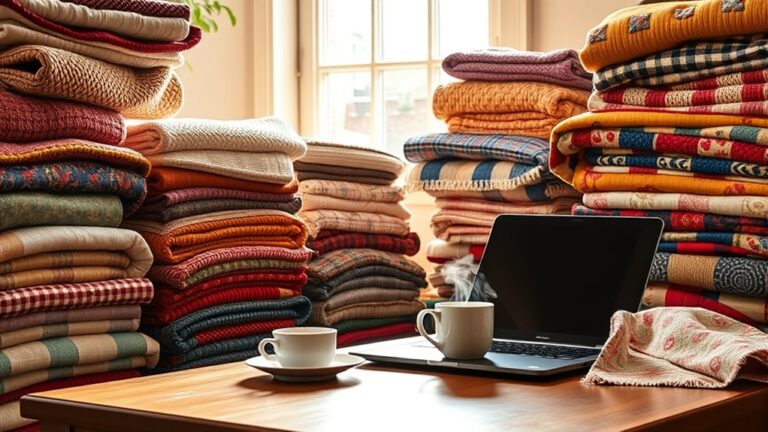
Choosing the Right Fabrics for Your Rag Quilt
When you’re choosing fabrics for your rag quilt, it’s essential to contemplate both texture and durability. Start by selecting a mix of fabric colors that complement each other. This will give your quilt a cohesive look.
Choosing fabrics for your rag quilt requires careful consideration of texture and durability for a cohesive and appealing design.
Consider using cotton flannel or cotton prints for a soft feel and durability. These fabrics are popular choices because they hold up well over time.
Next, think about texture variety. Mixing smooth and fuzzy fabrics can create an interesting tactile experience for anyone who uses your quilt.
For example, pairing a soft flannel with a textured print can improve the quilt’s overall appeal. This small detail can make a big difference.
Make sure to choose fabrics that can withstand frequent washing, as rag quilts get softer and more frayed with use. That’s part of their charm.
When you combine vibrant fabric colors with various textures, you’ll not only create a stunning quilt but also one that’s built to last.
What Tools and Supplies Do You Need?
To successfully create your rag quilt, you’ll need a few essential tools and supplies. First, gather a variety of fabric types, such as cotton and flannel, as they fray nicely and add texture.
You’ll also need a sewing machine equipped with a walking foot to handle multiple layers effectively. Don’t forget to stock up on sharp scissors or rotary cutters for precise cutting.
A cutting mat will protect your surfaces while making accurate cuts. You should also have pins or clips to hold your fabric layers together securely.
Finally, consider a good quality thread that matches your fabric for durability. With these tools and supplies, you’ll set yourself up for a successful rag quilt project.
Cutting Your Fabric: Tips for Beginners
Cutting your fabric is an essential step in creating a rag quilt, and it can make all the difference in your project’s outcome.
Start by choosing the right fabric types. Cotton flannel and cotton quilting fabric work best. These materials fray nicely, giving your quilt that classic rag look.
Choosing cotton flannel and quilting fabric is key, as they fray beautifully for that classic rag quilt appearance.
When it comes to cutting techniques, use a rotary cutter and mat for precision. Measure your squares carefully, typically 8 to 10 inches, depending on your design.
Mark your fabric with a fabric pencil to guarantee accuracy, and don’t rush this step. It sets the stage for everything that follows.
If you’re new to cutting, practice on scrap fabric first. This’ll help you get comfortable with the tools and techniques.
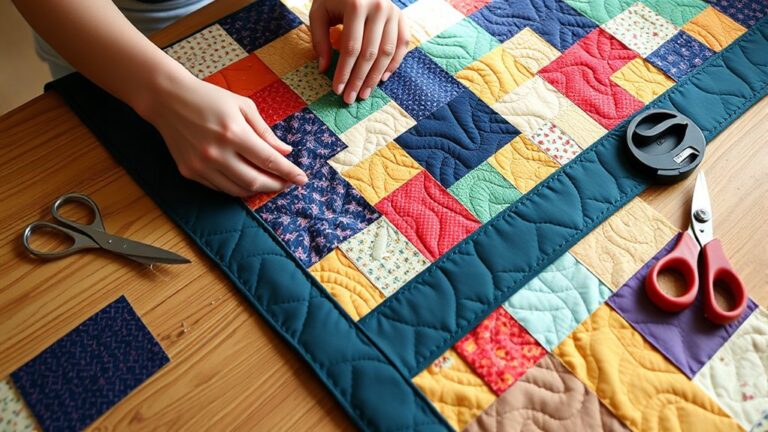
Assembling the Quilt Layers Step-by-Step
Now that you’ve finished cutting your fabric squares, let’s move on to assembling the quilt layers. First, grab all your materials and keep them nearby so you won’t have to go searching mid-project. When you’re ready, start layering your fabric squares one on top of the other. Go ahead and pin them in place to make sure everything stays put while you work.
Gather Your Materials
Before diving into your rag quilt project, it’s essential to gather all the necessary materials to guarantee a smooth sewing experience.
Start with your fabric selection. Choose a variety of cotton fabrics in different colors and patterns that inspire you. This will make your quilt visually appealing and give it a unique blend of textures.
You’ll need batting as well, which adds warmth and dimension. Don’t forget to grab your sewing machine, scissors, and thread in colors that match your fabric.
A rotary cutter and mat can make cutting easier, while pins will help keep your layers in place.
With everything on hand, you’re ready to create a beautiful rag quilt that reflects your quilting inspiration!
Cut Fabric Squares
Begin by measuring and cutting your fabric into squares, typically 8 to 10 inches in size. Choose a fabric size that suits your design, keeping in mind that larger squares might create a bolder look while smaller ones offer more detail.
Use sharp rotary cutters or fabric scissors for clean edges, ensuring each cut is precise. To maintain consistency, consider stacking multiple layers of fabric and cutting through them simultaneously.
This speeds up the process and guarantees uniformity. If you’re using multiple fabrics, mix and match patterns for added texture and visual interest.
After cutting, lay out your squares to visualize your quilt’s design before moving on to the next step. Happy cutting!
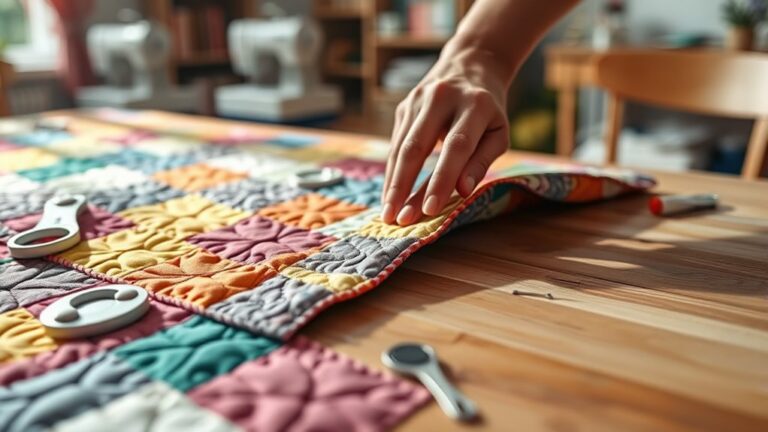
Layer and Pin
Start layering your fabric squares to create the foundation of your rag quilt. Begin with a backing square, followed by a batting square, and then place your top square facing up.
Use effective layering techniques, guaranteeing everything aligns neatly. Once you’ve stacked your layers, it’s time to secure them with pinning methods.
Pin each square at the corners and the center to prevent slipping as you sew. This keeps your layers stable and guarantees an even finish.
Make sure to use enough pins for support, but don’t overdo it; you want to avoid any hassle while sewing.
With your layers securely pinned, you’re ready to move on to stitching them together!
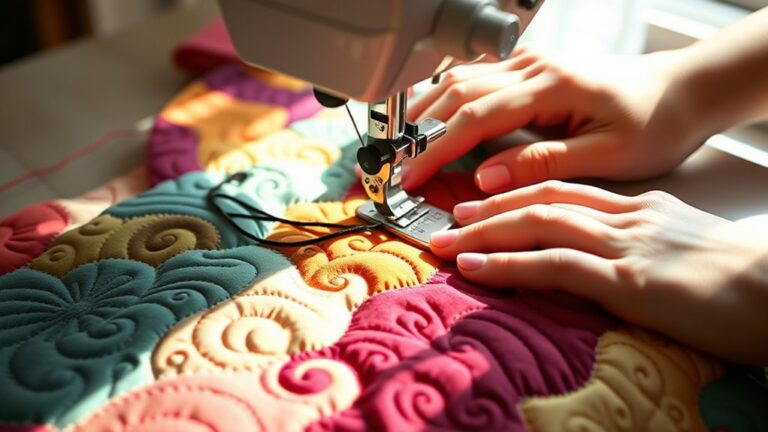
Sewing Techniques for a Flawless Finish
Achieving a flawless finish on your rag quilt requires attention to detail and a few key sewing techniques.
First, focus on proper quilt layering. Make certain each layer is smooth and evenly aligned before you start sewing. This foundational step helps prevent puckering and misalignment later on.
Next, pay close attention to seam finishing. Use a straight stitch to secure each seam. Then, consider using a zigzag stitch along the edges. This not only reinforces the seams but also helps prevent fraying during the washing process.
Pay attention to seam finishing with a straight stitch and zigzag for reinforcement and fray prevention.
As you sew, keep an eye on your seam allowances. A consistent allowance will make a big difference in the overall appearance of your quilt.
Finally, don’t rush. Take your time to make sure each stitch is neat and tidy.
With these techniques in your toolkit, you’ll be well on your way to creating a beautiful rag quilt that really showcases your hard work.
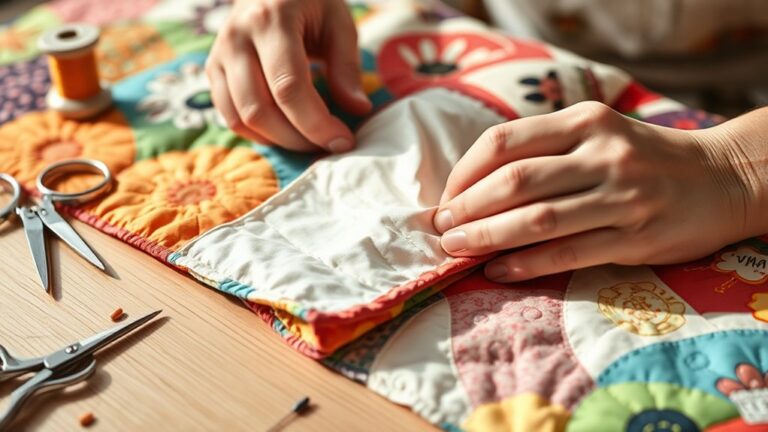
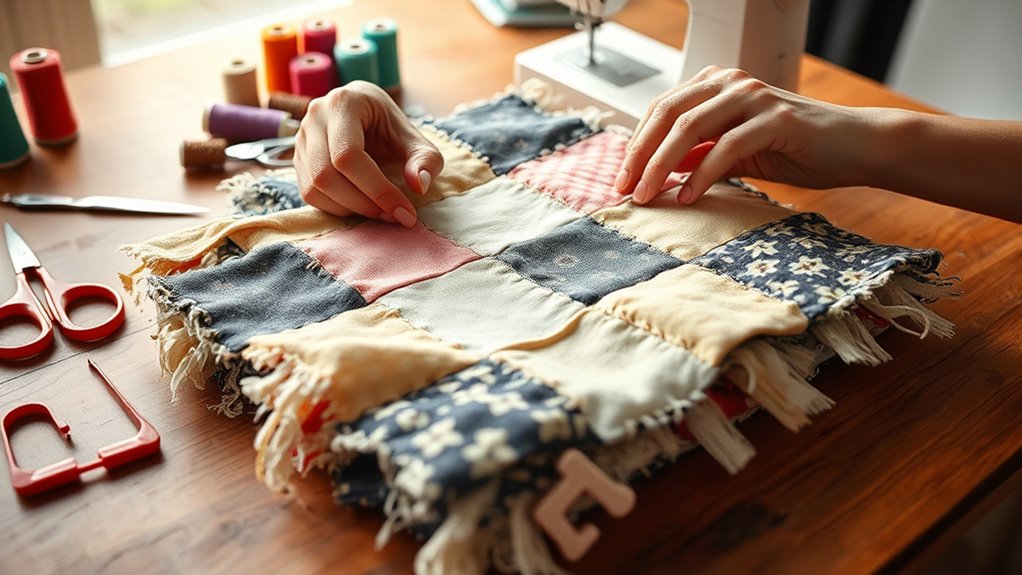
How to Fray Your Quilt Edges
Fraying the edges of your rag quilt is what really gives it that cozy, textured look everyone loves. To get started, you’ll want to pick fabric types that fray nicely—cotton or flannel work especially well. Once you’ve got your fabric, let’s talk about some simple techniques you can use to get those edges looking perfectly frayed.
Choosing Fabric Types
When you choose the right fabric types for your rag quilt, you’ll set the stage for beautifully frayed edges that give it a cozy, textured look.
Opt for cotton flannel or cotton prints, as they fray beautifully and create a lovely contrast. Consider vibrant color combinations to make your quilt pop.
Here’s a quick guide to help you choose:
| Fabric Type | Texture |
|---|---|
| Cotton Flannel | Soft, fuzzy |
| Denim | Durable, sturdy |
| Cotton Prints | Variety, crisp |
Mix and match these fabrics to improve your quilt’s visual appeal.
Fraying Techniques Explained
To create that signature ragged look for your quilt edges, you’ll need to master some effective fraying techniques. These fraying methods not only improve the visual appeal but also add texture to your quilt.
Here are some essential fraying tools and techniques to help you achieve that perfect finish:
- Scissors: Use sharp scissors for precise cuts along the edges.
- Fray Check: Apply this liquid to prevent excessive fraying on certain fabrics.
- Ragging Tool: Invest in a specialized tool to help you fray the edges quickly.
- Washing: After sewing, toss your quilt in the washer to bring out that fluffy, frayed look.
With these tips, you’ll be well on your way to creating a beautiful rag quilt!
Adding Personal Touches: Embellishments and Patterns
While sewing your rag quilt, you can easily elevate its charm by incorporating unique embellishments and patterns. Start by considering your personal style; think about what colors and themes resonate with you.
Fabric mixing is a fantastic way to create visual interest, so don’t hesitate to combine different textures and prints. For embellishment ideas, consider adding appliqués, embroidery, or even buttons. These touches can make your quilt truly one of a kind.
Fabric mixing adds visual intrigue, while appliqués, embroidery, and buttons elevate your quilt to a unique masterpiece.
When it comes to pattern selection, choose designs that complement each other and align with your theme inspiration. Focus on color coordination to guarantee harmony throughout your quilt.
You might opt for a seasonal theme, like autumn leaves or floral motifs, to give your quilt a particular vibe. By thoughtfully integrating these elements, you’ll create a rag quilt that reflects your creativity and style, making it a cherished addition to your home.
Caring for Your Rag Quilt: Tips for Maintenance
Caring for your rag quilt is essential to keep it looking vibrant and cozy for years to come.
With a little attention, you can guarantee it stays in great shape.
Here are some tips to help you maintain your quilt:
– Washing tips: Use cold water on a gentle cycle to prevent frays.
Avoid bleach to keep colors intact.
– Repairing frays: If you notice any fraying edges, sew them up promptly
with matching thread for a seamless look.
– Choosing drying methods: Air dry your quilt or use a low heat setting in the dryer.
High heat can damage the fabric, so try to avoid it.
– Storing quilts: When not in use, store your quilt in a cool, dry place
to avoid odors and mildew.
With these simple steps, your rag quilt will stay beautiful and comfortable for a long time.
Common Sewing Mistakes to Avoid in Rag Quilting
When you dive into making your first rag quilt, it’s totally normal to run into a few hiccups along the way. One of the most common slip-ups is skipping the pre-wash step for your fabrics. Trust me, it might seem like an easy corner to cut, but it can actually cause your quilt to shrink or colors to bleed later on.
Another thing that often trips people up is not paying attention to the seam allowance guidelines. It’s tempting to just eyeball it, but those little measurements really do make a difference in how your quilt comes together.
And then there’s the snipping technique. If you forget to snip your seams—or don’t snip them enough—you might end up with a quilt that just doesn’t give you that classic raggedy look. So, let’s talk through these common mistakes and make sure you have all the tips you need to create a beautiful, stress-free rag quilt.
Skipping Pre-Washing Fabrics
Many sewists overlook the importance of pre-washing fabrics, thinking it’s an unnecessary step.
However, skipping this essential process can lead to issues like fabric shrinkage and color bleeding, ruining your hard work.
Here’s why you shouldn’t skip pre-washing:
- Prevent Shrinkage: Fabrics can shrink after the first wash, altering your quilt’s dimensions.
- Stop Color Bleeding: Some fabrics bleed dye, affecting others if they’re not pre-washed.
- Remove Chemicals: Pre-washing helps eliminate any finishing chemicals that may irritate skin.
- Enhance Texture: It softens the fabric, making your quilt even cozier.
Taking the time to pre-wash guarantees your rag quilt turns out beautifully, durable, and ready for snuggling!
Ignoring Seam Allowance Guidelines
Ignoring seam allowance guidelines can lead to frustrating outcomes in your rag quilt.
If you skip the recommended seam allowances, you risk uneven edges and misaligned pieces.
This mistake can snowball, making your quilt look lopsided or causing fabric to fray excessively.
Furthermore, ignoring pre-washing can affect how the fabric shrinks, while skipping pressing can leave seams bulky and difficult to manage.
Each of these issues compounds the problems you face, making it crucial to follow the guidelines closely.
Always measure carefully and stick to the seam allowances outlined in your pattern.
Taking the time to guarantee accuracy will save you headaches later and help your quilt come together beautifully.
Neglecting Snipping Techniques
While it might seem tempting to skip snipping techniques, doing so can seriously impact the final look of your rag quilt.
Proper snipping guarantees that your quilt frays beautifully, creating that signature ragged appearance.
If you neglect this step, your quilt may end up looking unfinished or flat.
Here are some key points to remember:
- Use sharp scissors for clean cuts.
- Snip close to the seams, but don’t cut through them.
- Vary your snipping depth for different fraying options.
- Test on scraps to find your preferred fraying style.
Next Steps After Completing Your Rag Quilt
Once you’ve finished sewing your rag quilt, the next steps are essential for ensuring it looks great and lasts for years to come.
Start with the finishing touches. Give your quilt a good wash to soften the fabric and fluff up the seams. This step not only improves its appearance but also helps to perfect the ragged edges.
After washing, it’s important to dry your quilt properly. Use a low-heat setting to prevent any shrinkage or damage.
Once completely dry, consider how you’ll store your quilt. If you’re not using it right away, fold it neatly and place it in a cool, dry space. Avoid damp areas to prevent mold and mildew.
Lastly, don’t forget to show off your creation! Whether it’s on your couch or as a cozy gift, your rag quilt deserves to be enjoyed.
Frequently Asked Questions
How Long Does It Take to Complete a Rag Quilt?
It usually takes you about 10 to 20 hours to complete a rag quilt, depending on your experience and the quilt’s size.
Timing considerations like fabric selection and cutting can also impact your project planning.
If you break it into manageable sessions, you’ll find it easier to stay motivated.
Set aside dedicated time for each step, and you’ll see progress faster than you think!
Enjoy the process, as it’s all part of the fun!
Can I Use Different Fabric Types in One Quilt?
Absolutely, you can mix different fabric types in one quilt! Imagine a patchwork of colors and textures, each piece telling its own story.
By using various fabric combinations, you create delightful texture variations that make your quilt unique. Just keep in mind the weight and washability of the fabrics to guarantee they blend well.
Welcome your creativity, and watch your quilt come to life with every stitch!
What Is the Best Batting for a Rag Quilt?
The best batting for a rag quilt is typically cotton or a cotton blend. These batting types provide warmth without adding too much bulk, making it easier to achieve that cozy, crinkled look after washing.
When quilt layering, confirm the batting is slightly smaller than your fabric layers to avoid extra bulk at the edges. This way, your quilt remains soft and manageable, giving you that perfect rag quilt finish you’re aiming for.
How Do I Fix Mistakes While Sewing?
When you spot a mistake, don’t panic! First, evaluate your fabric choices; sometimes, a simple trim can fix uneven edges.
For seams, gently rip them out with a seam ripper, then re-sew. Use these sewing tips: keep your stitches consistent and double-check alignment before moving forward.
Is a Sewing Machine Necessary for a Rag Quilt?
No, a sewing machine isn’t strictly necessary for a rag quilt, but it sure makes things easier!
If you prefer hand sewing, you can still use various sewing techniques to create your quilt, though it may take longer.
Choose fabrics that are easy to work with, like cotton or flannel, to simplify your project.
Ultimately, it’s about what you’re comfortable with and how much time you want to invest in your quilt.
Conclusion
Now that you’ve sewn your rag quilt, you’ll find that each snip and stitch tells a story, weaving together memories and moments.
As you cuddle under your creation, you might uncover a newfound appreciation for the beauty in imperfections.
This quilt isn’t just a cozy cover; it’s a reflection of your journey as a beginner.
So, welcome the experience, showcase your unique flair, and let your rag quilt be a warm reminder of your creative adventure.
With every use, your rag quilt will continue to remind you how rewarding and fun it is to learn something new.